
Import the self-signed certificate to FactoryTalk AssetCentre desktop client, web client, and agent computers
On the
FactoryTalk AssetCentre
server, desktop client, web client, and agent computers, add the self-signed certificate to the Trusted Root Certification Authorities certificate store. After importing the certificate to the FactoryTalk AssetCentre server, desktop client, web client, and agent computers, you must configure a firewall rule and web services URL if the default port is modified.Before you begin
To import the self-signed certificate on operating systems
- Copy the created certificate on the computer.
- Double-click the certificate.
- SelectLocal Machine, and then selectNext.
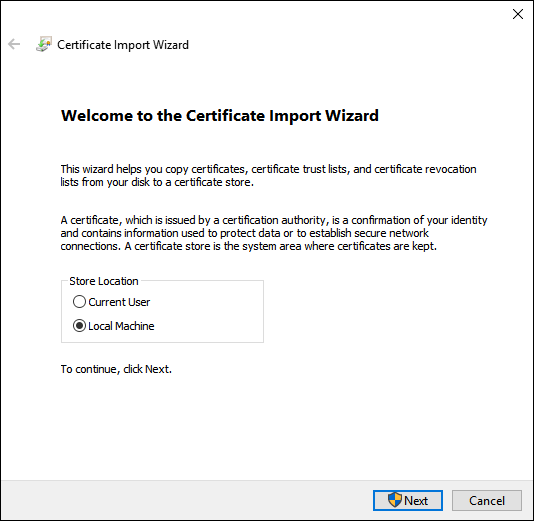
- When prompted to confirm the operation, selectYes.
- Follow the on-screen instructions until you get to theCertificate Storescreen.
- On theCertificate Storescreen, selectPlace all certificates in the following store.
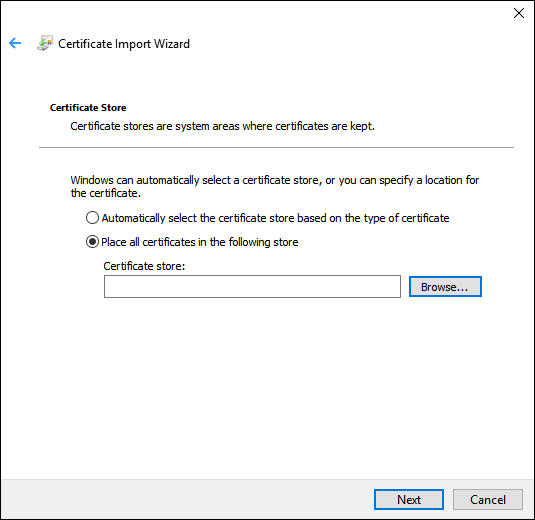
- SelectBrowse, selectTrusted Root Certification Authorities, and then selectOK.
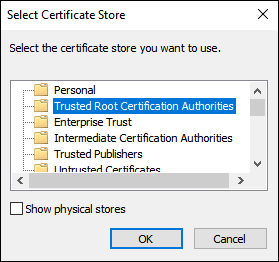
- SelectNext.
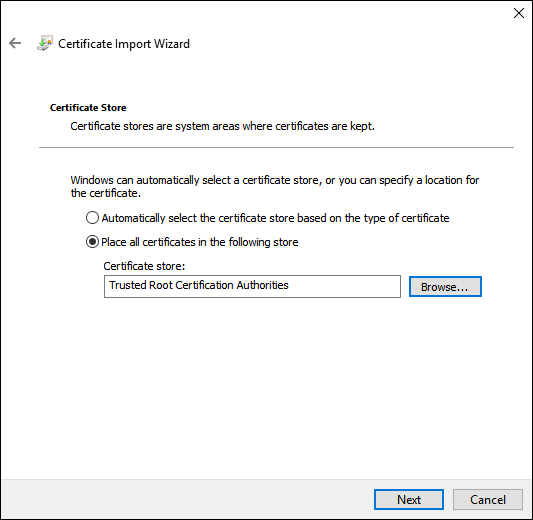
- Follow the on-screen instructions to complete the import.
To verify the import operation
- SelectStart, typemmc, and then pressEnter.The Microsoft Management Console opens.
- SelectFile > Add/Remove Snap-in.
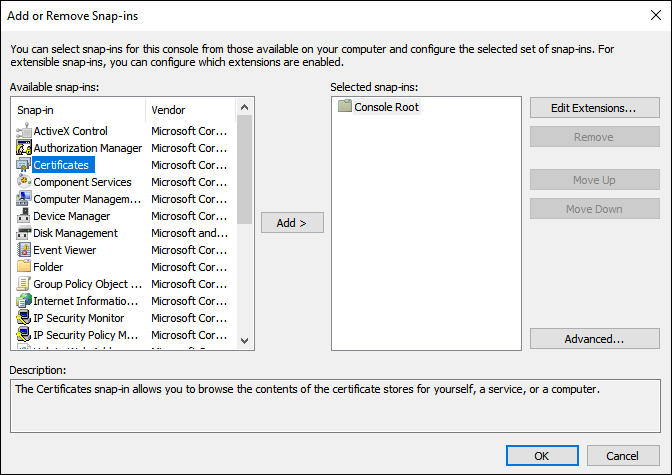
- In theAdd or Remove Snap-insdialog, selectCertificates, and then selectAdd.
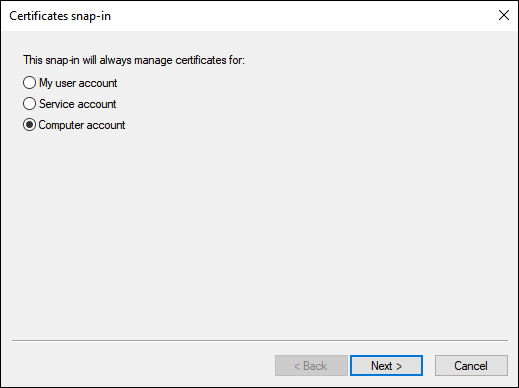
- In theCertificates snap-indialog, selectComputer account, and then selectNext.
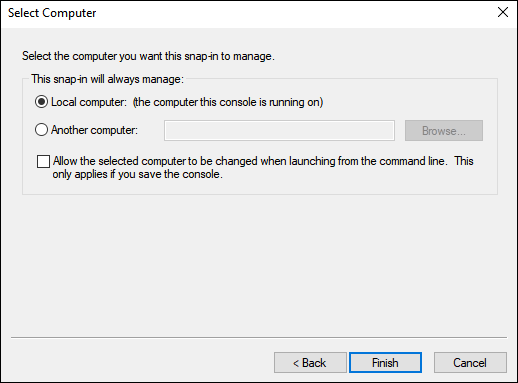
- SelectFinish.
- In theAdd or Remove Snap-insdialog, selectOK.
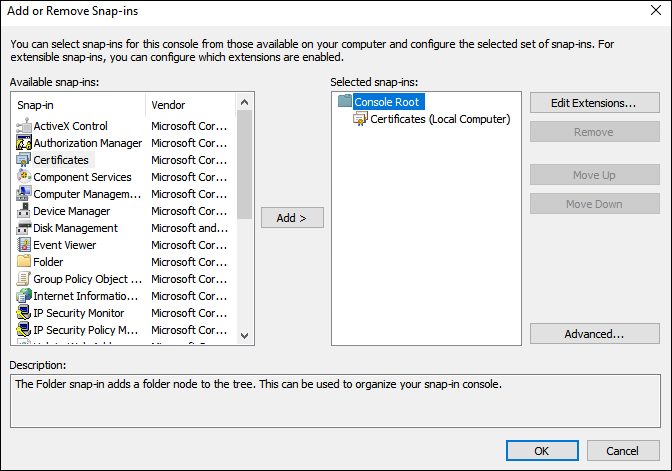
- In the Microsoft Management Console, navigate toConsole Root > Certificates (Local Computer) > Trusted Root Certification Authorities > Certificates, and verify that the certificate is listed.
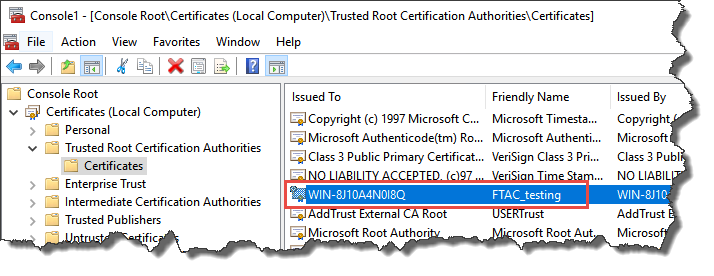
- If the certificate is not listed, make sure to selectCertificatesunderTrusted Root Certification Authorities > Certificates, and then selectAction > All Tasks > Import.
- Follow the on-screen instructions to complete the import.
Provide Feedback