Add Area
After adding a Site, the user needs to add an Area.
NOTE:
The following points are required to view data on
Area level dashboard
:- Data from different meters which are a direct child of the Area node will be considered for data aggregation.
- To show the data of all the available charts, the respective resource meter to be configured with the correct tag mapping.
- For Cost charts, the respective rate schedule should be configured at the Site level.
- For Emission, the respective emission factor should be configured at the Site level.
- For Production, energy intensity charts should have correct tag mapping for production count measurement.
- For more than one resource meter harmonized unit defined at the Enterprise level will be used for displaying data for consumption, intensity, and emission.
Perform the following steps to add an Area under Site:
- SelectSitefrom the hierarchy list.
- Click the [
 ] icon and click Add.TheAdd Newdialog is displayed.Add New Area Dialog
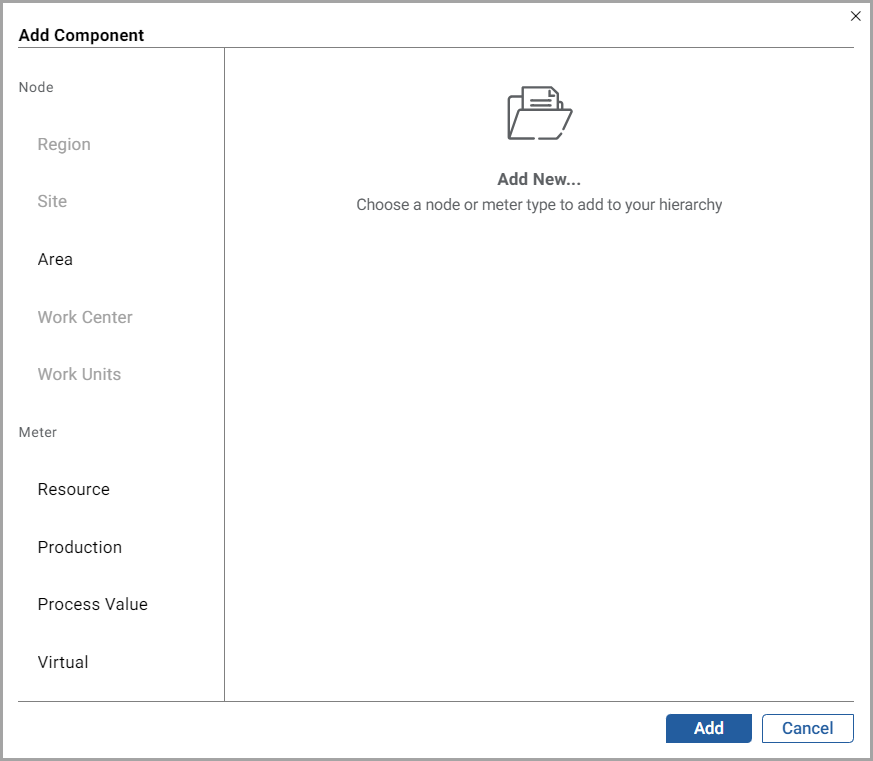
- ClickAdd.TheAdd Componentdialog box is displayed.Add Component Dialog
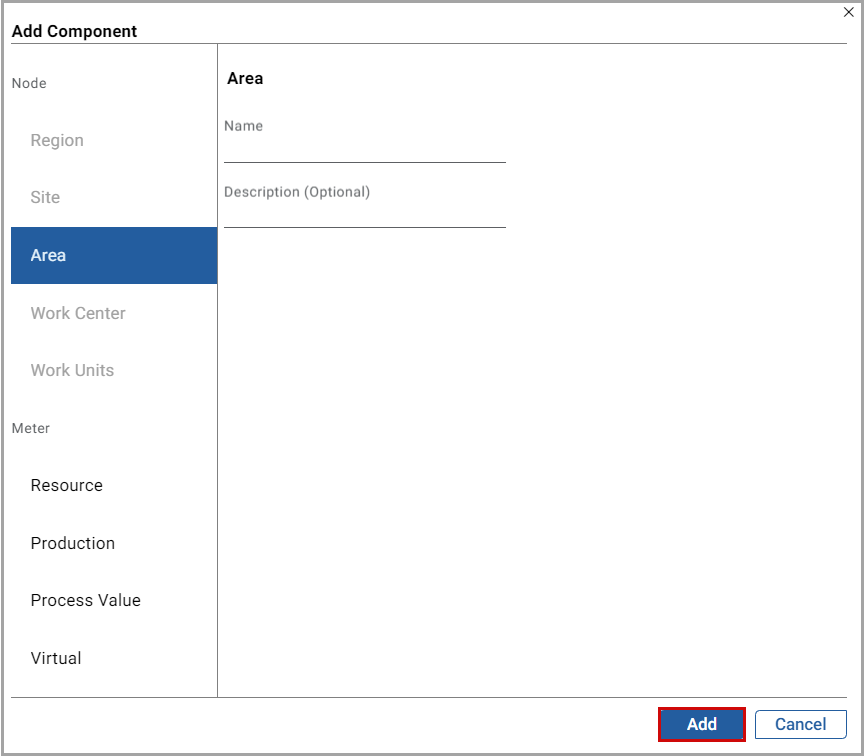
- UnderNode, selectAreaand set these parameters:
- Name: Provide an area name.
- Description: Provide a description of the Area.
- ClickAdd.
The "
Area added under Site successfully
" message is displayed.The user can also export the data file to local. For more details, see Export Data File
Related Information
:Provide Feedback