Install PostgreSQL Database
Perform the following steps to install PostgreSQL Database:
Prerequisite: Microsoft Visual C++ 2013 Redistributable |
Recommendation:
Set up PostgreSQL data and log directory on a non-OS drive.- In order to install PostgreSQL, go to<Installation_Directory>FactoryTalkAnalyticsDataView>Redist>Componentsfolder and then run thepostgresql-<version>-windows-x64.exesetup file.NOTE:Vendors of third-party may remove supported versions from download sites. If the specified version is not available at the link provided, then go to theInstallation_Directory>FactoryTalkAnalyticsDataView>Redist>Componentsfolder to find the supported Third-party components. Third-Party folder contains redistributable software only. If any issues are encountered, contact Rockwell Support as documented in the Solutions and Technical Support Section.
- The ‘Setup’ screen displays. Click [Next].Setup PostgreSQL

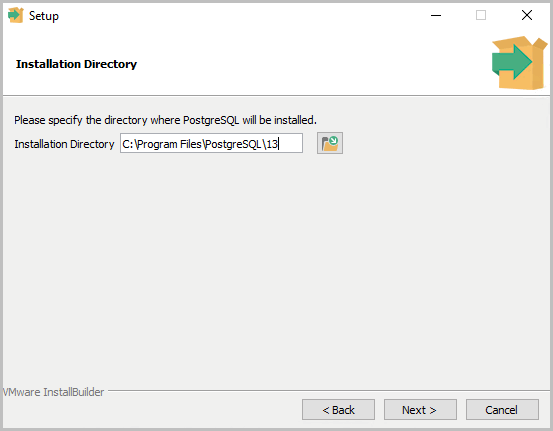
- The ‘Installation Directory’ screen displays, click [Next].Installation Directory
- Select the desired components (it is recommended to use the default components) to install and click [Next].Select Components

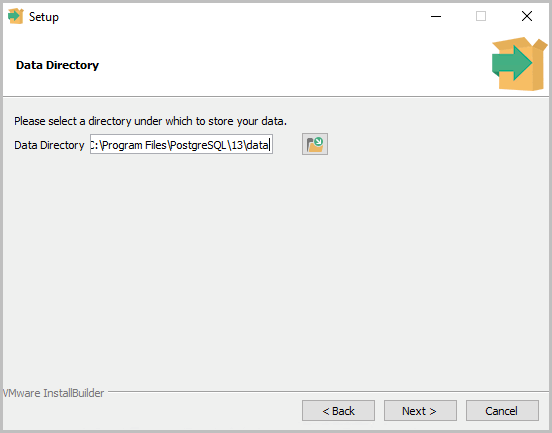
- Select the installation directory to install PostgreSQL and click [Next].Data Directory
- The Password screen displays, provide a new superuser password. Click [Next].The following table contains a list of thesupportedspecial characters that can be used to create a password for the PostgreSQL user:Supported Special Characters~{}[]!@-_$*+/?:.NOTE:Combinations of 3 supported special characters in a consecutive pattern may cause unexpected results. For example: ${}The following table contains a list of the special characters that arenot supportedto create a password for the PostgreSQL user:Unsupported Special Characters\"&<>|'`%=;^blank#(),NOTE:The password is used in the backend service configuration file. Write down this password somewhere for future installation steps. (Example:Welcome@123)PostgreSQL Password

- The Port screen displays, user can customize the basic configurations (It is recommended to leave the port unchanged). Click [Next].Setup Port

- Accept the defaults and click [Next] until the ‘Installation Complete’ screen displays.
- The ‘Completing the PostgreSQL Setup Wizard’ screen displays. Click [Finish] to complete the installation.PostgreSQL Setup Complete

- Open the Windows Service management console to verify that PostgreSQL is successfully installed. Ensure that the Postgres service is running.PostgreSQL Verification

- Go to postgresql bin folder and open thepgAdmin4file to verify installation.C:\Program Files\PostgreSQL\13\pgAdmin 4\binThe pgAdmin 4 screen displays.pgAdmin

- Expand the [Servers] item and then expand [PostgreSQL].
- The Connect to Server dialog displays, provide the password and click [OK].NOTE:Provide the password that is defined for installation of PostgreSQL.Connect PostgreSQL Databases
 The PostgreSQL database displays.pgAdmin Verification
Provide Feedback