
Add Remote I/O to the Ethernet Port on the Controller
If you are adding remote I/O modules, you can add the I/O modules to an Ethernet port of the controller. Typically, you must add a remote
EtherNet/IP™
communication module before you can add the remote I/O modules.
To add a remote
EtherNet/IP™
communication module to your project, complete these steps.
IMPORTANT:
You cannot bridge through the front Ethernet port of another controller to add remote I/O.
- In the I/O configuration, right-click Ethernet and select New Module.

- On the Select Module Type dialog box, select the remoteEtherNet/IP™device and, click Create.TIP:Use the filters to reduce the list of modules to choose from.
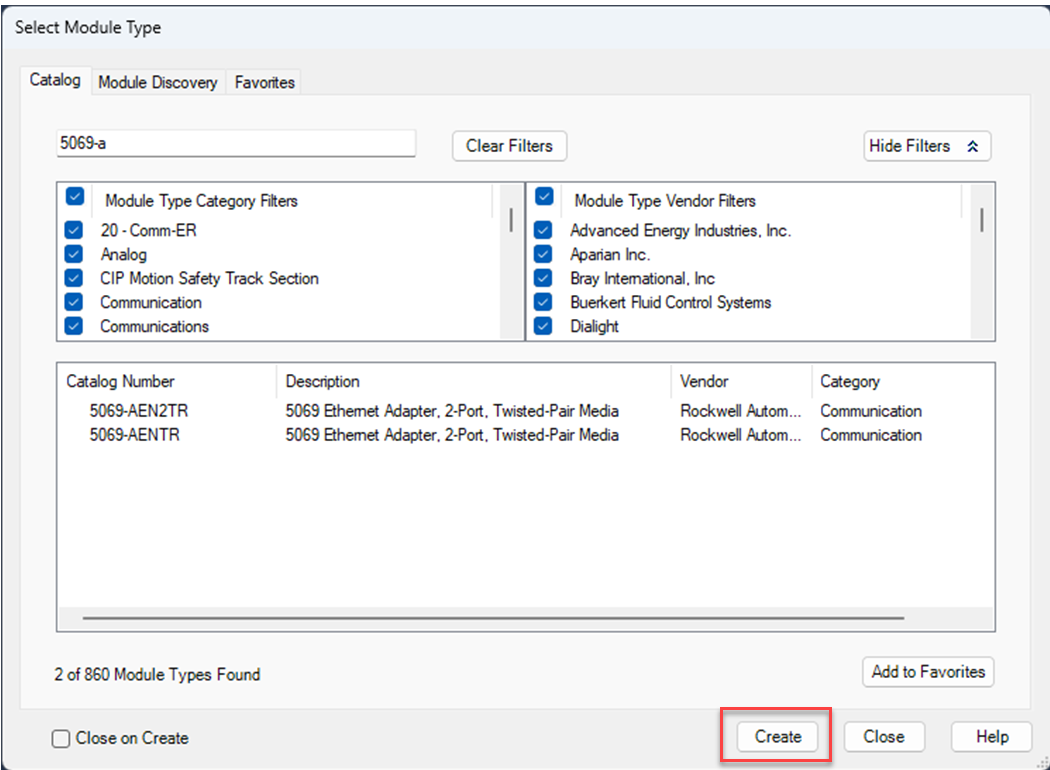 TIP:For some modules, the Select Major Revision dialog box can appear. If the dialog box appears, choose the major revision of the module and click OK.If the Series and Revision parameter values do not match those of the module for which this configuration is intended, your project can experience module faults.
 - Configure the remoteEtherNet/IP™communication module according to your network configuration, and click OK.

- At the warning dialog box, click Yes and then close the Select Module Type dialog box.IMPORTANT:If you inhibit the module connection, you must remember to uninhibit the connection later.

- Close the Select Module Type dialog box.
- Right-click the backplane of the newly addedEtherNet/IP™communication module and select New Module.

- On the Select Module Type dialog box, select the I/O module and click Create.

- Configure the I/O module, and click OK.
Provide Feedback