
Initiate a Management of Change workflow for check-out operation
You can use Management of Change to supervise the checkout and checkin operations.
Prerequisites
- You must have theCheckOut - CheckInpermission for the asset.
- TheCheckOut does not require MoC workflowpermission is denied.
- Administrator has configured electronic workflow rules for the application.
To initiate a Management of Change workflow for check-out operation
- In the asset tree, select the asset containing the files.Once you select an asset in the asset tree, you can also select the file to check out on theArchivetab.
- On theArchivetab, selectCheck Out.TIP:You can also right-click an asset in the asset tree (or a file on theArchivetab after you select an asset in the asset tree) and selectCheck Out.
- In theCheck Out Requestdialog, enter the reason for checkout.
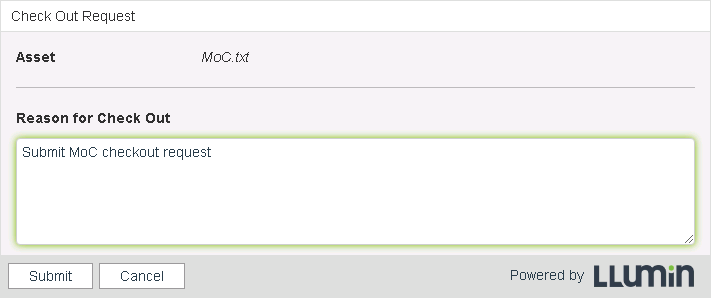
- SelectSubmit.
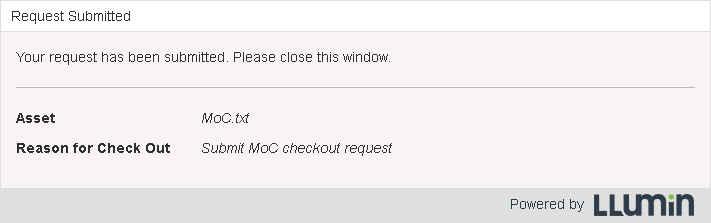
- (optional) To reset the file's and binder's status, selectUnblock Workflow.You must have theUnblock MoC workflowpermission.
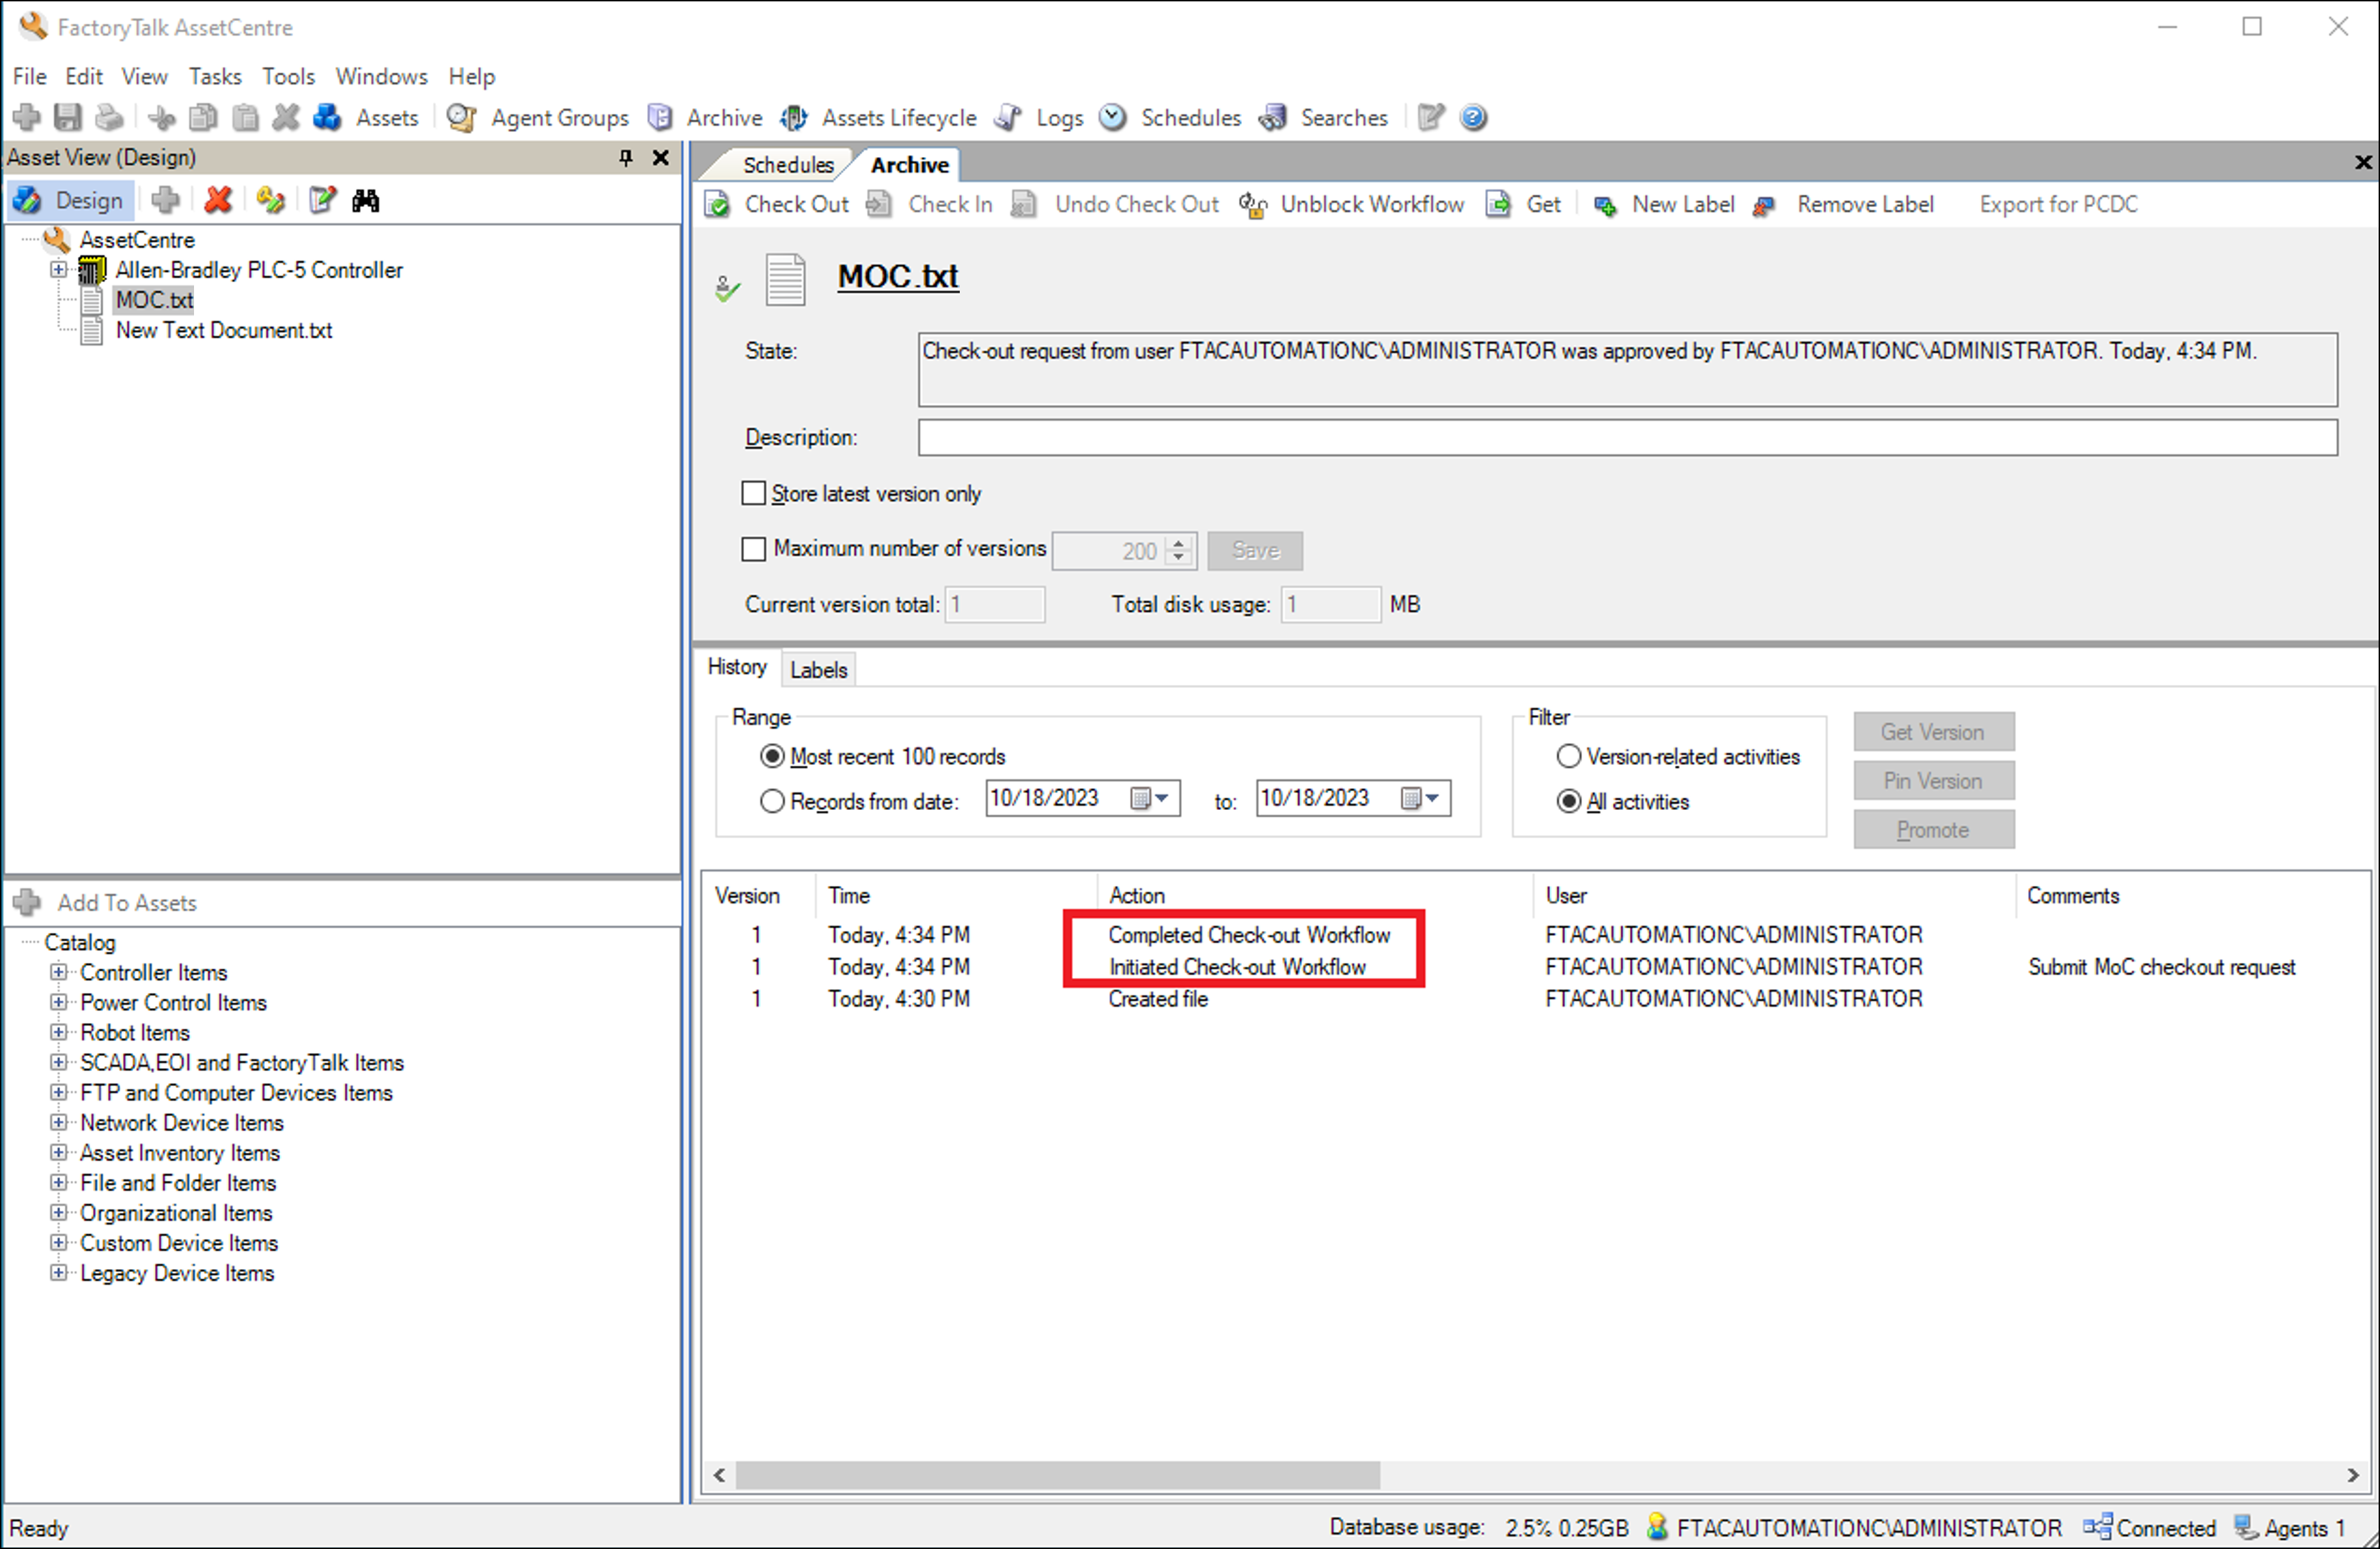 TIP:
TIP:- Other users cannot perform check-out until the submitted request is approved or rejected, orUnblock Workflowis used.
- After the request is approved by Management of Change administrators, you can do the following steps.
- On theArchivetab, selectCheck Out.
- Complete theCheck outdialog.
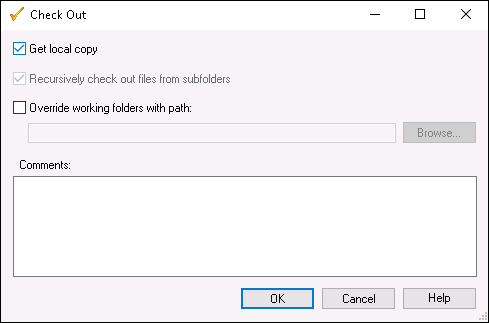
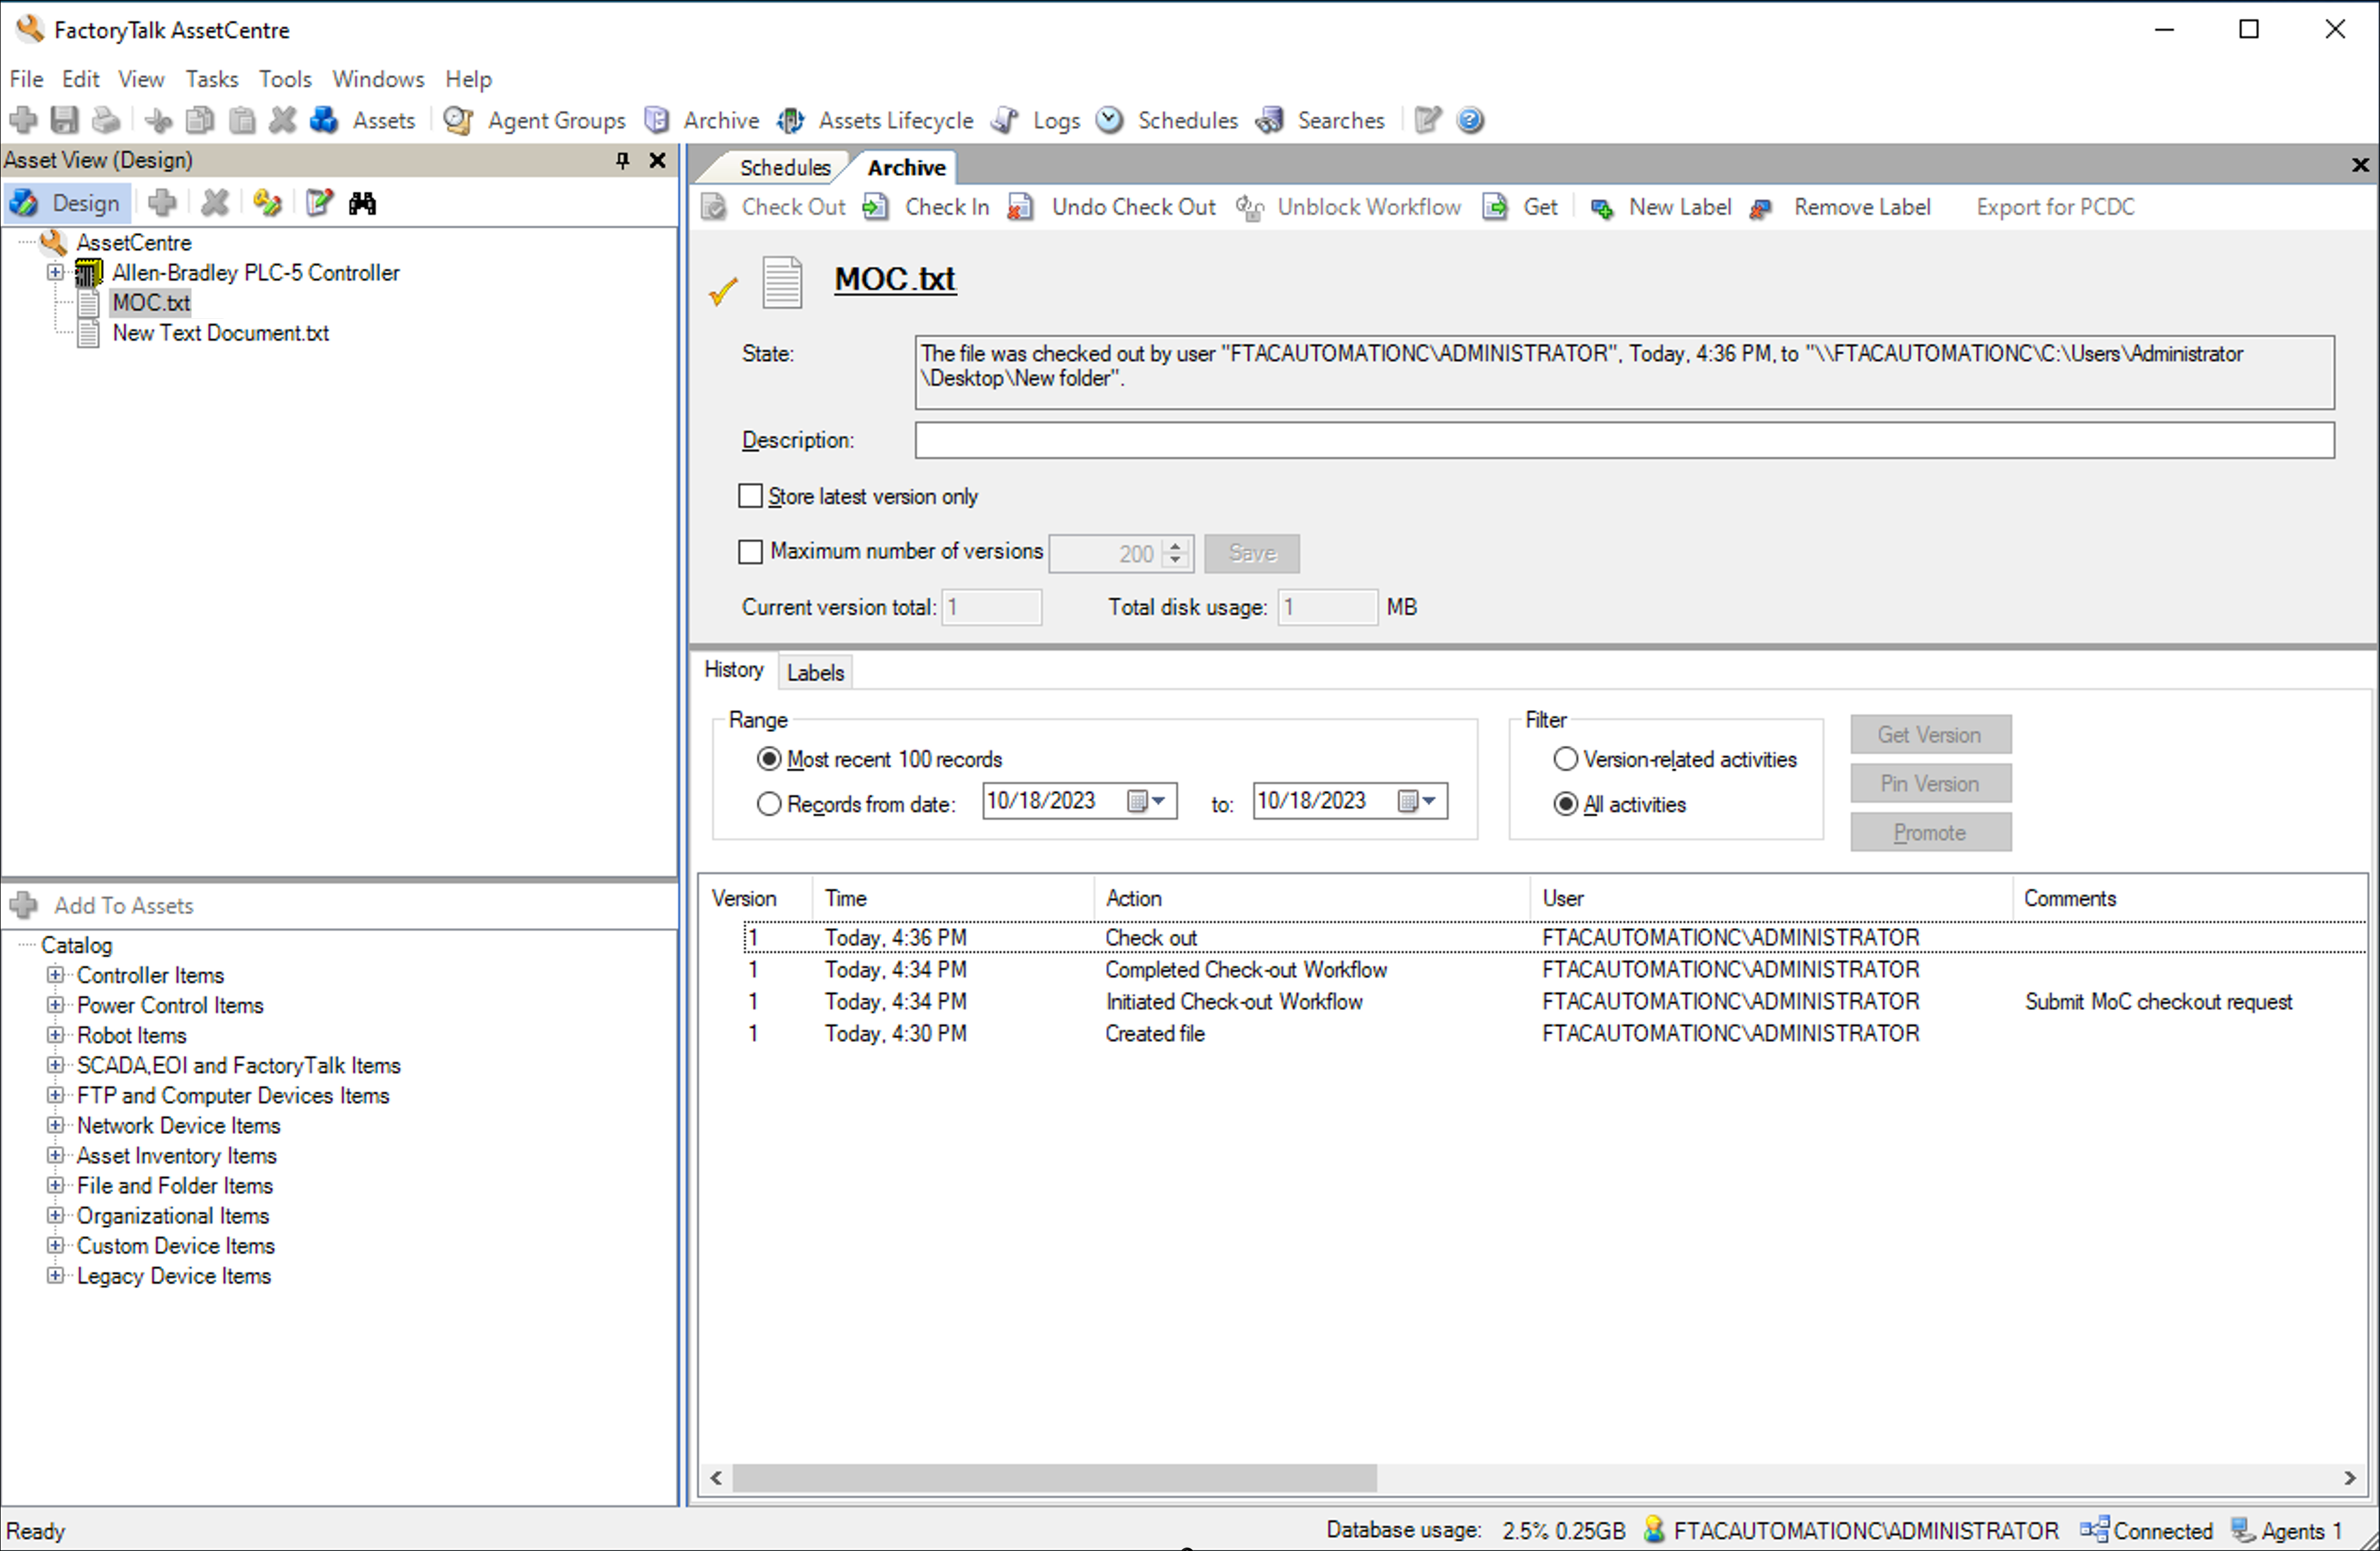
- ClickOK.A check mark next to the file or binder in theArchivetab indicates that the item is checked out. The location and the action statuses of the checked out item is also shown on theArchivetab.
Provide Feedback