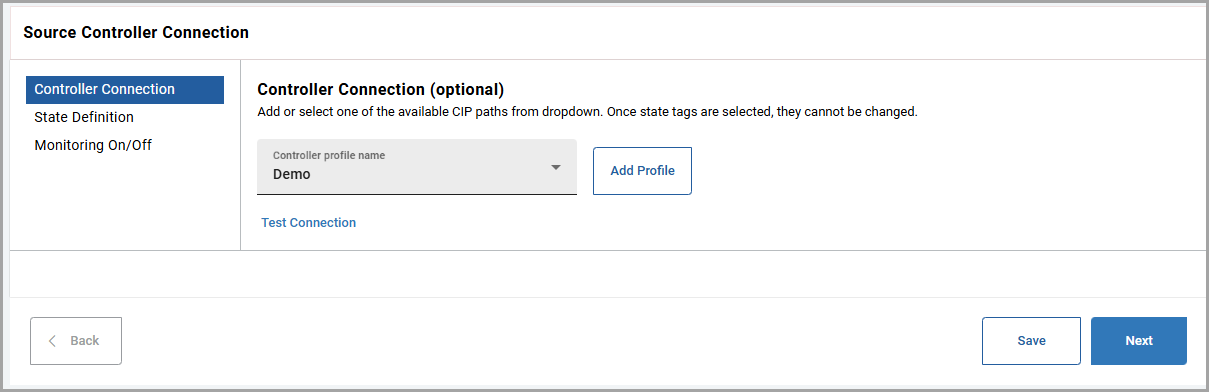
Controller Connection
To connect to a controller, the user must select a controller profile from the drop-down
list. To select a controller profile from the drop-down list, the user must first add one or
more controller profiles before continuing.
Add Profile
Follow the steps below to add a controller profile:
- In theController Connectionpage, clickAdd Profile. TheAdd Controller Profilepop-up window is displayed.
- Provide the following details:
- Controller profile name: Provide a name for the controller profile. This is mandatory.
- Controller path: Provide the path. This is mandatory.Following is an example format for the controller path: *:{Ethernet bridge IP address}/{Chassis port}:{Slot}Example controller path: 2:192.168.1.0/1:0Following is an example where the user can access the controller in chassis 2 from the workstation: 2:192.168.32.10/1:4/2:192.168.32.11/1:0 where:
- 2 is the outgoing port from the workstation.
- 192.168.32.10 is the Ethernet bridge IP address
- 1 is the port number of chassis 1
- 4 is the slot number of chassis 1
- 2 is the outgoing port
- 192.168.32.11 is the Ethernet bridge IP address
- 1 is the port number of chassis 2
- 0 is the slot number of chassis 2
- ClickTest Connection. The "Connection tested successfully." message is displayed.
- ClickAdd. The "Controller Profile successfully added." message is displayed.
Select Controller Profile
After the controller profile is added, follow the steps below to connect to the controller
profile:
- Select the controller from theController profile namedrop-down.
- ClickTest Connection. The "Connection tested successfully." message is displayed.
- ClickNext. The "Controller configuration saved." message is displayed.
Select Controller Profile
Provide Feedback