
Add Resource/Utility Meter
Provides real-time data on energy consumption and demand from individual resource/utility meters. This level allows for precise monitoring and analysis of energy usage for specific resources, helping to identify areas for improvement and ensuring accurate reporting.
Perform the following steps to add the Resource Meter to the hierarchy list:
NOTE:
The following point is required to view data on
Resource meter dashboard
:- Default unit should be configured for demand and consumption measurement with correct tag mapping.
- Select theSiteorAreaorWork Center, orWork Unitfrom the hierarchy list.
- Click the [
 ] icon and click Add.Work Units - Add
 User can also add the Resource/Utility Meter from the Site Configuration page.Add Meter from Site
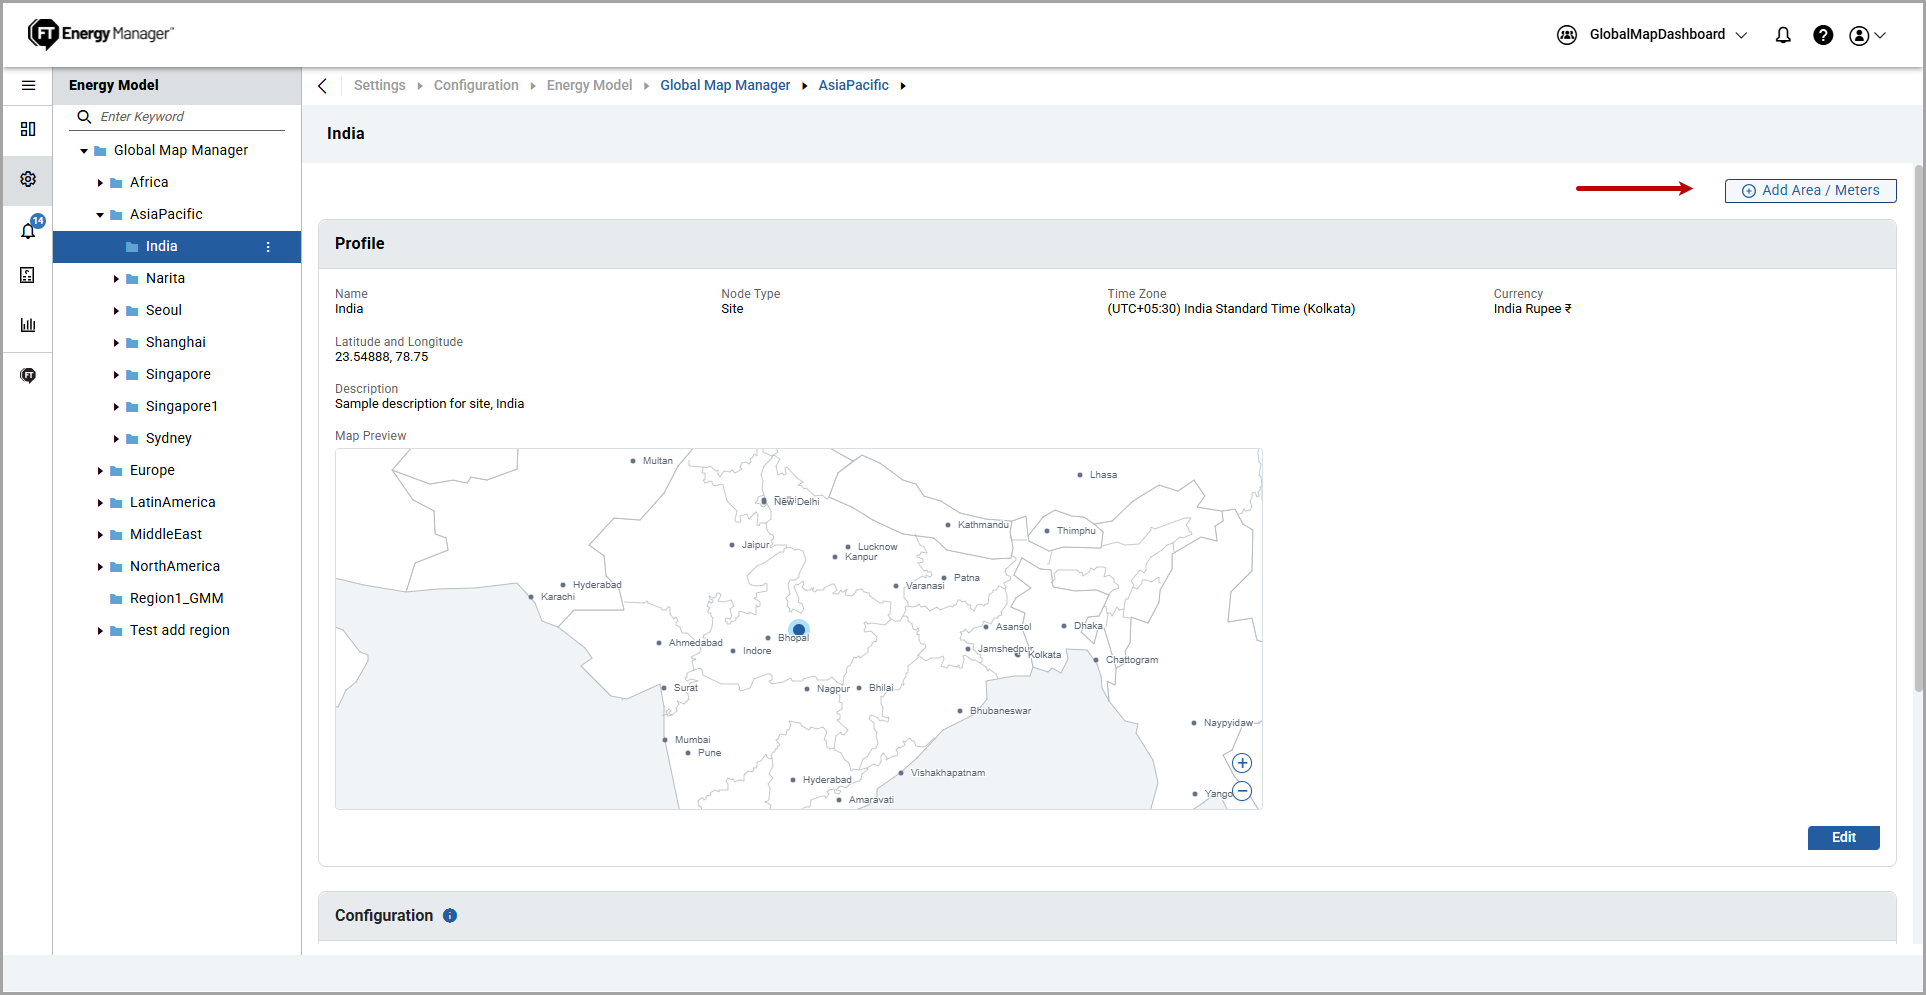 TheAdd Componentdialog box is displayed.
 - UnderMeterfrom the left pane, selectResourceand provide the following details:Add Resource Meter

- Resource/Utility Type: Select a type of resource from the dropdown list.Resource Meter Types
 NOTE:
NOTE:- The resource/utility types that are configured under the default units are displayed in all resource type dropdown.
- The units dropdown to display only valid resource type units associated with the selected resource type.
- Name: Provide a Resource/Utility meter name.
- Description: Provide a description of the Resource meter.
- ClickAdd.The "Added successfully" message is displayed.Resource/Utility Meter Added
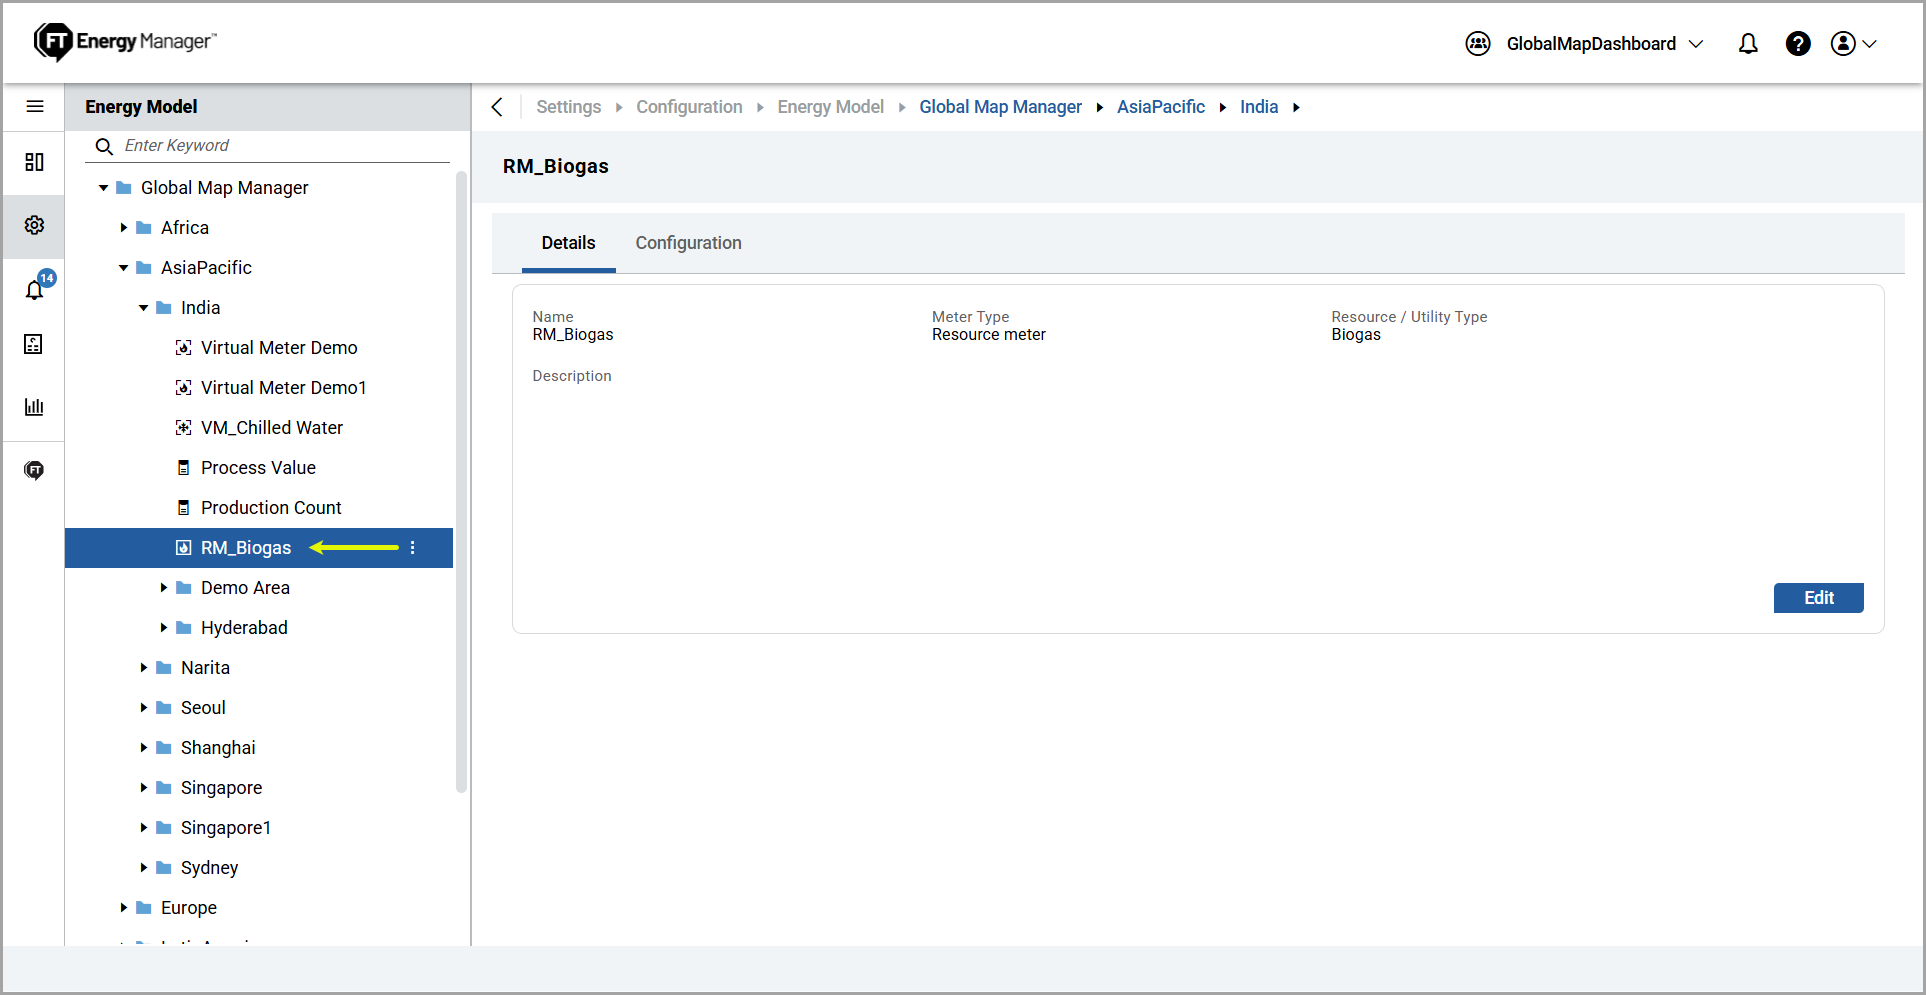
- To edit the details, refer to the Edit Component section.
Provide Feedback