Filters
Allows User to customize a Content view.
NOTE:
Select the Date Range from 1970/1/1 and later.
- On the Storyboard, click the [
 ] icon.Add New Filter
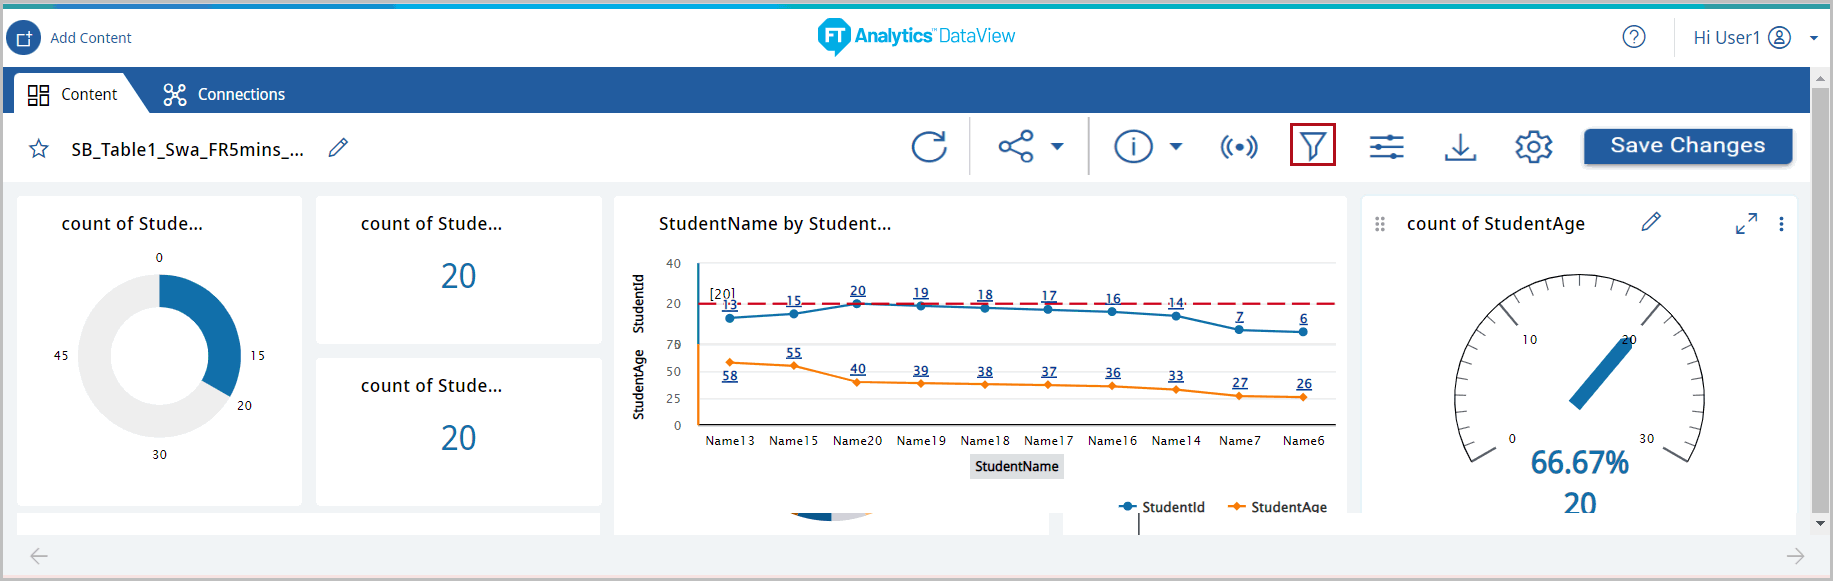 The Filter window displays.NOTE:If User wants to apply Mapped Filters for Storyboard created with pre-configured templates, refer to “Mapped Filters” section for steps.
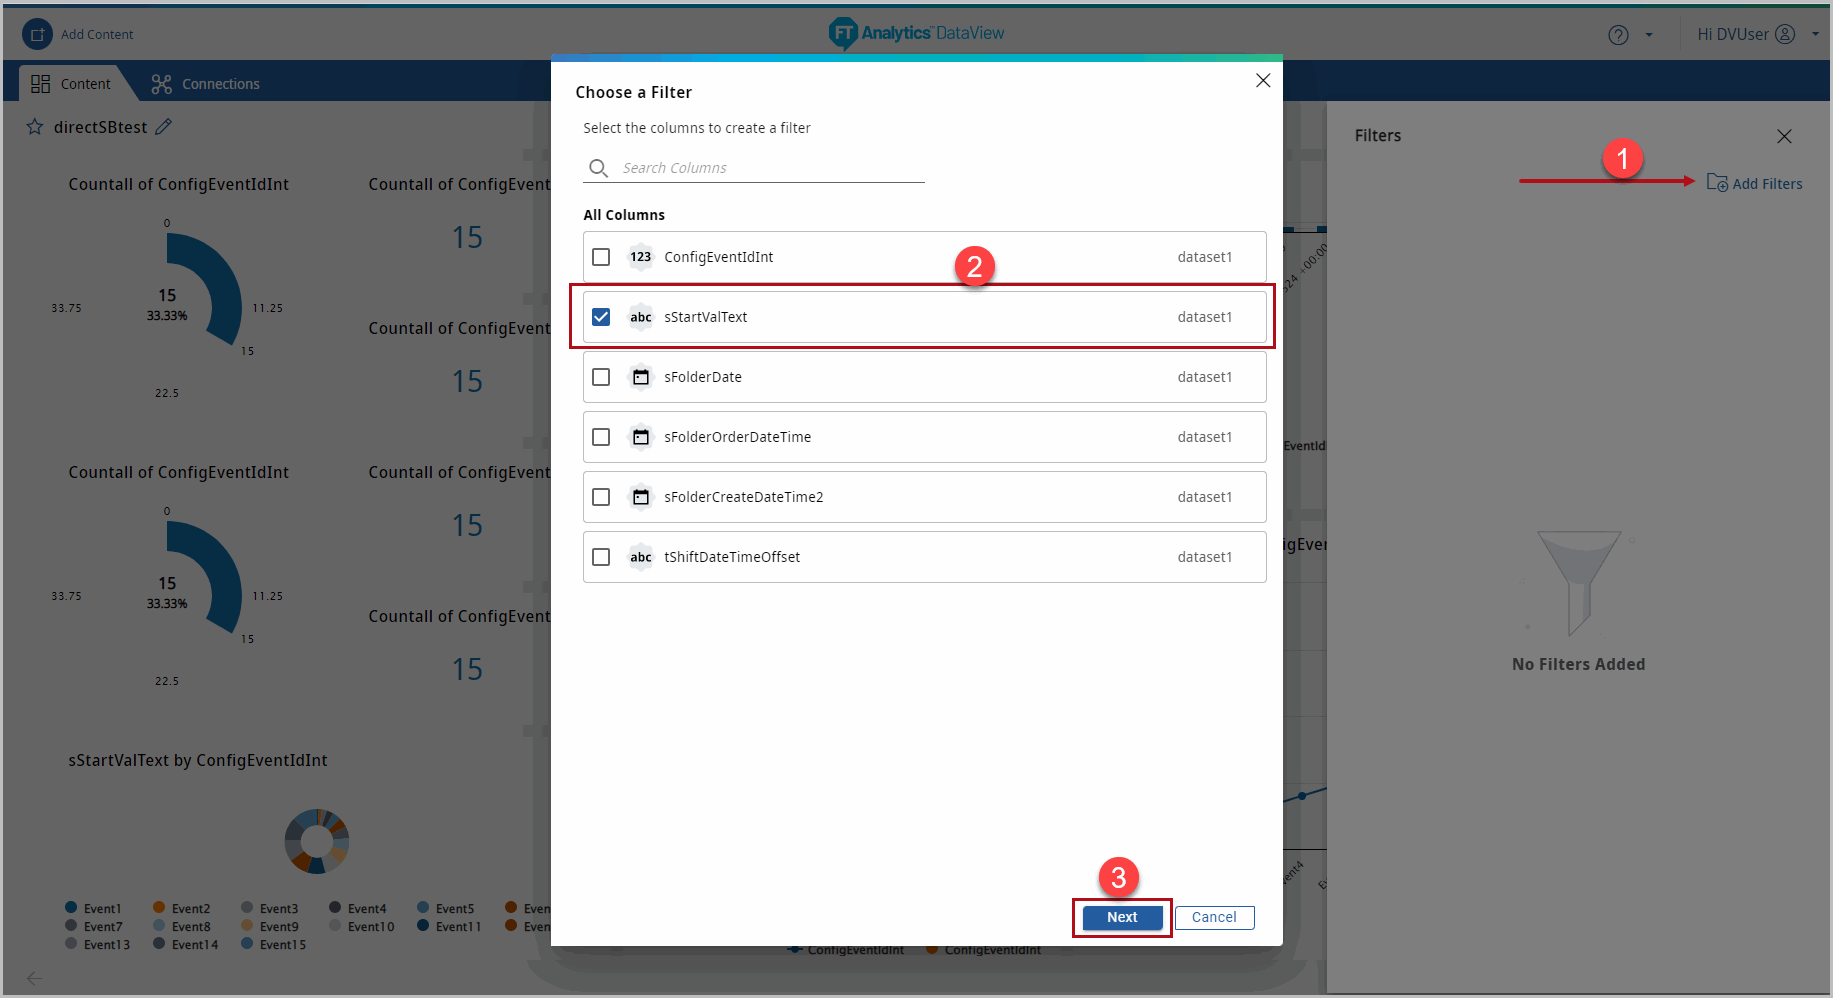
 - Click [Add Filters] and the Choose a Filter dialog displays.
- Select the required columns and click [Next].
- User can select the following type of columns:
- String
- Numeric
- Date
- StringPerform the following steps to apply filter for String values:
- Select the columns with String value.Select Filter
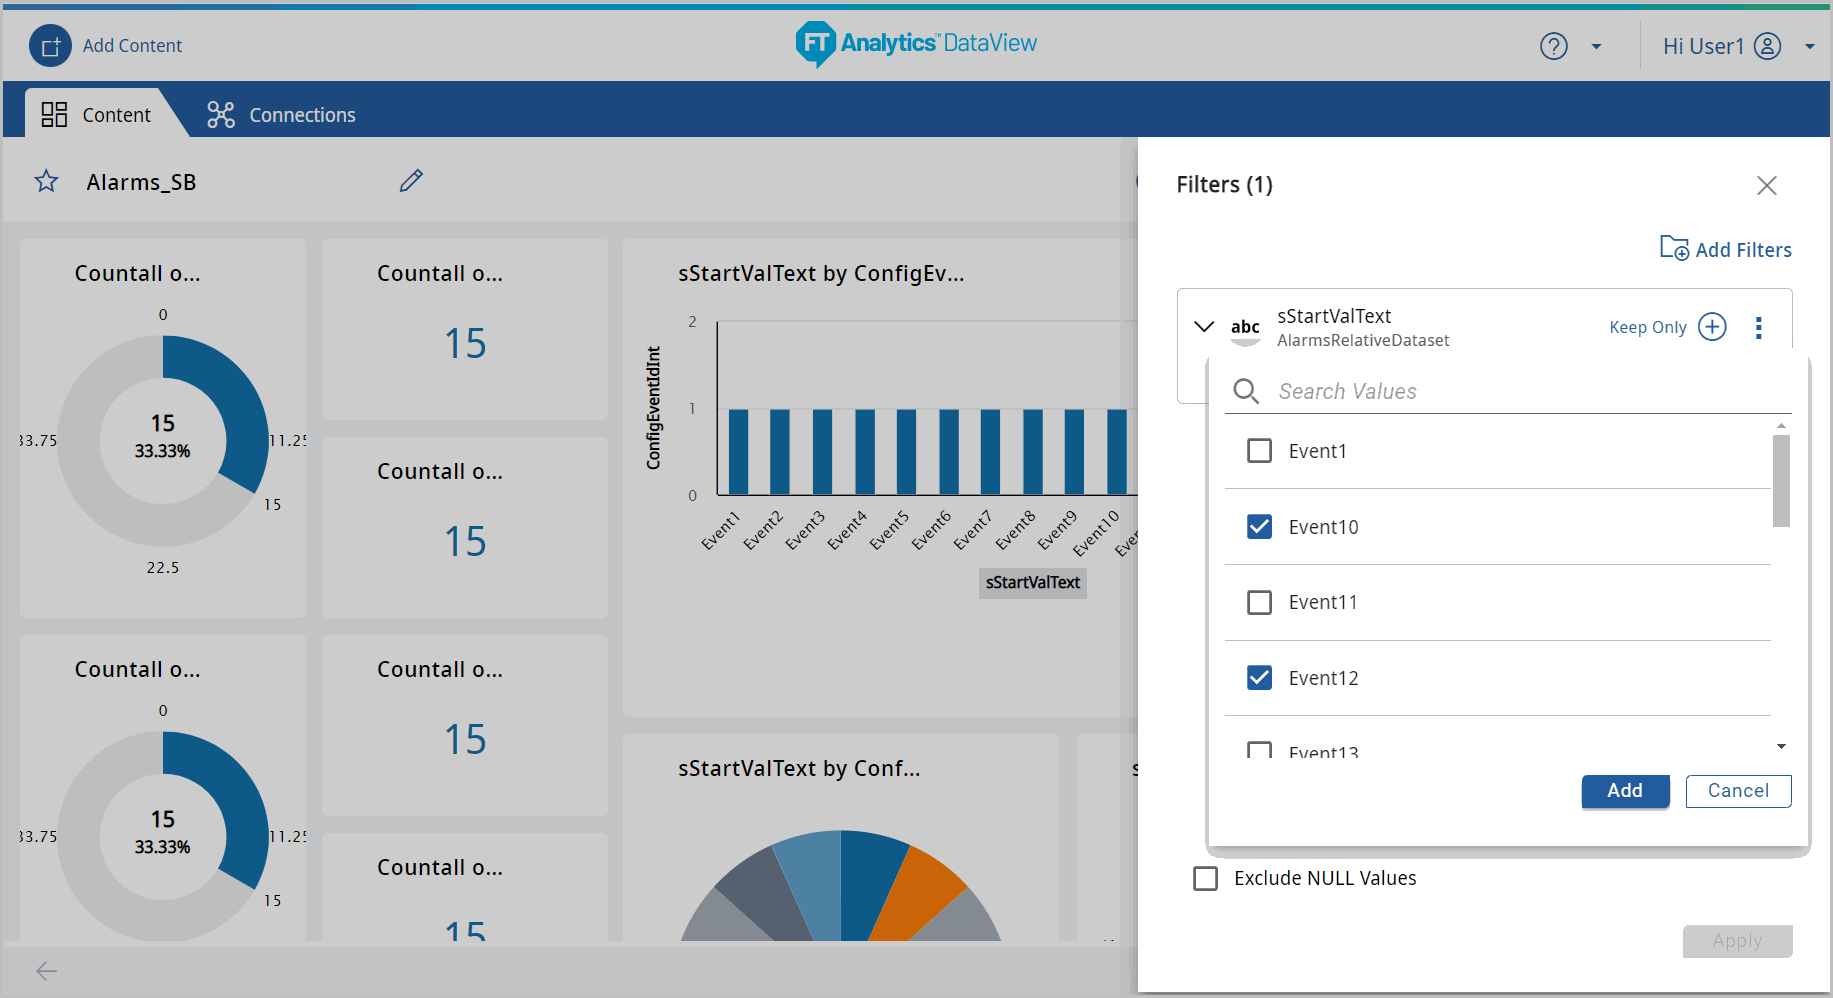
- Click the [
 ] icon and select the columns to apply filters.
 - Click [Add].Apply Filter
 NOTE:The [Apply] option is enabled only when the new columns are added, or existing columns modified in order to apply filter. Once the filter is applied, the [Apply] option is disabled.
 - Click [Apply].View Filters

- Click the [
 ] icon to close the Filters window.The Storyboard with applied Filters display.Storyboard Updated - Filter (String)
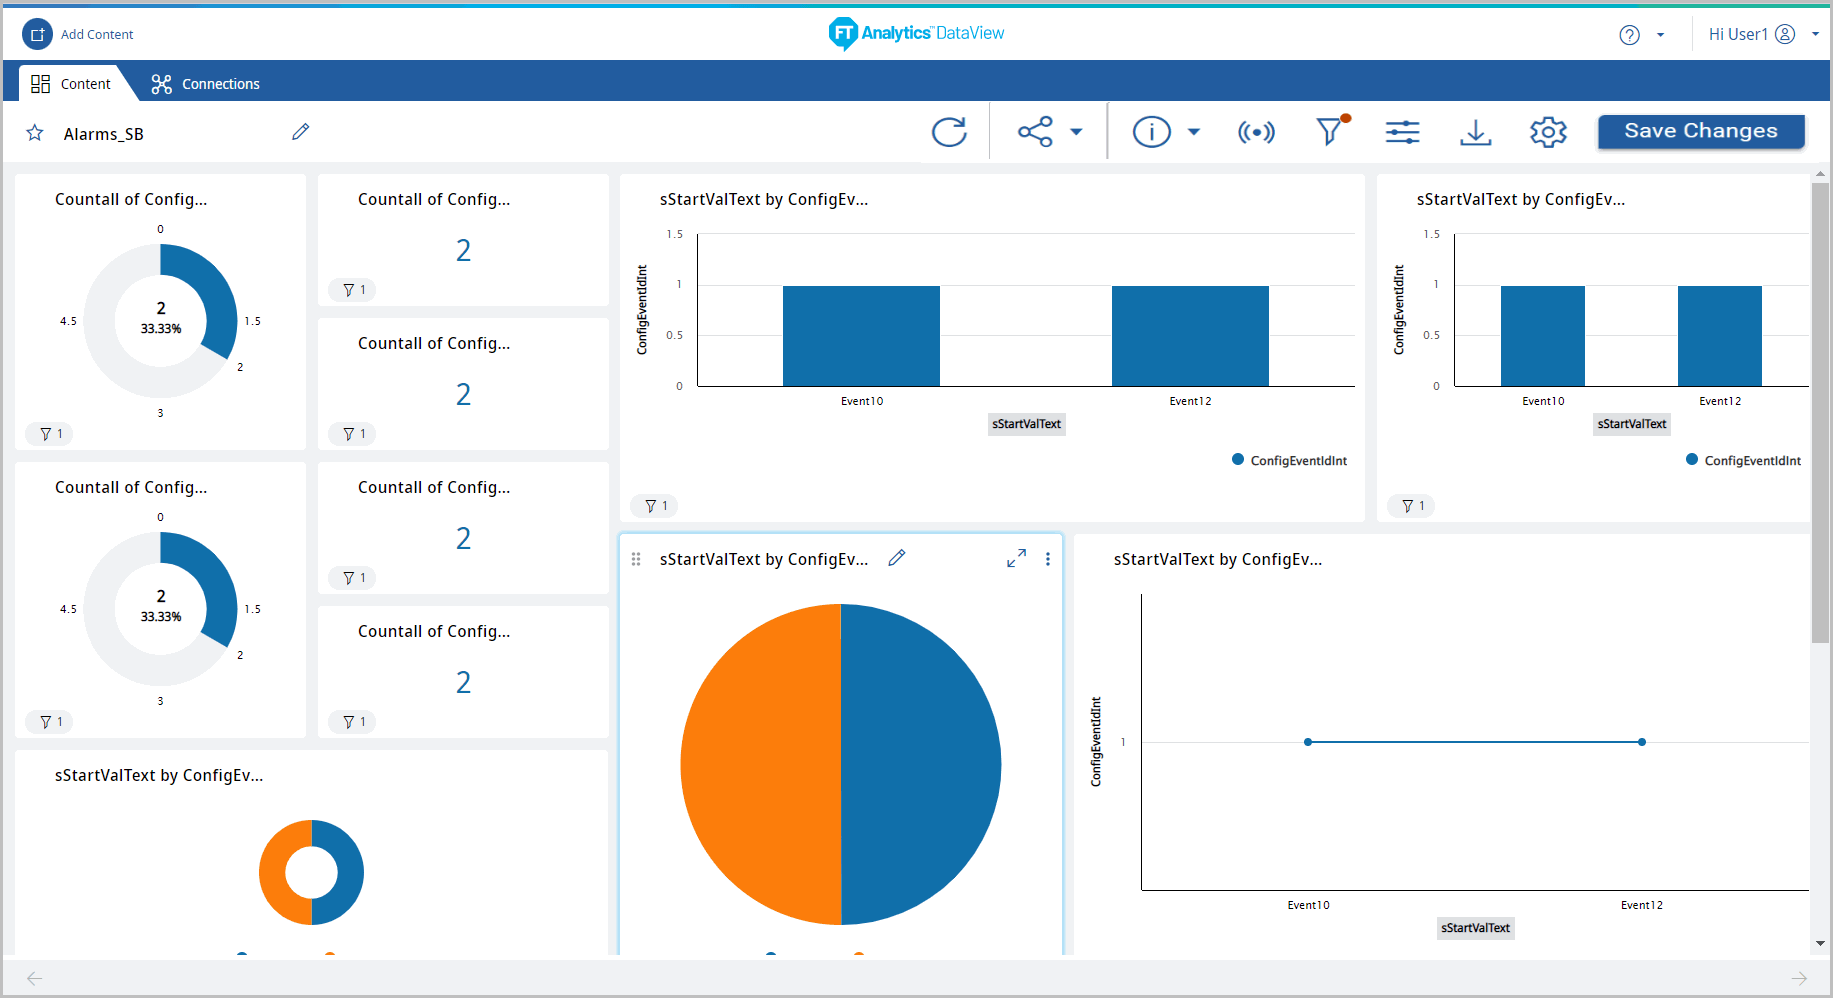
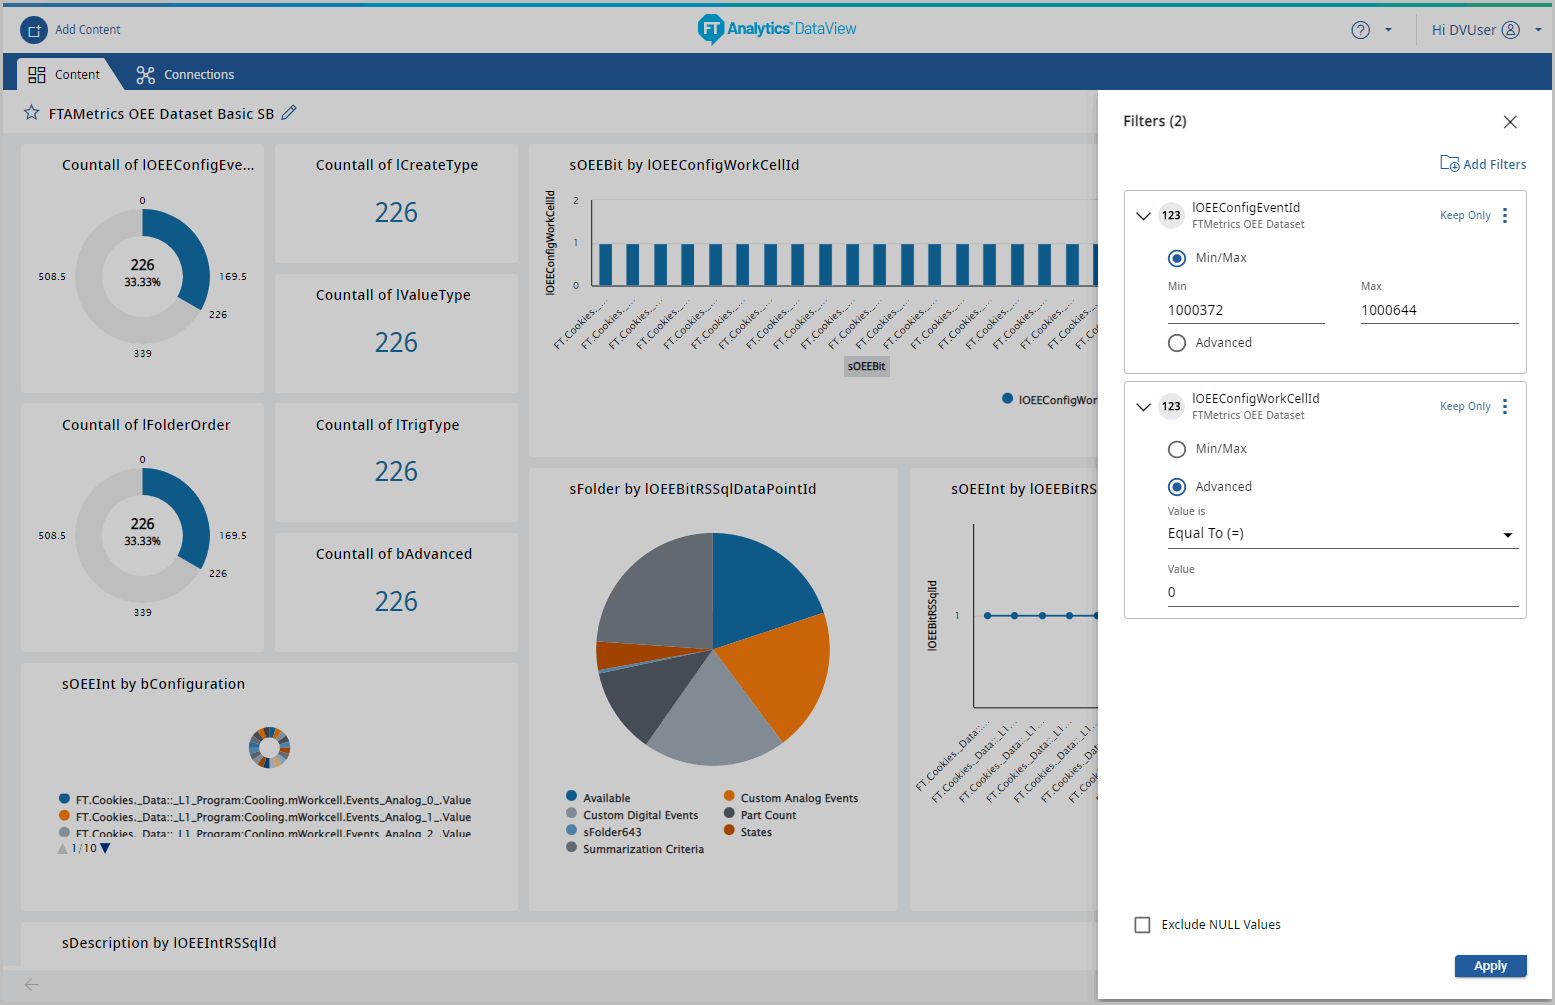
- NumericPerform the following steps to apply filter for Numeric values:
- Select the columns with Numeric value and click [Next].Select Filter

- Click the [] icon and select the columns to apply filters.
- Select the [Min/Max] or [Advanced] radio buttons to provide the filter values.NOTE:By default, the [Min/Max] option is selected.
- Provide the minimum value and maximum value.Configure Filter
- (OR)
- Select the [Advanced] radio button and select any one of the following equations from the drop-down list:
- ‘Equal To (=)’(OR)
- ‘Greater Than (or) Equal To (>=)’(OR)
- ‘Less Than (or) Equal To (<=)’Advanced Filter Settings
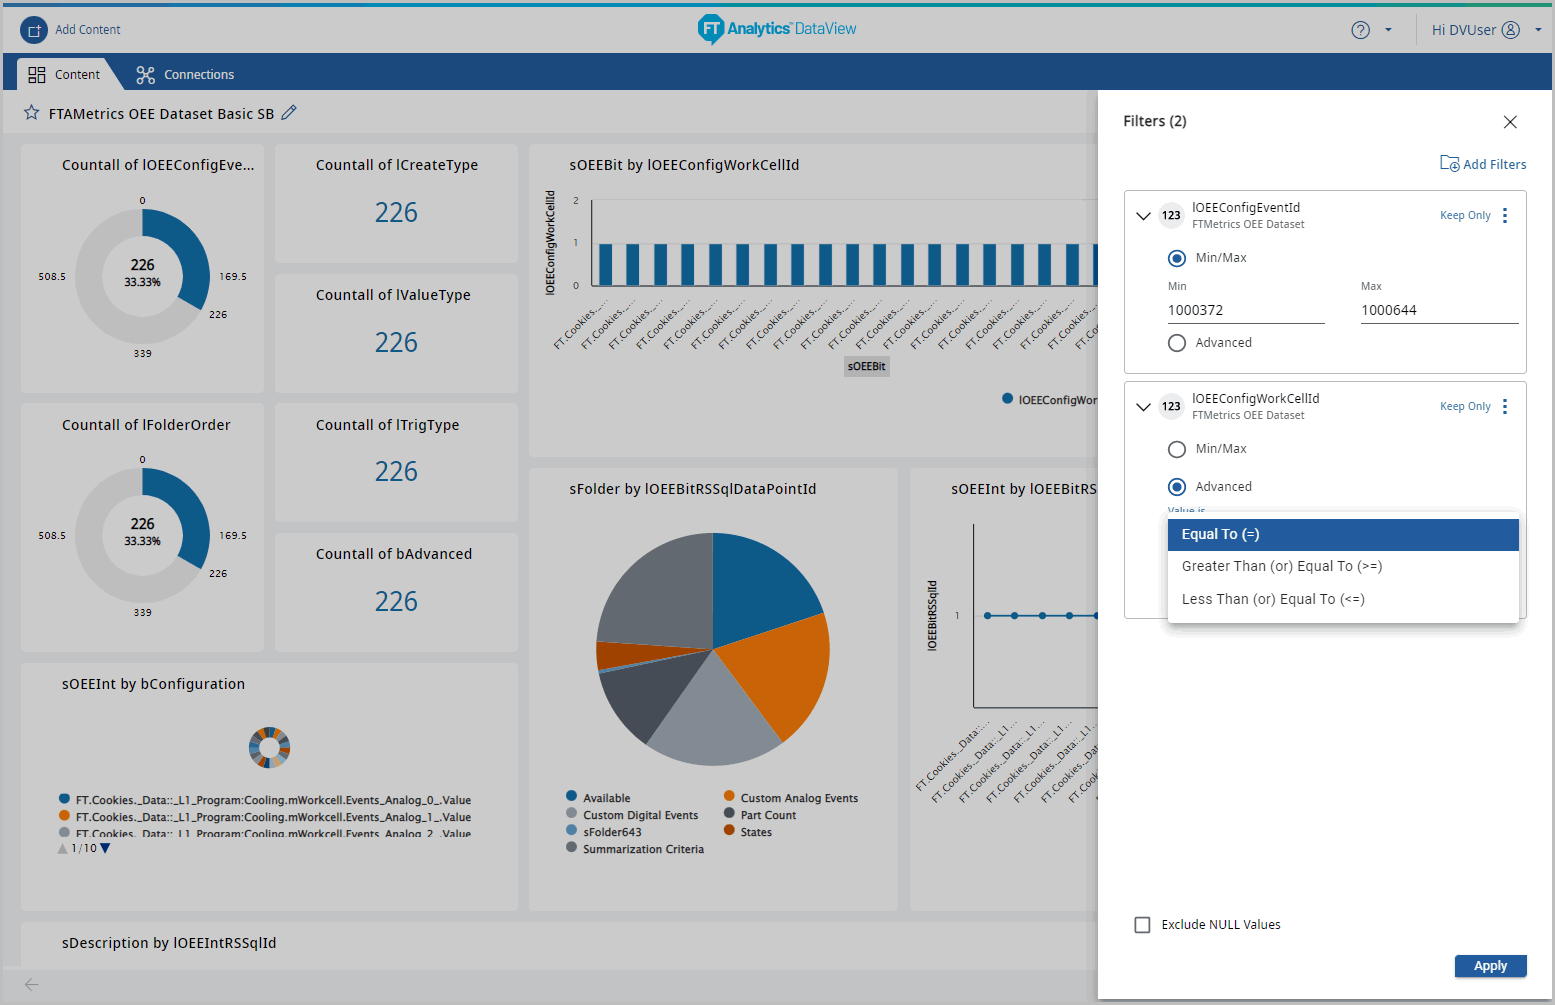
- Provide the value to apply filter, for example: 200
- Click [Apply].Apply Filter
 The Storyboard with applied Filters display.Storyboard Updated - Filters (Numeric)
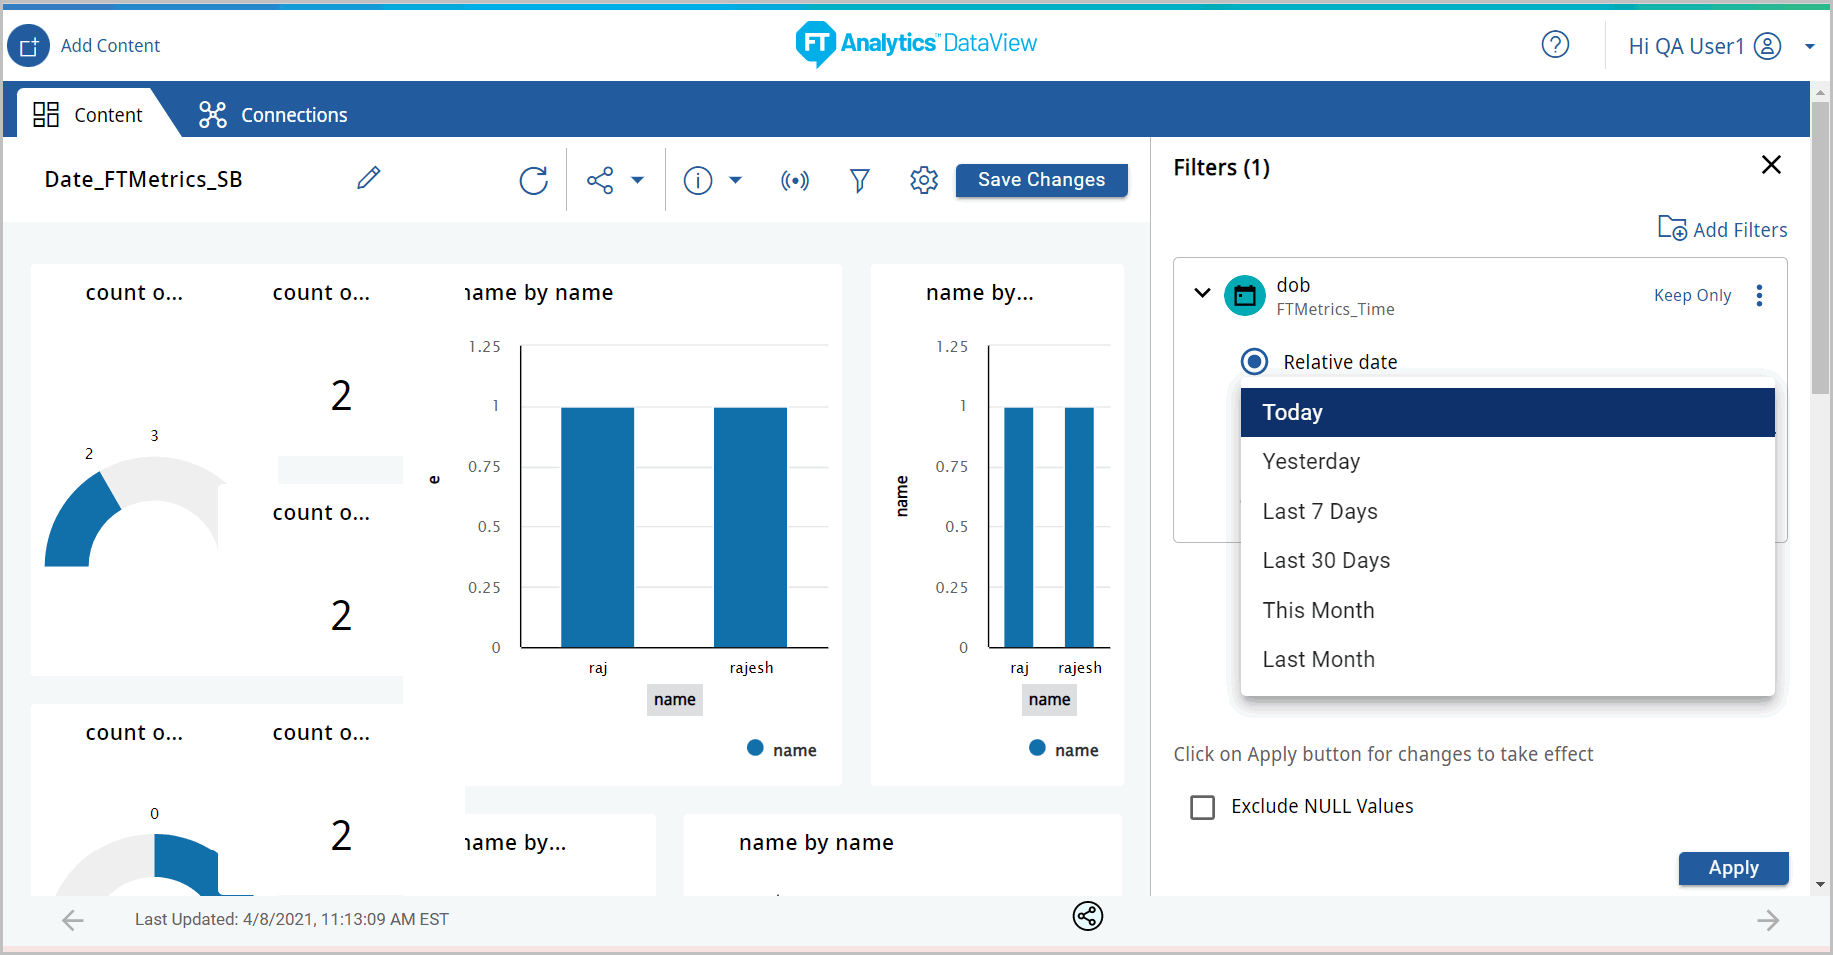
- DatePerform the following steps to apply filter for Date column:
- Select the columns with Date column and click [Next].Select Filter
- Click the [] icon and select the columns to apply filters.
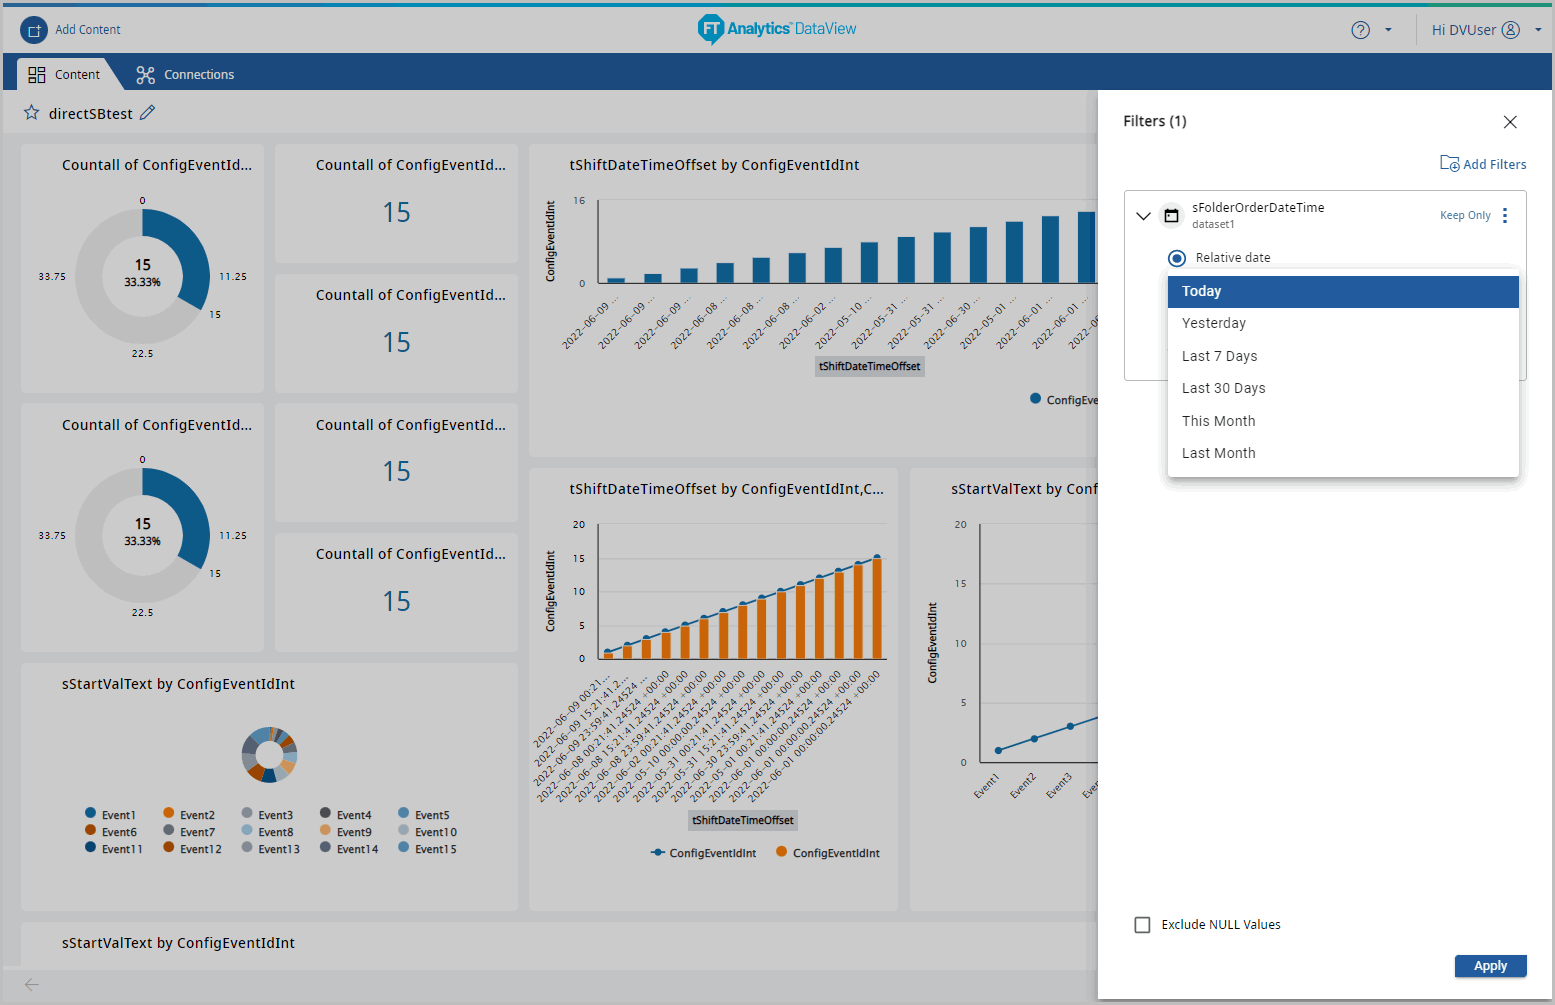
- Use [Relative date] or [Absolute] radio buttons to define the filter values.
- Select the any one of the Relative date option from the drop-down list as shown below and click [Apply].NOTE:By default, Today option is selected under Relative date.Configure Filter
 (OR)Select the [Absolute] radio button.NOTE:Date filters with absolute value enables the User to configure with all Timezones.Absolute Filter Settings
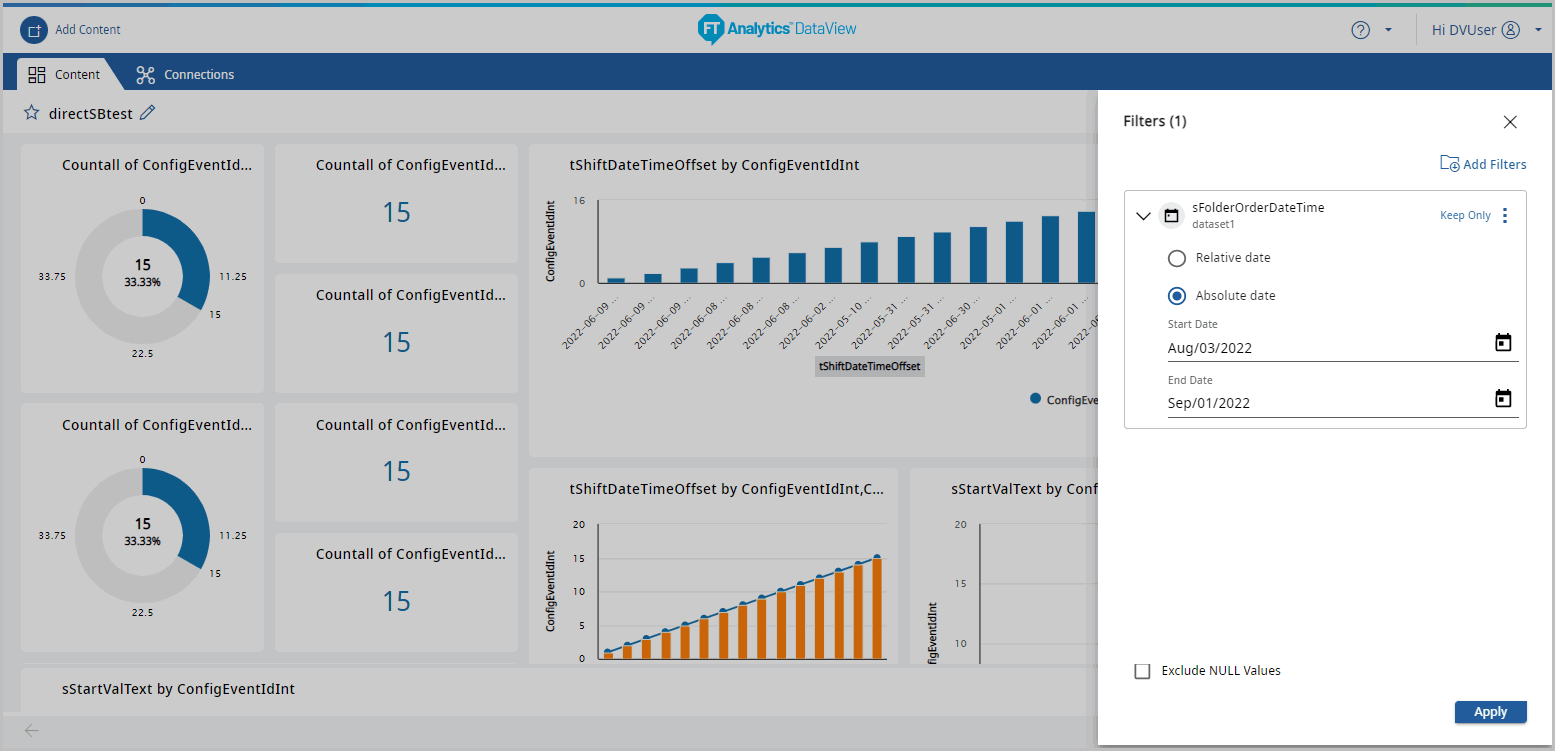
- Click in the Date field to select the Start Date and End Date from the calendar. User can select the Start Date and End date from the calendar (OR) type the date in Date field in Mmm/dd/yyyy format (e.g. Sep/14/2022).NOTE:The calendar date picker icon is disabled here while configuring the Filters with Absolute Date.
- Click [Apply].Apply Filter
 The Storyboard with applied Filters display.Storyboard Updated - Filters (Date)
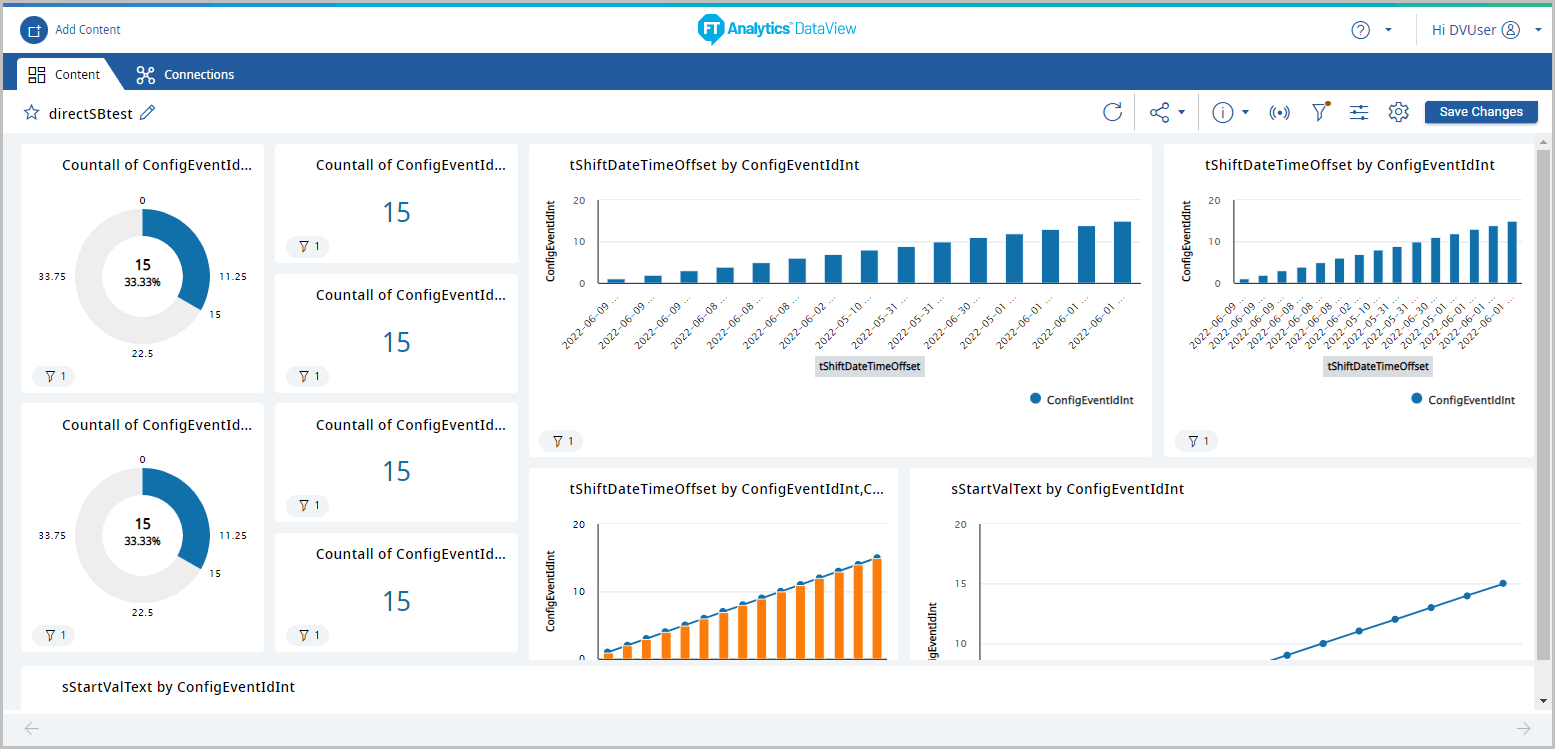
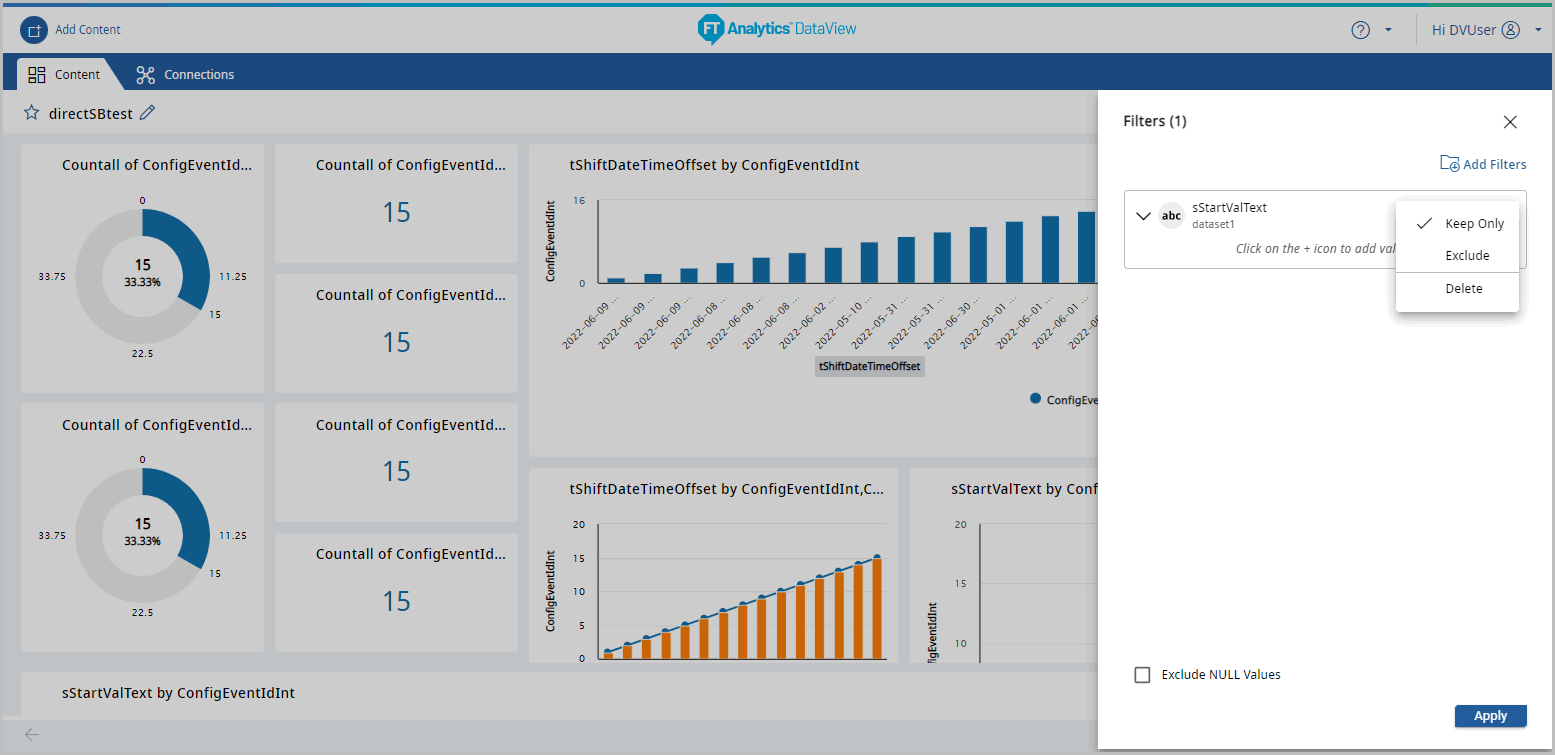
- User can select the following type of filters:
- Keep Only Filter
- Exclude Filter
- Keep Only Filter
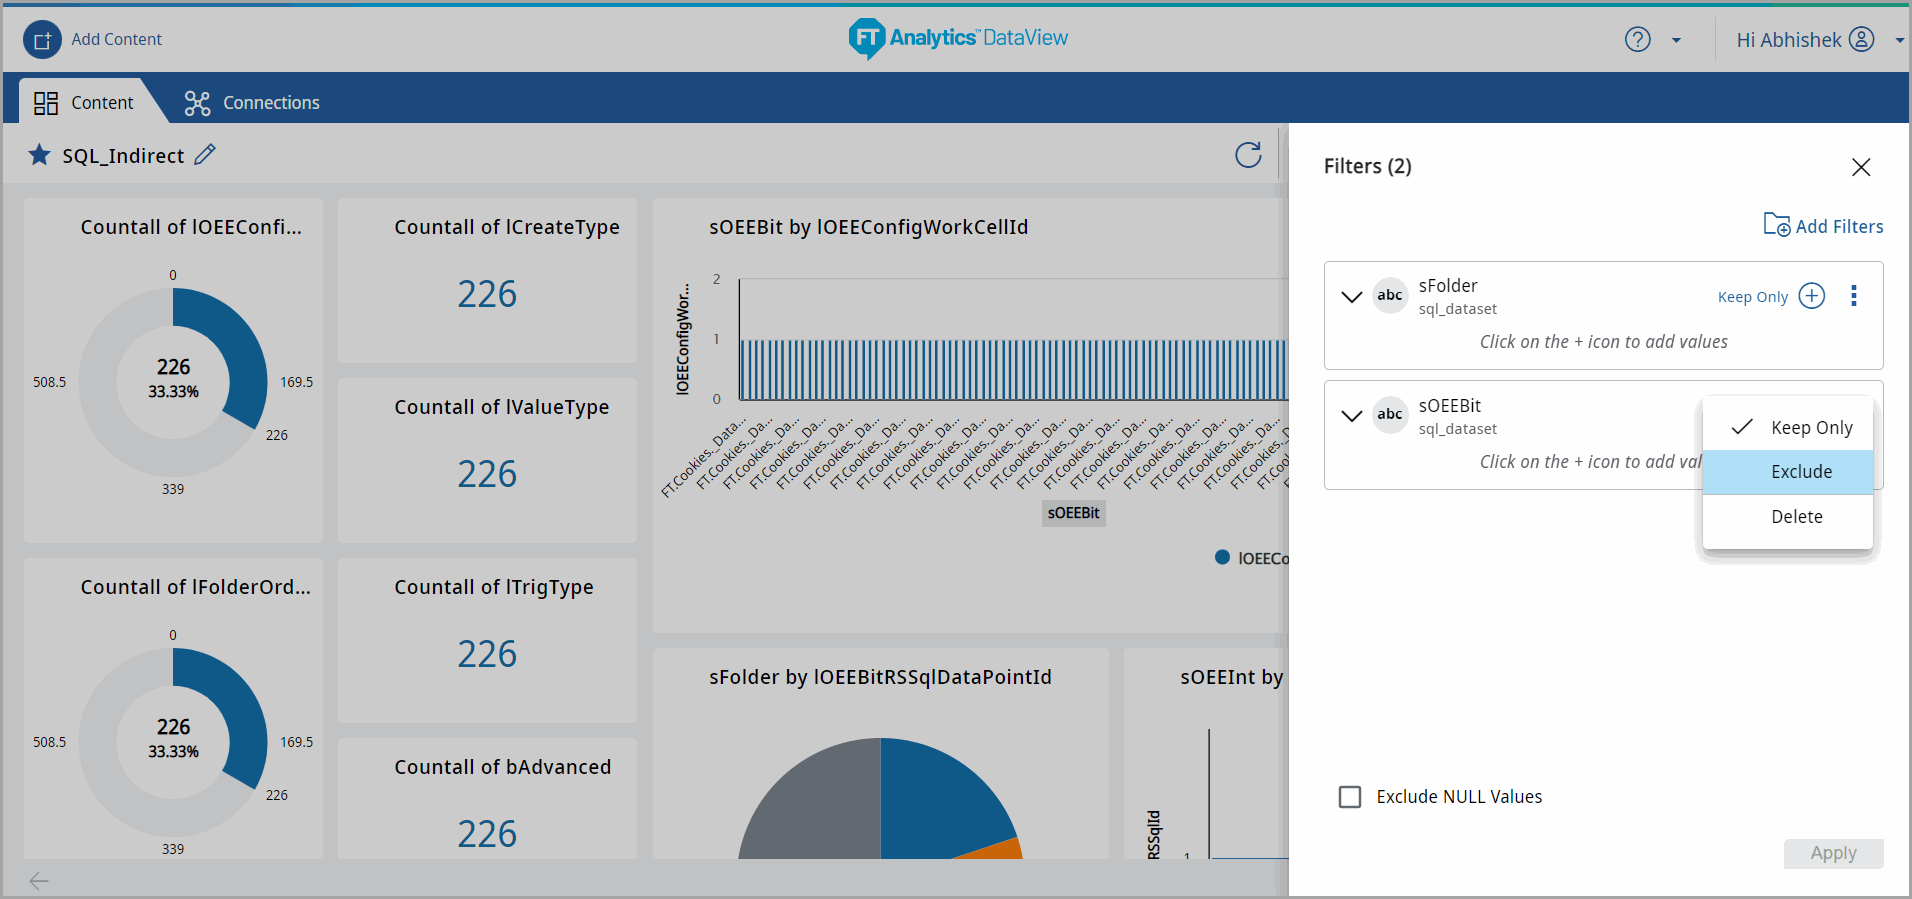
- Click the [
 ] icon and select [Keep Only] from the drop-down list to apply the Keep Only filter for the selected columns.
 - Click [Apply].Keep Only Filter
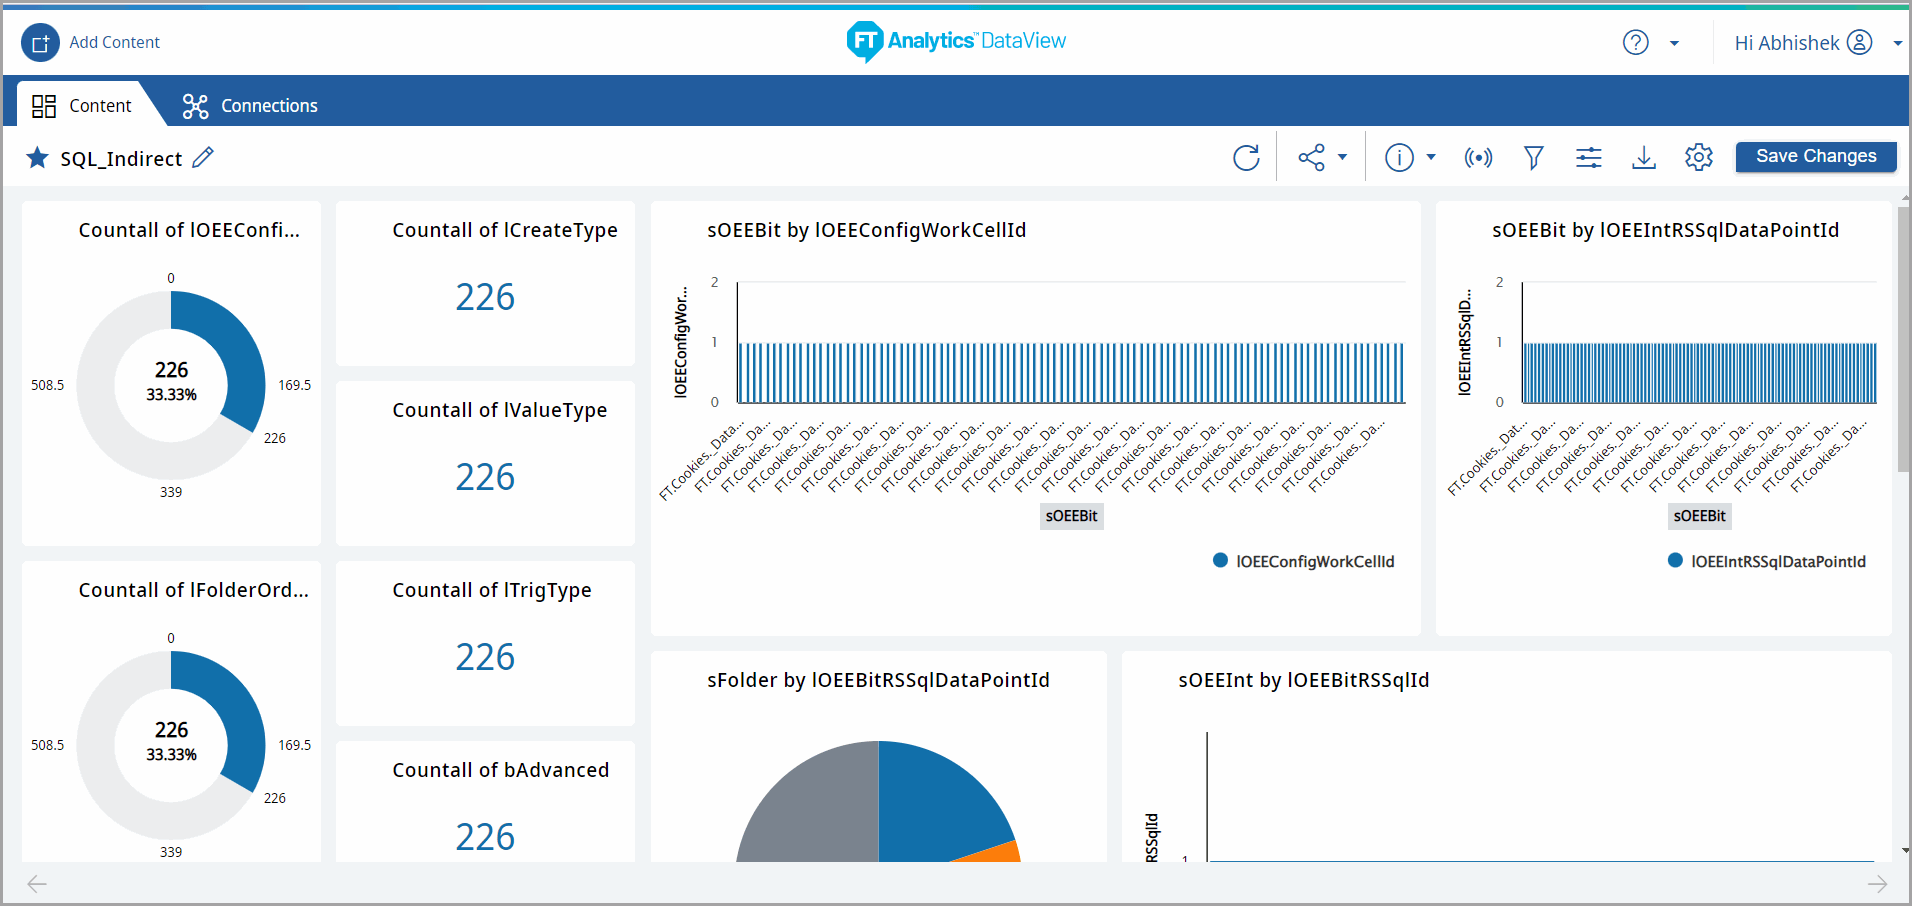
- Close the Filter window and click [Save Changes] to save the Storyboard with the applied filters.
- The Storyboard displays the tiles with the [
 ] icon that displays the number of applied filters.NOTE:User can apply multiple filters.Storyboard Updated - Keep Only Filter
- Exclude Filter
- Click the [] icon and select [Exclude] from the list to apply the exclude filter for the selected columns.NOTE:Exclude Filter option is not available for Numeric and Date fields.
- Click [Apply].Exclude Filter
- Close the Filter window and click [Save Changes] to save the Storyboard with the applied filters.
- The Storyboard displays the tiles with the [] icon that shows the number of applied filters.NOTE:User can apply multiple filters.Storyboard Updated - Exclude Filter
Provide Feedback