Create CSV Dataset
Perform the following steps to create a CSV Dataset:
- Navigate to the Connections tab and select the folder where the connection is added.
- Click the [
 ] icon and click [Add Dataset]. Select Connector
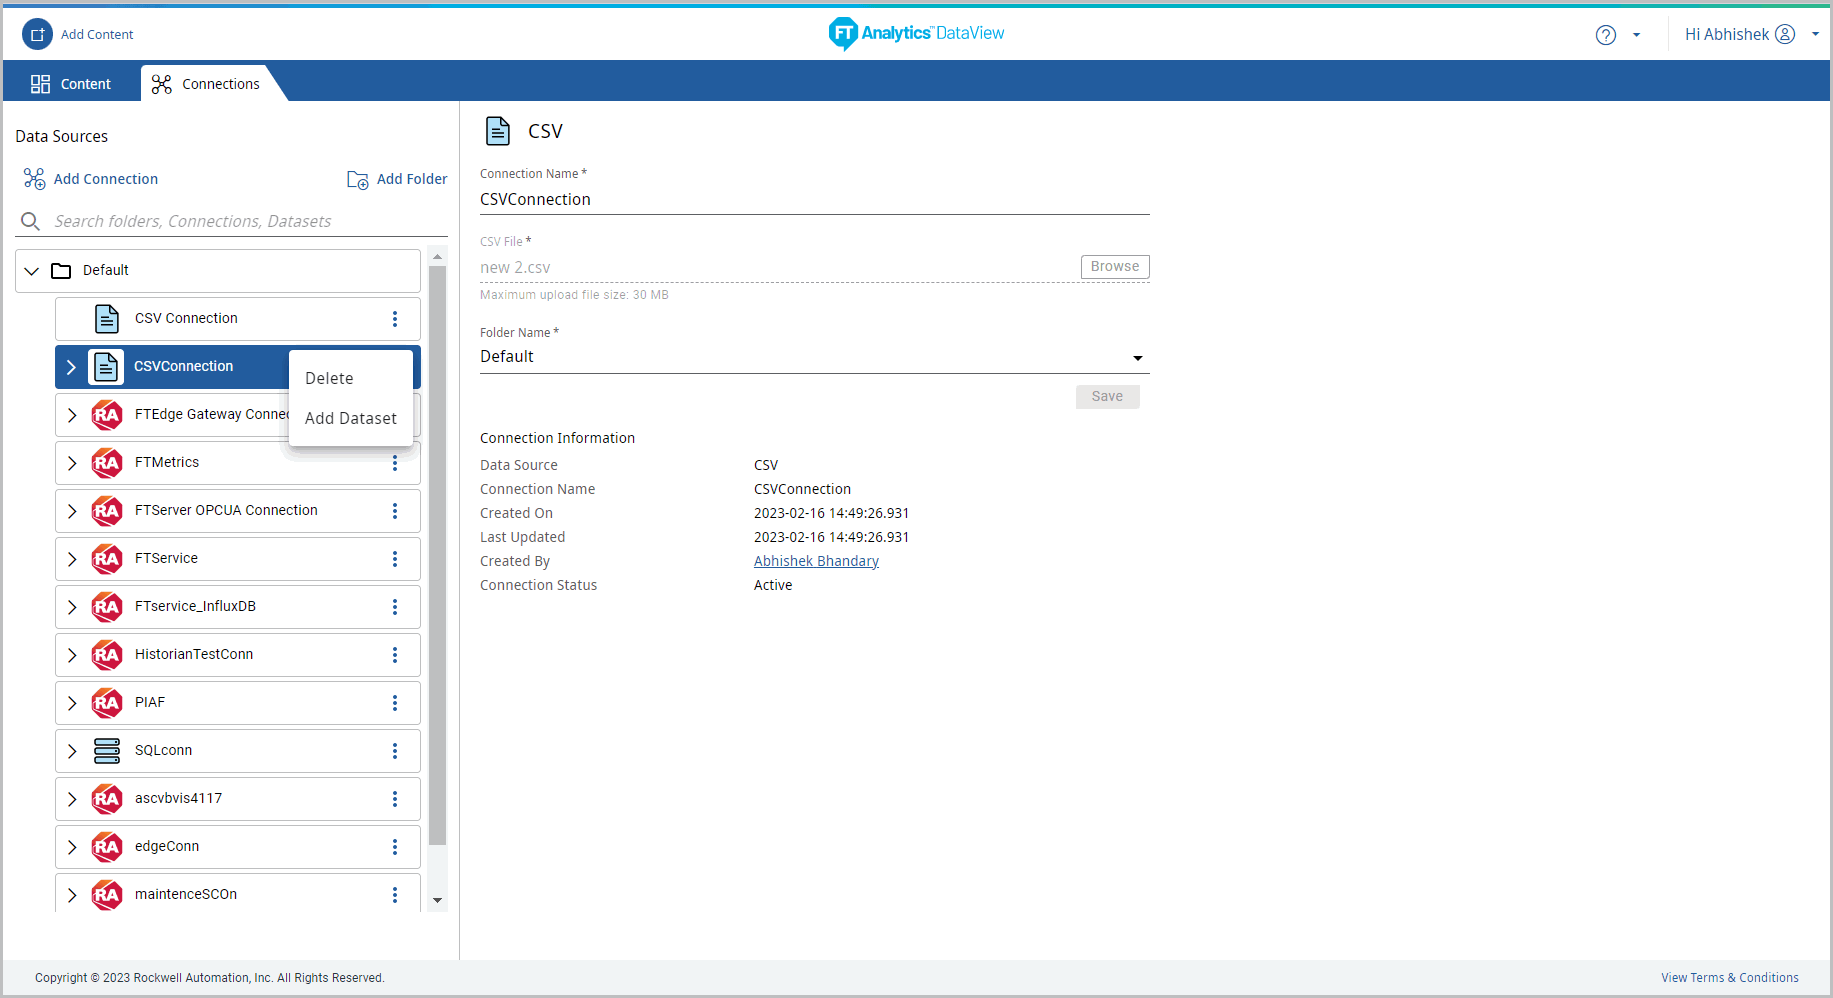
- The Add Dataset page displays. Provide the following details:
- Dataset Name: Provide a unique Dataset name.NOTE:If the Dataset with the provided name already exists, an error message displays and also maintains XSS validation.
- Connection Name: Displays the selected Connection Name.
- Direct Query: The Direct Query option is disabled for CSV
- Number of Rows: By default, the table displays 1000 rows. User can select the number of rows to display from the drop-down list.CSV File

- Hover the mouse over the column header and click the [
 ] icon to sort the data or arrange the column size or to apply aggregation. NOTE:User needs to select the [Group by <column_name>] on numeric field to view the aggregation option.Sort Data
 IMPORTANT:If the table contains numeric data in format like 1, 2, 3, 10, 12, 13, 22, 23, 24, 99, 100 and user tries to apply the filter then the data displays in the following sequence: 1, 10, 100, 12, 13, 2, 22, 23, 24, 99.
 - Hover the mouse over the column header and click the [] icon and then click the [
 ] icon to apply filters.
 - Hover the mouse over the column header and click the [] icon and then click the [
 ] icon to select the number of columns to display.
 - Click [Next]. The Modify Entities page displays.
- Select the Source Time Zone from the drop-down list.
- Select the desired columns to generate the Dataset.
- Click the [
 ] checkbox to clear all the visible columns. Modify Entities
- Select the desired date format from the drop-down list.Modify Entities - Select Date Format

- Click [Next]. The Preview Dataset page displays 1000 rows by default. User can select the number of rows to display from the drop-down list.Preview Dataset

- Click [Next]. The Configure Dataset page displays.
- Provide the following details:
- Default Display Count: From the drop-down list select the default number of records to display for Charts using this Dataset. By default, 100 is selected.
- Advanced Settings:
- Shards And Replicas: Provide the required number of shards and replicas.NOTE:The default number of shards are one and the replicas are zero. The number of shards and replicas are editable only before saving the Storyboard. Configure DatasetConfigure Dataset

- Click [Finish] the “Dataset Saved Successfully” message displays and “Create a Content for this Dataset.” dialog displays.NOTE:The Dataset and the folders created are arranged in ASCII order.Configure Dataset

- If user does not want to continue with creating the Content, click [Not Now]. This saves the dataset.(OR)Click [Sure] to continue creating the Content. The Add Content page displays.
- Dataset information: Click the new Dataset, navigate through the tabs to view respective information:
- Details tab: Displays the Dataset created information and Dataset Sync information.
- The following details are displayed for the dataset created with Indirect query:
- Dataset Information: Dataset Name, Data Source, Connection Name, Query Type, Source Time Zone, Created By, Created On, Updated By, Last Updated, Replicas, and Shards.
- Dataset Sync Information: CSV connection does not support Data Sync Configuration and Data Sync Schedule options so no information is displayed.
Dataset Information
- Custom Fields: Displays the created Custom fields for the dataset created with indirect Query only. Click [Add Custom Field] to create a new custom field.Custom Field

- The Custom Fields dialog displays. Provide the following details:
- Provide the Custom Field name.
- Define the formula in the Add Formula editor box. User can create the Custom Field in dataset with Numeric or String or Date type data.NOTE:User can paste the formula in the Add Formula Editor box.
- Click [Validate] to validate the formula. The “Formula Validated Successfully” message displays.
- Click [Add].Add Custom Field

- Preview Dataset: Displays the Dataset preview for 1000 rows by default. User can select the number of rows to display from the drop-down list. Click the column header to apply filter to the columns or to select the columns to display on the Preview Dataset panel.NOTE:If Custom Field is created the column is displayed on the Preview Dataset page.Preview Dataset

Provide Feedback