
Notification Configuration
The user can configure notifications to the Site, Area, Work Center, and Work Unit.
The process for notification configuration is identical across all levels, except for the site level. The user can select the notification tab directly for all levels but for the Site level, the user needs to select the notification tab under configuration.
Perform the following steps to configure notification:
- On the left navigation menu, dropdown theSettingsmenu and clickConfiguration.
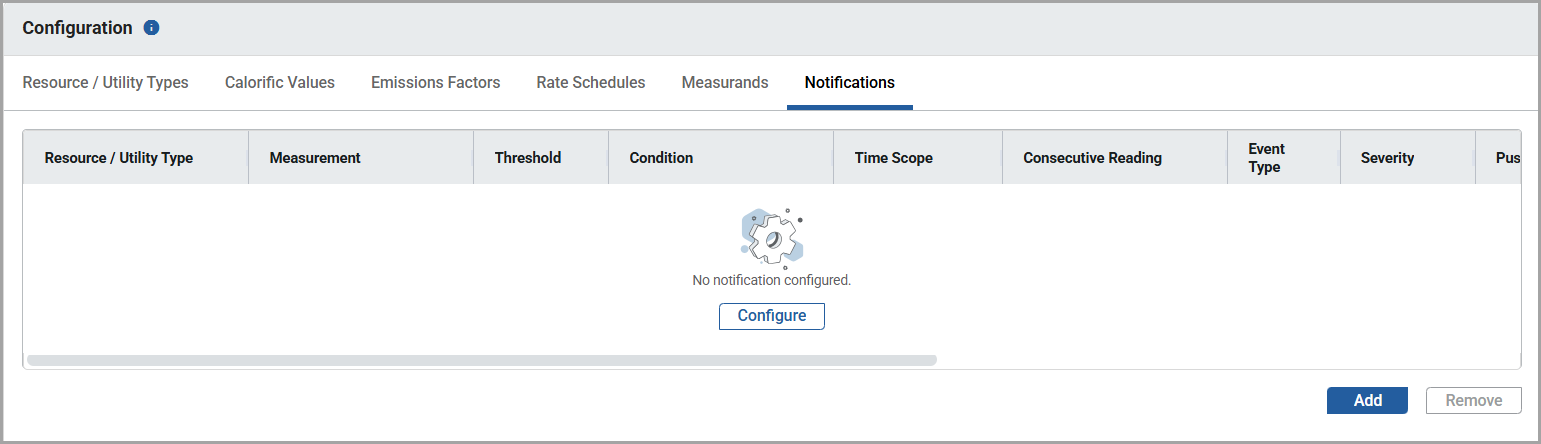
- Select a component (Site/Area/Work Center/Work Unit) from the hierarchy list, and select theNotificationtab.NOTE:If the user is selecting the Site from the hierarchy list, select theConfigurationtab first and then select theNotificationstab.
- ClickConfigure.Configure Notifications
- In theNotification Configurationdialog box, set these parameters:
- Measurement: Select the required Measurement from the dropdown list.
- Resource/Utility Type: Select the required Resource/Utility type from the dropdown list.
- Threshold: Provide a threshold value.
- Condition: Select the less than or greater than condition from the dropdown list.
- Time Scope: Select the required Time scope from the dropdown list.
- Consecutive Reading: Choose the desired number of consecutive readings to be considered for notification alerts from the provided dropdown list.NOTE:Consecutive reading is the number of occurrences that need to be observed to produce alerts.
- Event Type: Select the Information or Warning or Alert event type from the dropdown list.
- Severity: Provide the severity value (0 to 1000).
- Push Notification: Select the required push notification from the dropdown list. There are two types of notifications, such asDashboardandDashboard and Email. By default, Dashboard is selected.NOTE:TheNotification tois visible only if you select Dashboard and Email option in the Push Notification dropdown list.Email Notification

- Description: Provide a description for the notification.
- Notification To: Choose recipients for the notification from the dropdown list.NOTE:It is mandatory to select a minimum of one recipient in the Notification to dropdown list.
Add Notification Configuration
- ClickAdd.The configured notification is added to the notification table, and the “Configured successfully” message is displayed.By default, the configured notification is in anEnabledcondition, and to disable it, click the toggle button .
All the fields configured in the notification configuration are visible in table format.
Perform the following steps to remove a recipients directly from the notification list:
- Under theNotification tocolumn, select the person to remove as a recipient.
- PressDeletefrom the keyboard.The “Removed successfully” message is displayed.NOTE:The user cannot remove the last person from the notification list, and it shows the following message:Remove Person from Notification Message

Perform the following steps to edit the configured notification:
- Click the [
 ] icon in the respective notifications and edit the fields.
 - ClickSave.The “Updated successfully” message is displayed.
To remove notifications from a site, perform the following steps:
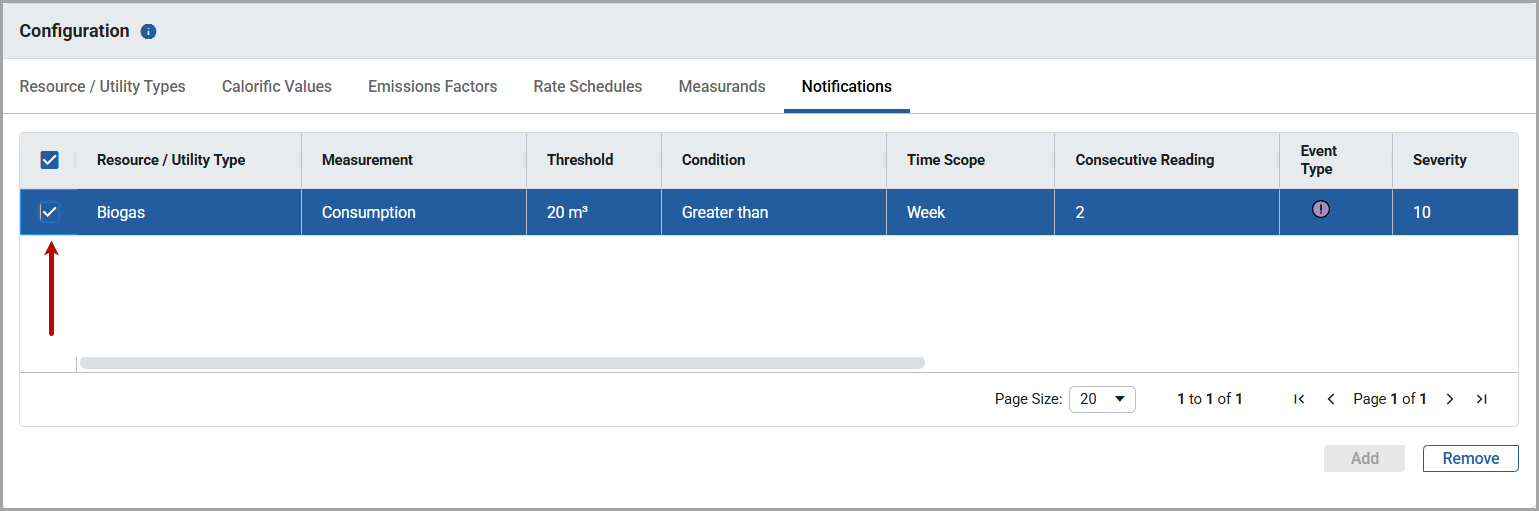
- Select the required notification check box in theNotificationstable.
- ClickRemove.Remove Notification
- In theRemove notificationdialog box, clickRemove.Remove Notification
 The “Deleted successfully” message is displayed.
Provide Feedback