
Register an FactoryTalk Historian (OSI PI) Extractor
Perform the following steps to register an
FactoryTalk
Historian (OSI PI) extractor:- On the Management Console, select theExtractor Infotab.TheExtractor Listingis displayed.Extractor Info tab
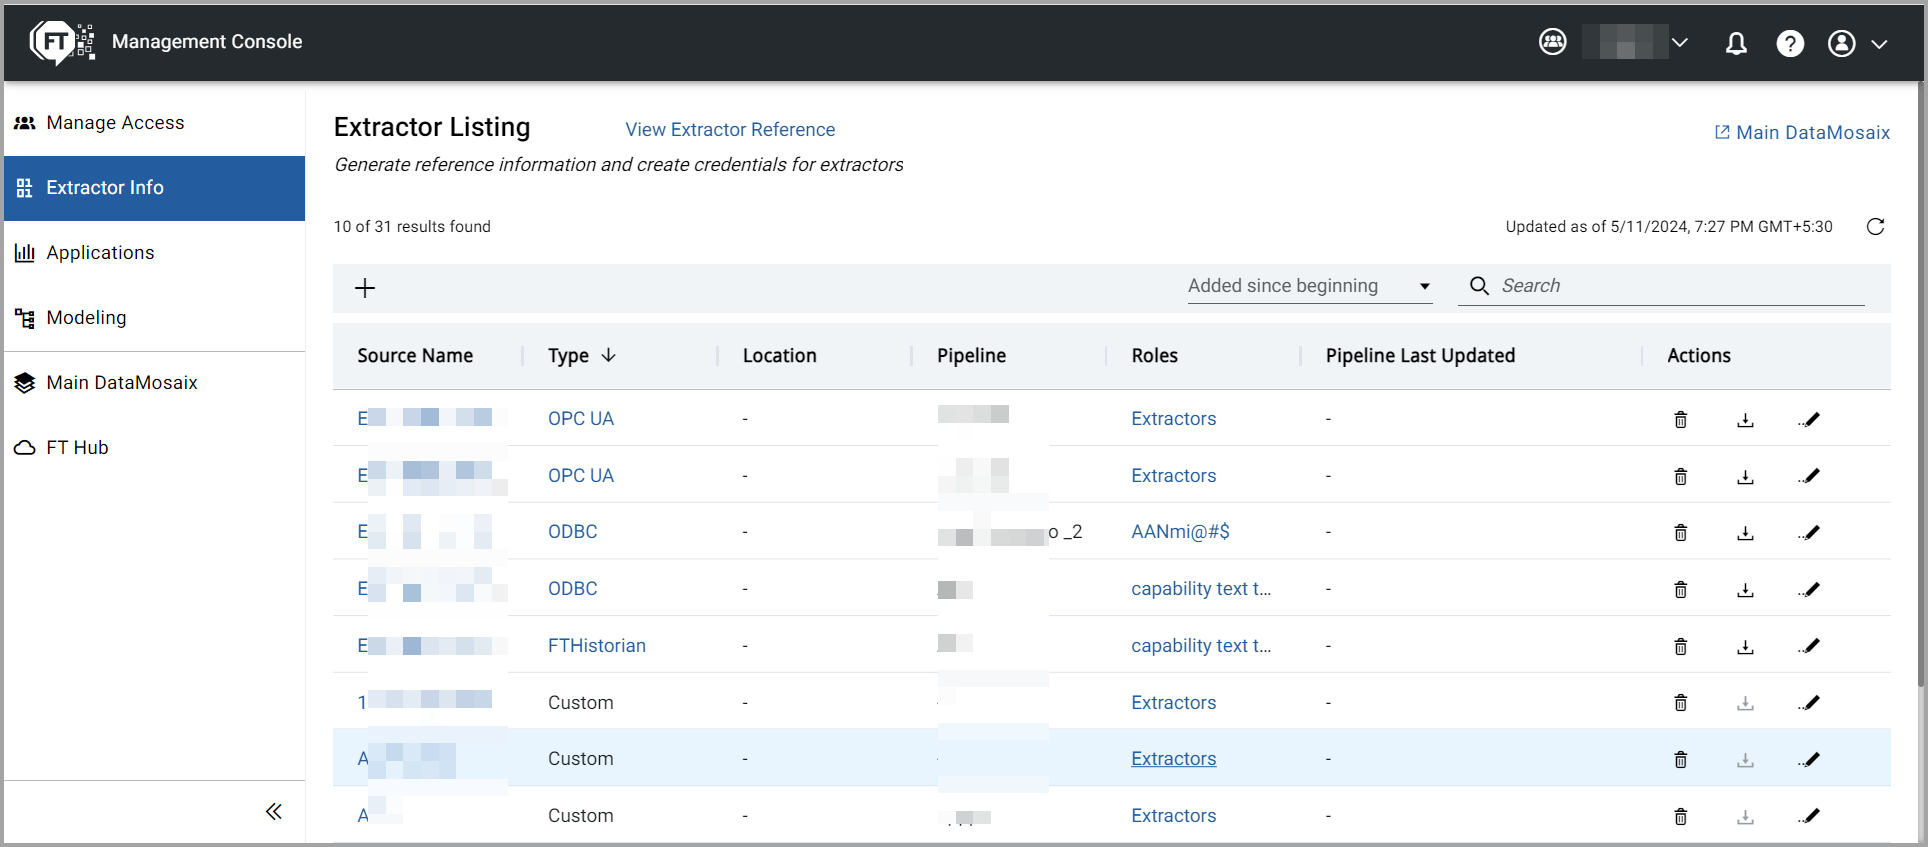
- Click the Add [+] icon.TheExtractor Info Detailpage is displayed.Extractor Info Detail Page
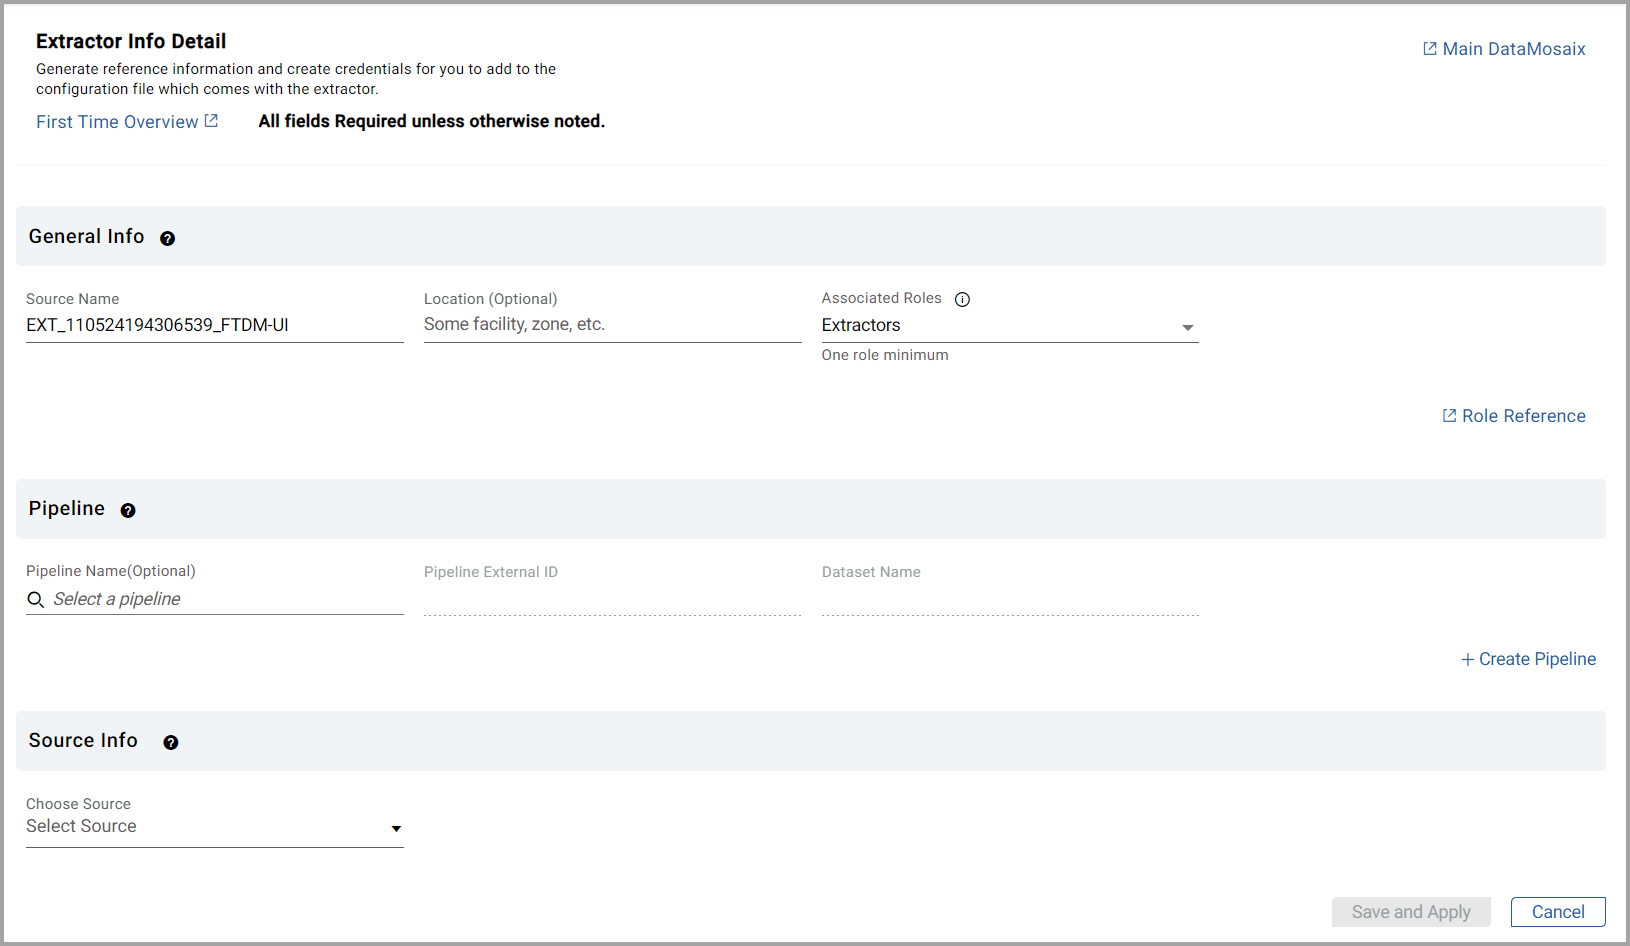
- Provide a unique name for your extractor. TheSource Nameworks as the identifier for your extractor. You can search for an extractor with the source name. By default,FactoryTalk DataMosaix SaaSgenerates a source name.Source Name example: EXT_1406230728_createproject_v1.Here, EXT stands for extractor, 140623 is the date in ddmmyy format, 0728 is the timestamp in hhmm format, and createproject_v1 is the project in which you are currently working. You can use the default source name or create your own.
- Provide the location details for which you are creating the extractor. This information can help you to identify an extractor when you have many extractors for different plants/sites/locations.
- From theAssociated Rolesdrop-down list, select at least one role. You can refer to various roles and capabilities by clickingRole Reference.You can select multiple roles from the Associated Roles drop-down list. In the search bar, you can search for any specific role from the list. If you want to apply all the roles to the application, select theSelect Allcheckbox.NOTE:The Associated Roles drop-down is visible and available only for Project Admin users or users within the Organization with a Project Admin Role assigned.Next, you can select a pipeline or create a new pipeline. When you create a new pipeline, you have the option of selecting from an existing dataset or creating a new dataset.
- From the pipeline drop-down, select a pipeline. On selecting a pipeline, the Pipeline External ID and Dataset Name fields are populated.To create a new pipeline, select the+ Create Pipelineoption.TheCreate Pipelinedialog box is displayed.
- Provide the following Pipeline information to create a new pipeline:
- Pipeline Name
- Pipeline External ID
- Pipeline Description
- When you create a pipeline, you can either select an existing dataset or create a new dataset. Select a Dataset from the drop-down if you want to use an existing Dataset.If you choose to create a new Dataset, the Dataset related fields are displayed. Provide the following dataset information:
- Dataset Name
- Dataset Description
- ClickAdd. Based on the options you choose (select or create), the Pipeline and Dataset information is either generated or created and displayed on theExtractor Info Detailpage.
- Select the source type of extractor asFT HISTORIAN (OSI PI).The fields relevant to theFactoryTalkHistorian (OSI PI) extractor appear on the screen for you to fill in details.Extractor Info Detail - FactoryTalk Historian (OSI PI) Extractor
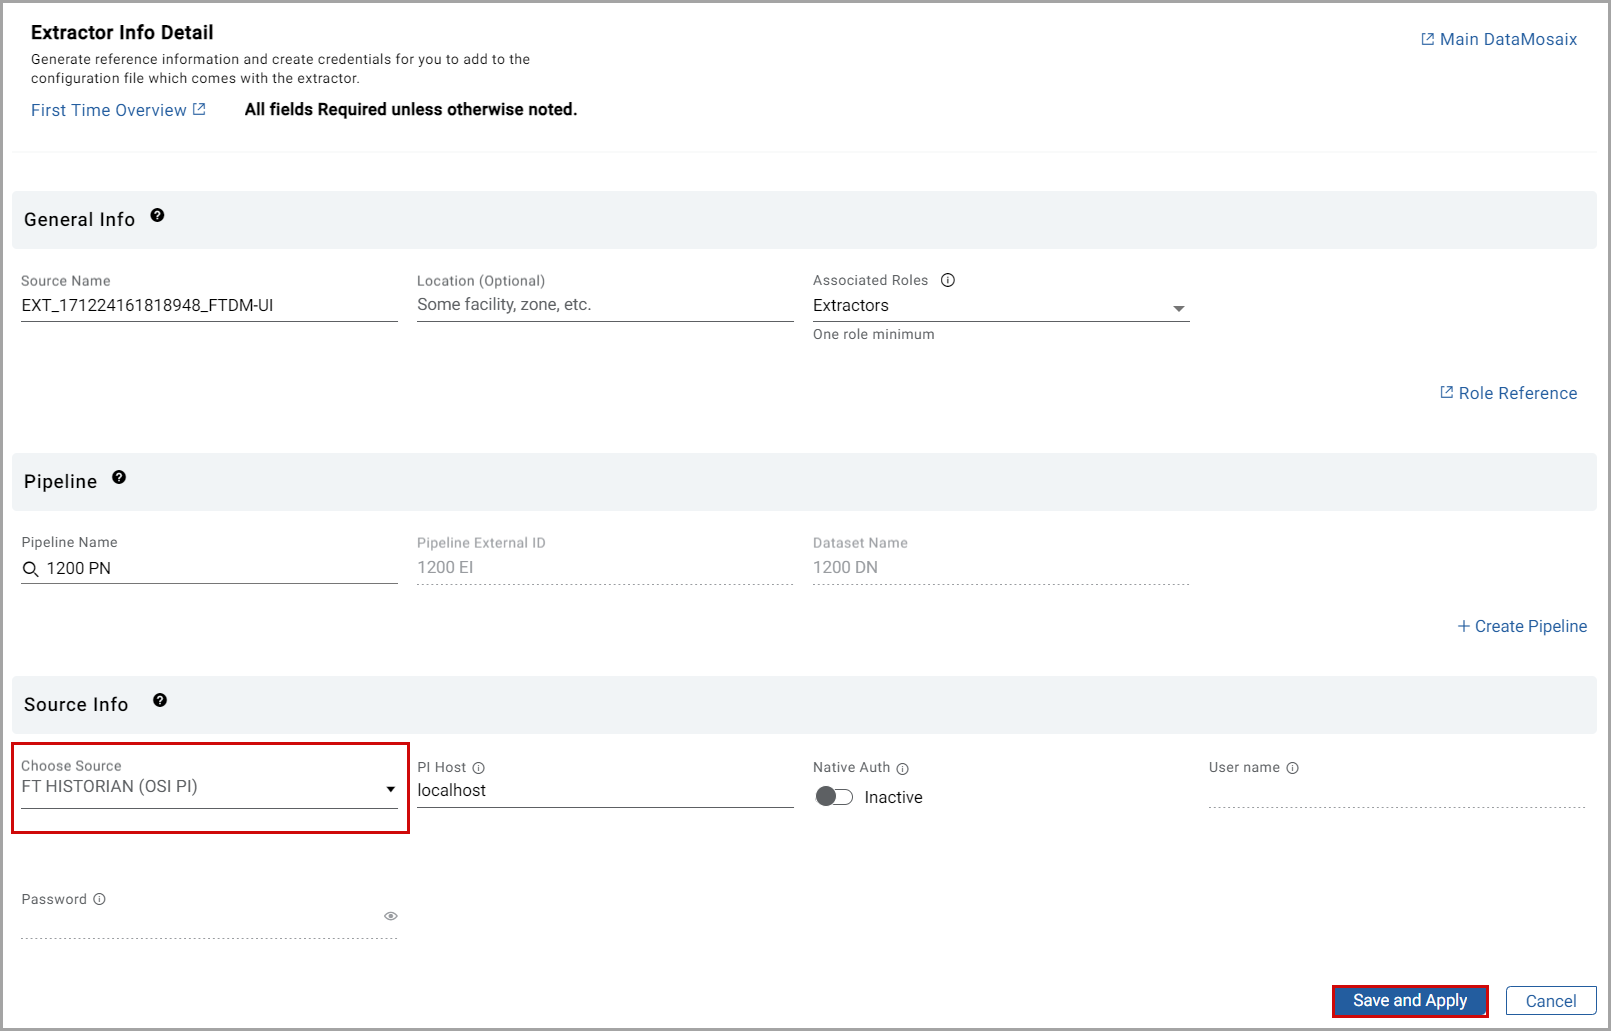
- In the PI Host, provide the hostname or IP address of the OSI PI server that you want to connect to.You can leave the OSI PI server username and password fields empty.
- In the Username and Password fields, provide the credentials to connect to the PI Host if you need it. If the PI host server is on local host, you can leave it blank.NOTE:TheSave and Applybutton is enabled only after you provide all the required details.
- ClickSave and Apply.TheGenerated info Saveddialog box is displayed, and it contains the configuration information. You can view the configuration file details by clickingView generated configuration file. Alternatively, you can also copy and save the information for future use by clickingCopy All. You can also download the config.yml file that includes all the configuration information that you can use to run the extractor.Extractor Configuration File Download
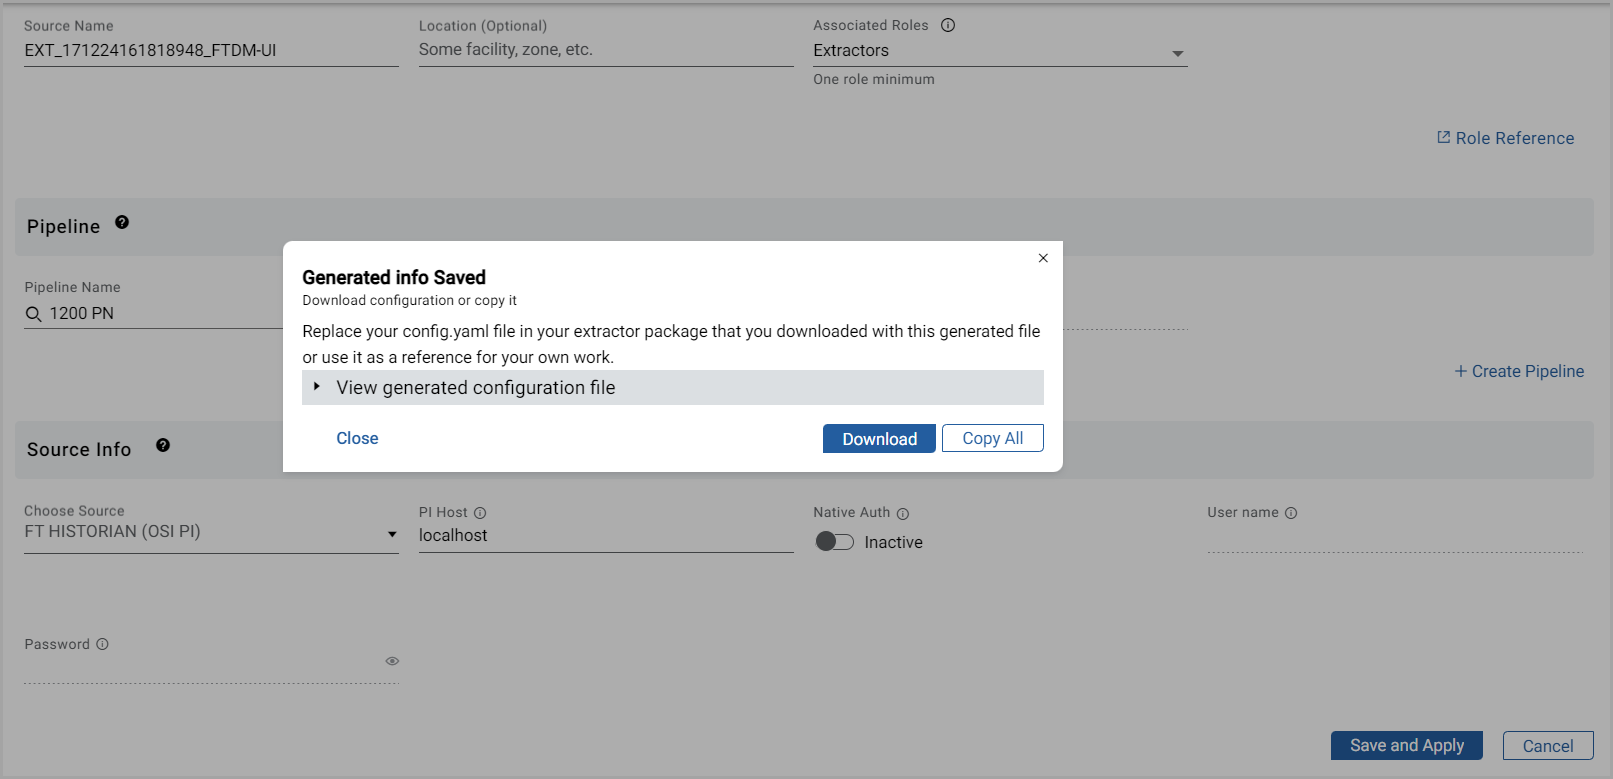
- ClickDownload.The config.yml file is downloaded in the Downloads folder of your local machine.
- ClickCloseto close the dialog box.The new extractor is displayed under Extractor Listing.
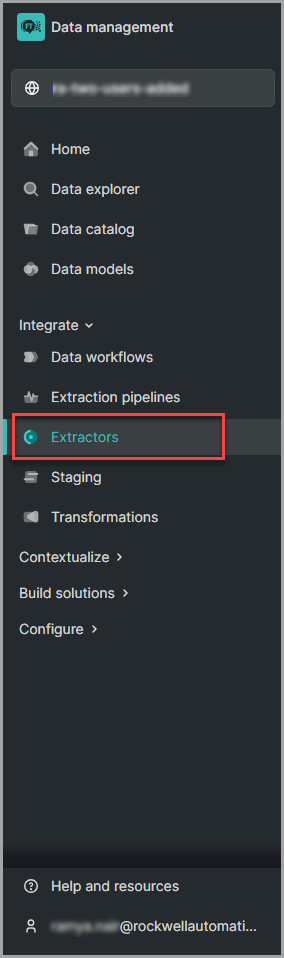
- Navigate to your project in CDF by clickingMain DataMosaixand selectIntegrate>Extractors.Cognite Data Fusion - Extractors
- On the Extract data screen, locate theRockwell FactoryTalk Historian SEextractor and select it.Cognite PI Extractor
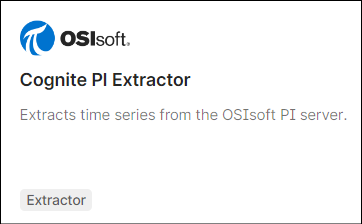
- Download the PI extractor msi file from CDF.
- Copy the downloaded config.yml file to the folder where the extractor is installed. The default location is: C:\Cognite\PiExtractor\config. You must paste the copied config.yml file into the 'config' folder.
- Navigate to thePiExtractorfolder and open the command prompt from this folder. Execute the extractor using the command:bin\PiExtractor.exe.Alternatively, you can run the PI extractor as a Windows service. To learn more, refer to Run as a Windows service.
- Once the extractor has been configured and executed successfully, navigate to your project in CDF Project and open the pipeline by selectingIntegrate>Extraction Pipelines.
- Click the pipeline name for which you want to view the details, and then clickRun History.You should be able to view the information mentioning that the extractor has run successfully.Extractor Success Info
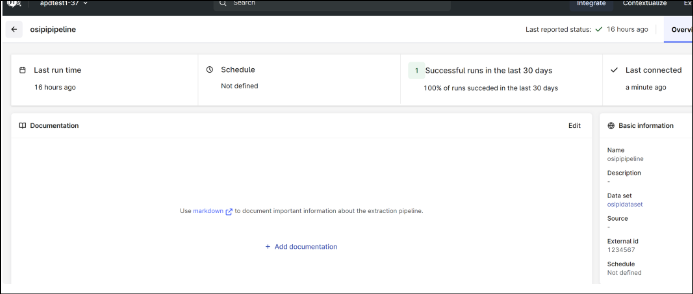
- Click on theDatasetlink under basic information section to open the Dataset details.
- Click on theDatatab.Click Data Set Link
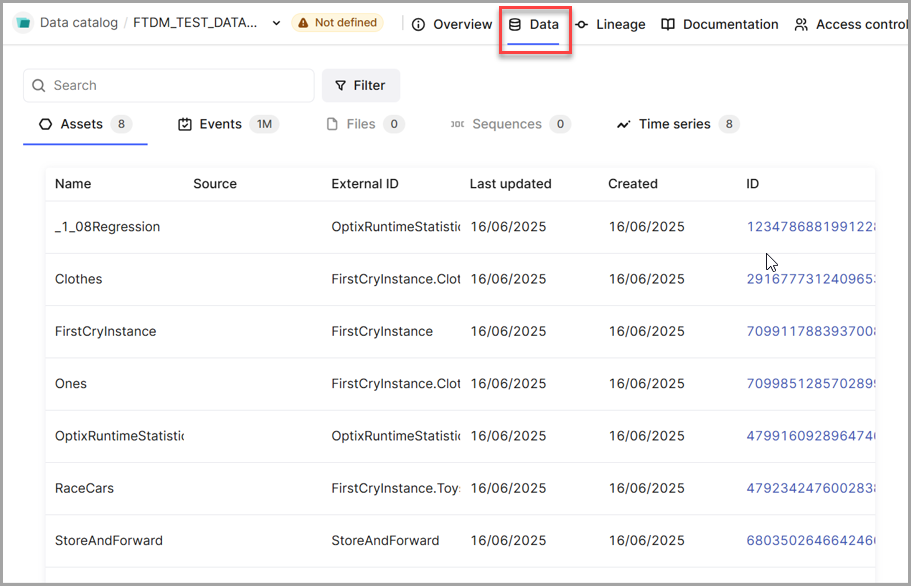 You should be able to view the asset data. You may also view assets depending on the configuration of the namespace on the PI Server.
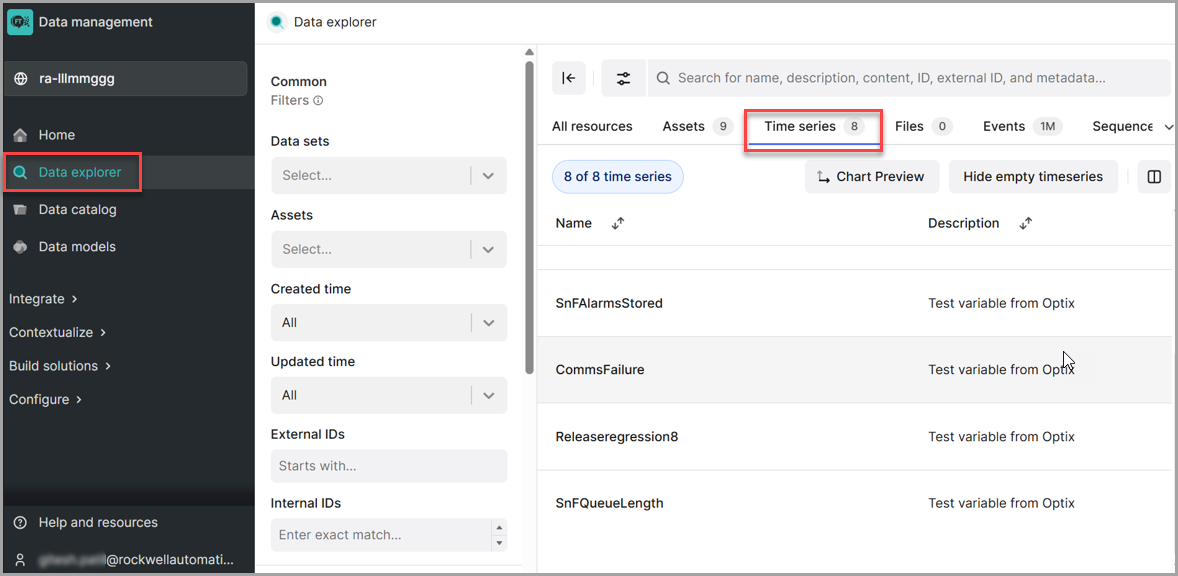
 - To view the time series data ingested using the extractor, clickData explorerand selectTime series. You will be able to see all the time series data points that were pushed using the extractor.Cognite Data Fusion - Time Series
Provide Feedback