Configure Microsoft Excel to Connect to a Virtual PostgreSQL Data Interface
Perform the following steps to configure
Microsoft
Excel
to connect to a virtual PostgreSQL data interface:- Open theMicrosoftExcelapplication.
- Click theDatatab.
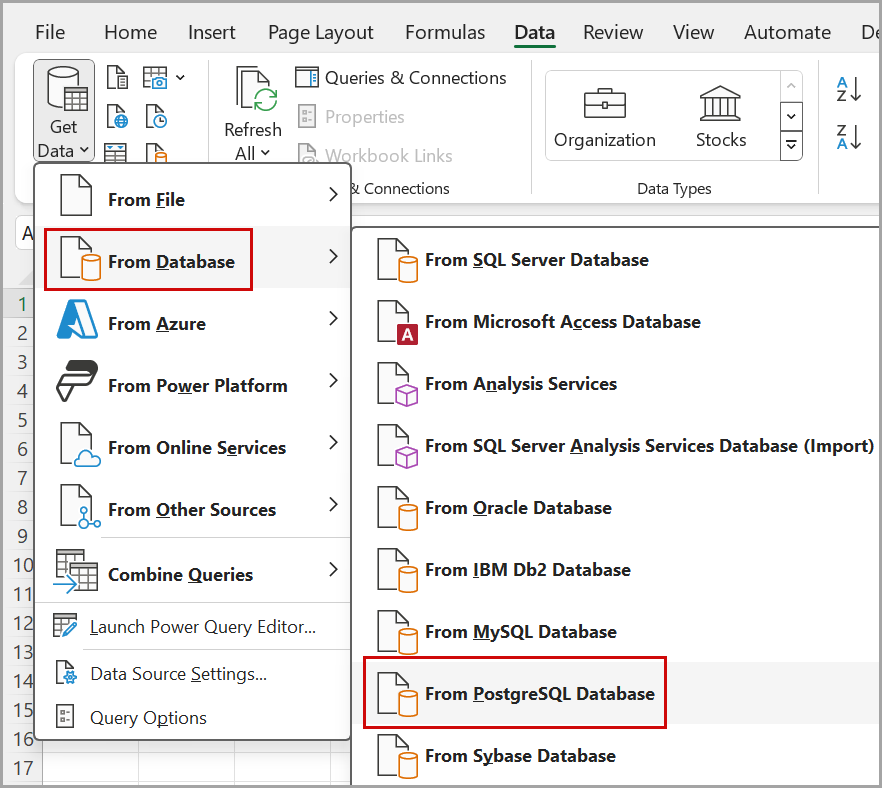
- Navigate toGet Data>From Database>From PostgreSQL Database.Select PostgreSQL Database
- In thePostgreSQL databasedialog box, clickLearn more.PostgreSQL Database Dialog
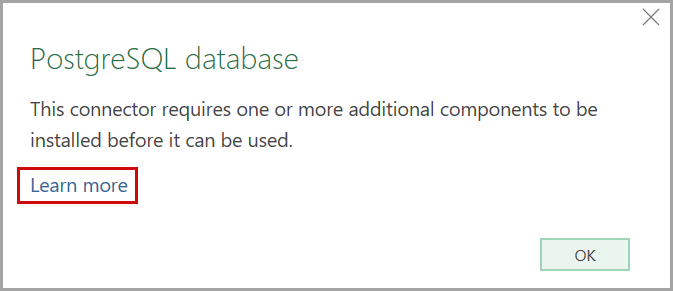 It will be navigated to theMicrosoftsupport page.
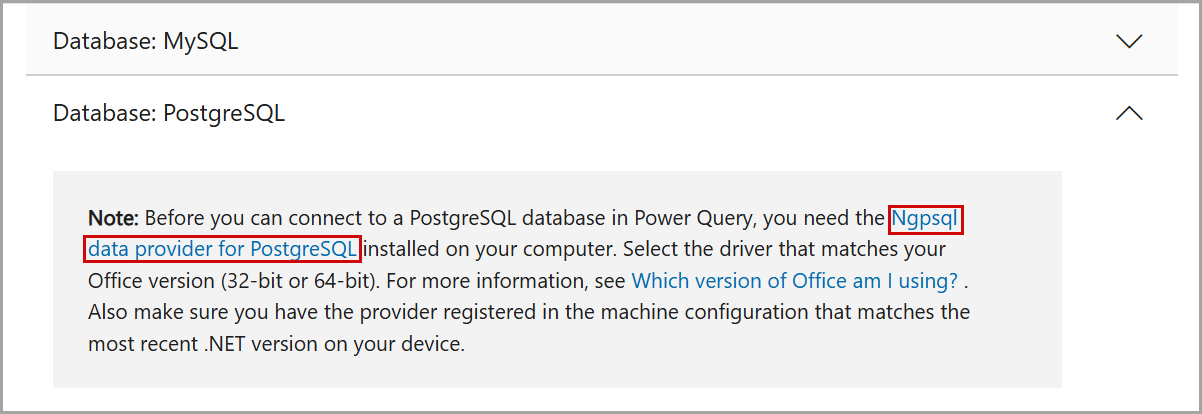
 - In the support page, scroll down and expandDatabase: PostgreSQL.
- ClickNgpsql data provider for PostgreSQL.Select Ngpsql Data Provider for PostgreSQL
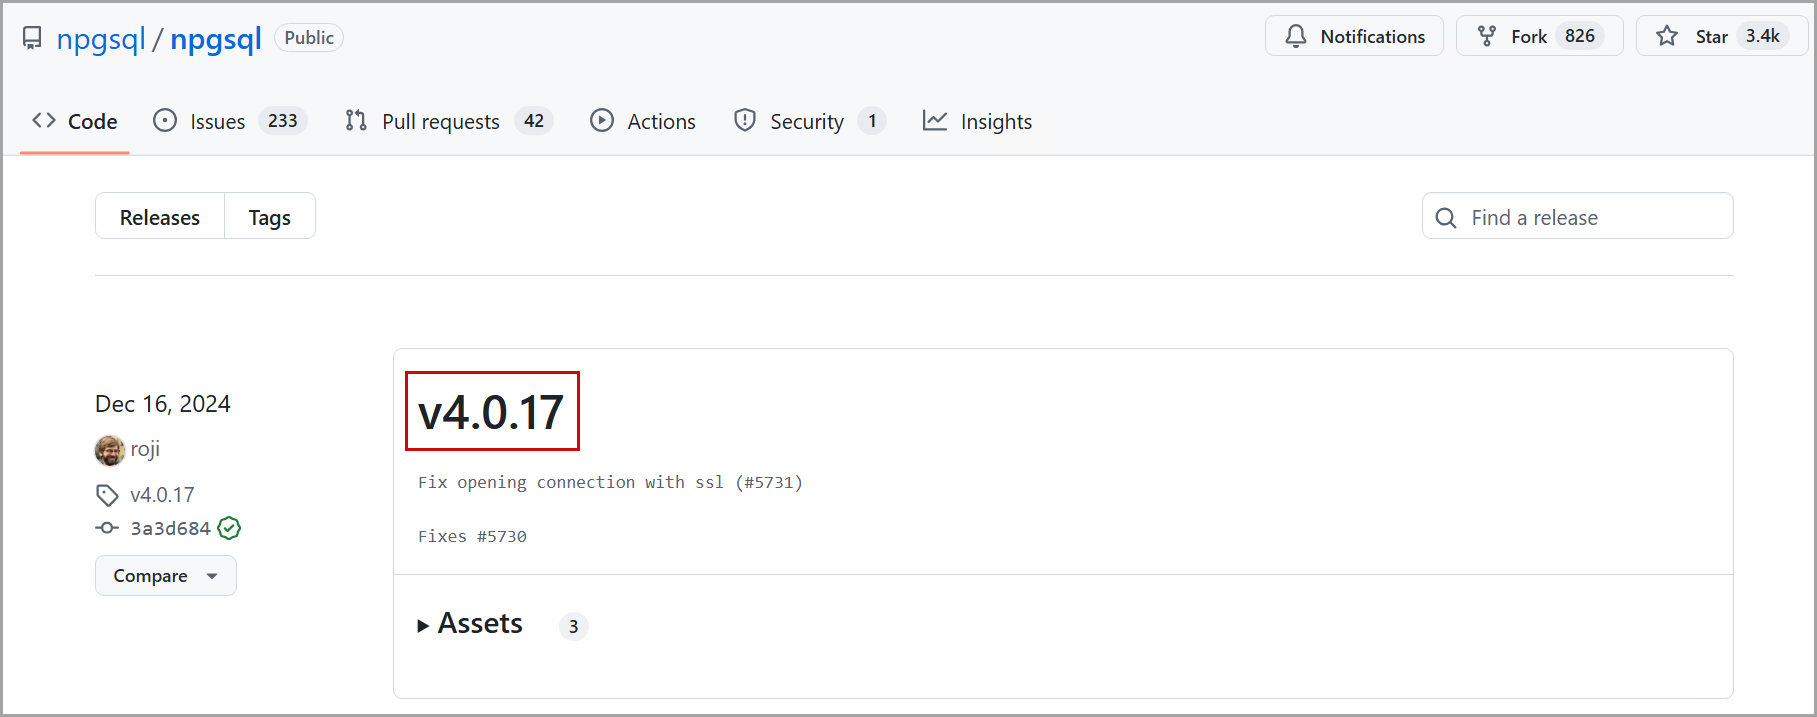
- Clickv4.0.17.Click Version Link
- UnderAssets, clickNpgsql-4.0.17.msi.Click MSI File
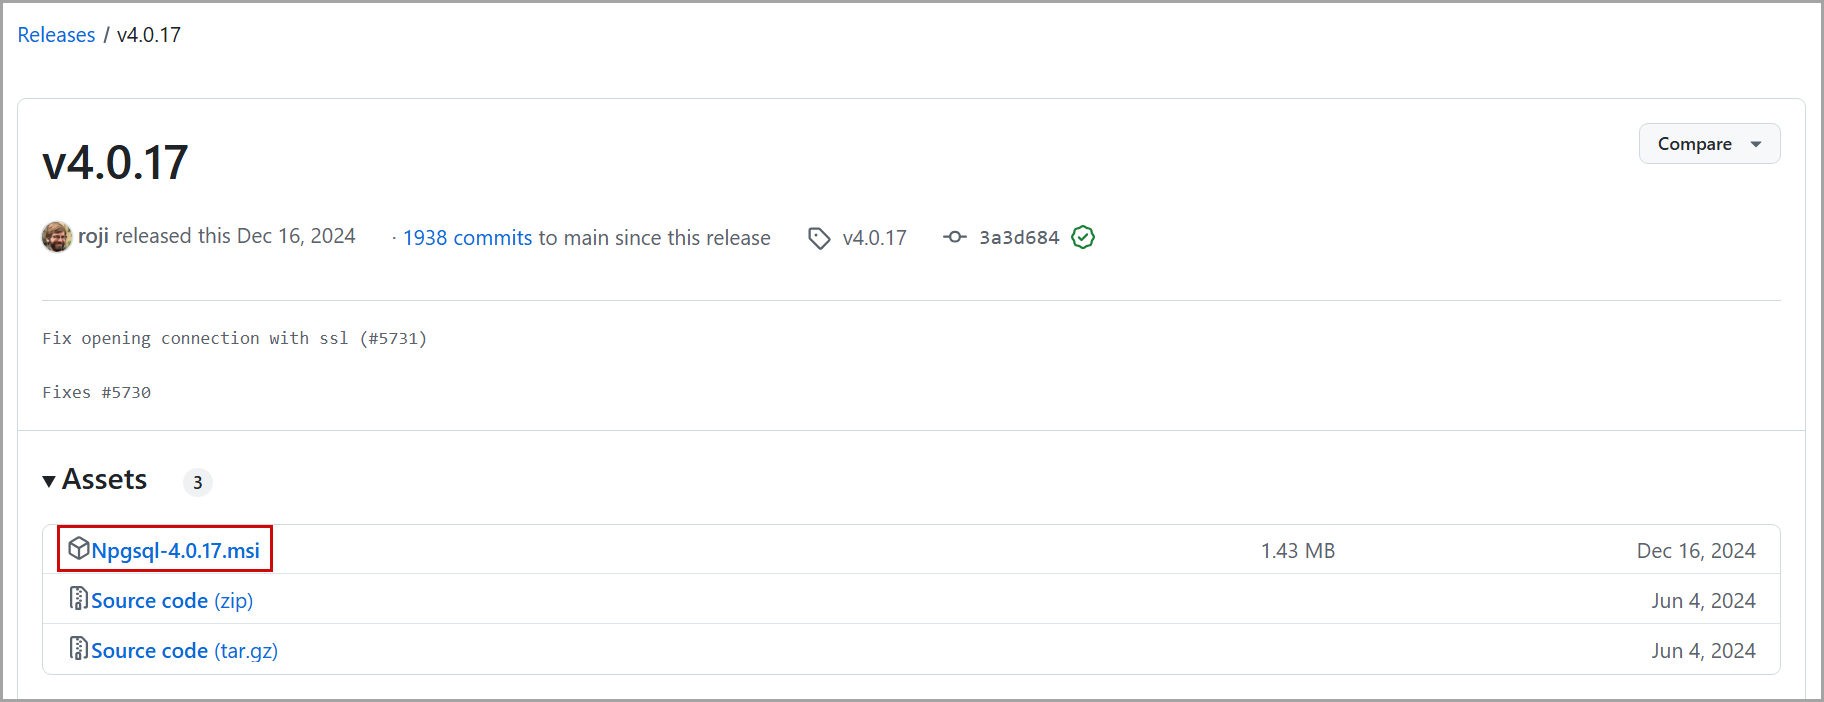 TheNpgsql-4.0.17.msifile will be downloaded in the Downloads folder of your local machine.
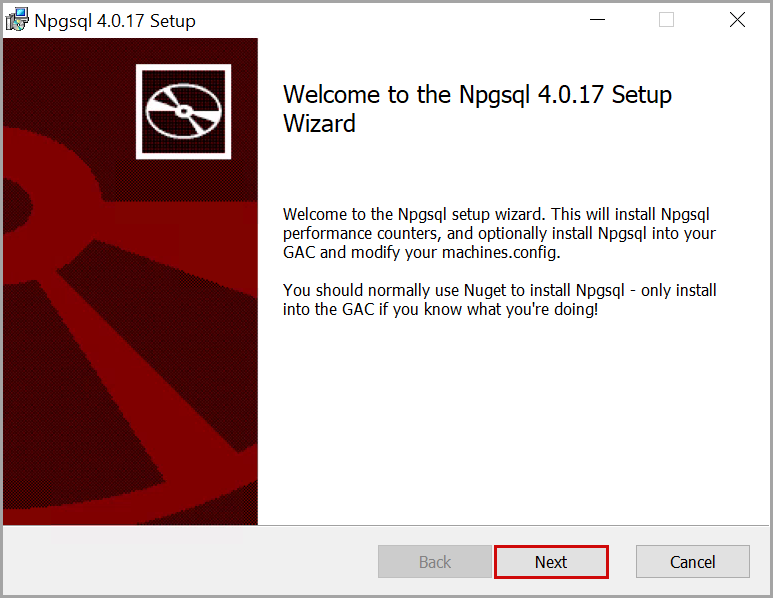
 - Double-click theNpgsql-4.0.17.msifile.TheNpgsql 4.0.17 Setupdialog box is displayed.
- ClickNext.Npgsql 4.0.17 Setup Dialog
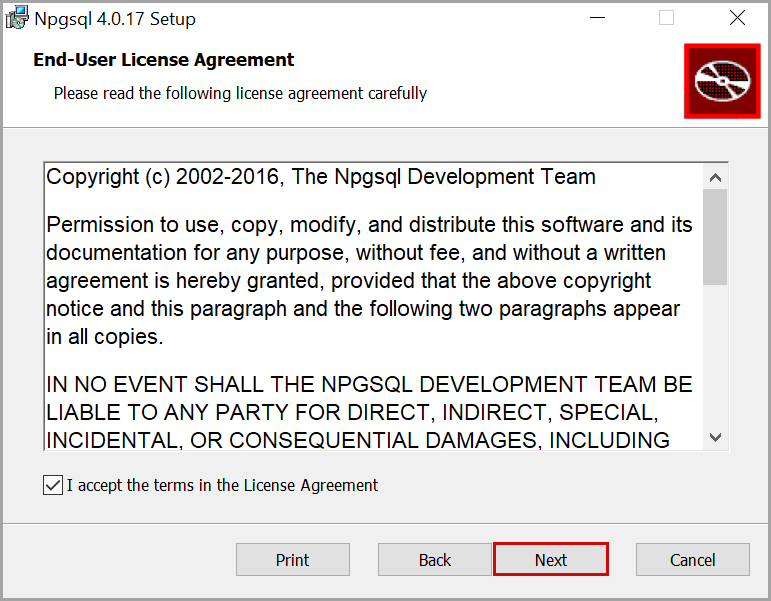
- Select theI accept the terms in the License Agreementcheckbox and clickNext.License Agreement
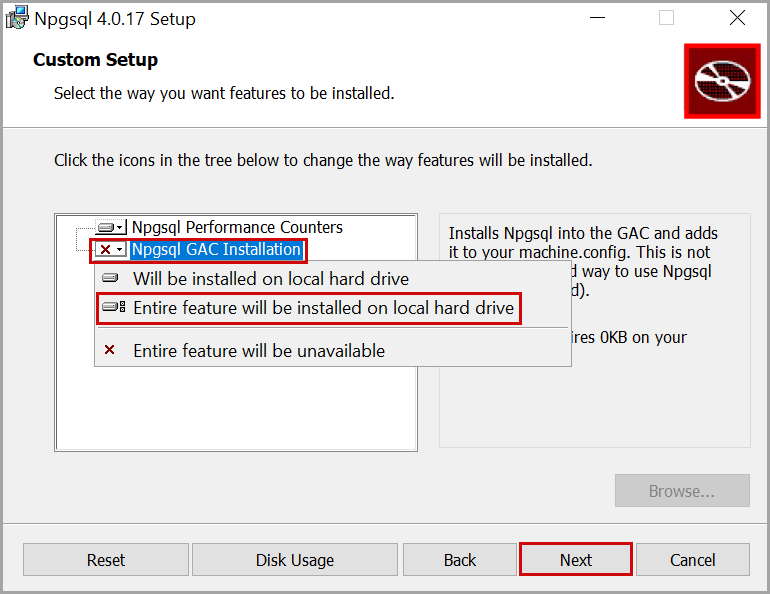
- Click the [
 ] icon and select Entire Feature will be installed on local hard drive.
 - ClickNext.Custom Setup
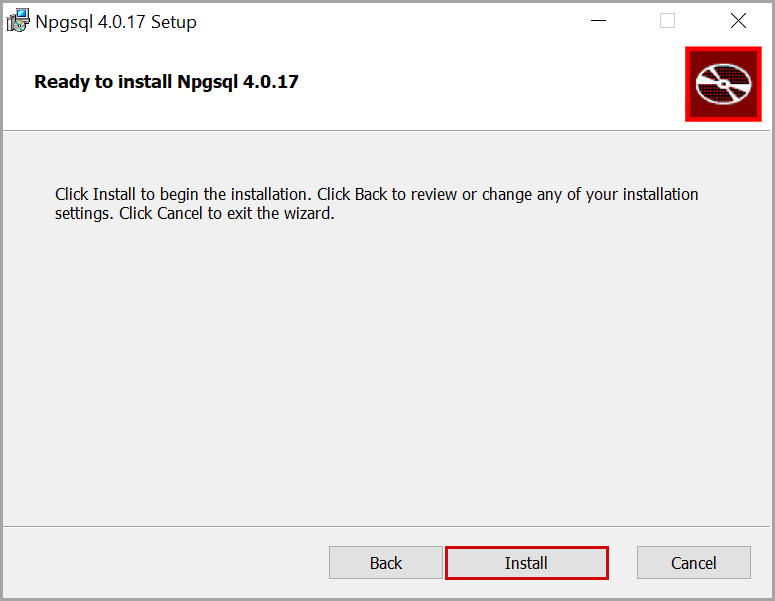
- ClickInstall.Install Npgsql
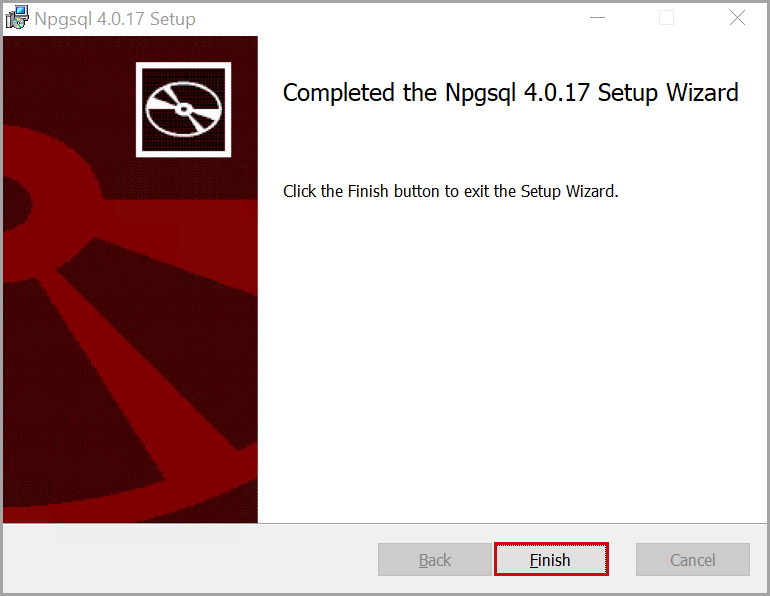
- Once the installation is completed, clickFinish.Installation Completed
- Close and re-open theMicrosoftExcelapplication.
- Click theDatatab.
- Navigate toGet Data>From Database>From PostgreSQL Database.Select PostgreSQL DatabaseThePostgreSQL databasedialog box is displayed.
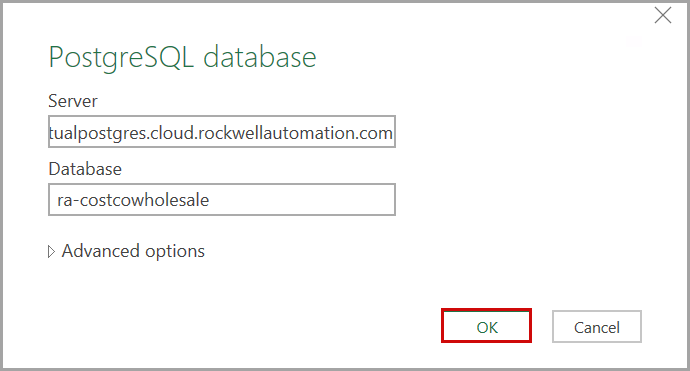
- Provide the following details:
- Server:dm-virtualpostgres.cloud.rockwellautomation.com(Production URL).
- Database: The name of the project inFactoryTalk DataMosaix SaaS. For example, ra-costcowholesale.
- ClickOK.PostgreSQL Database Dialog
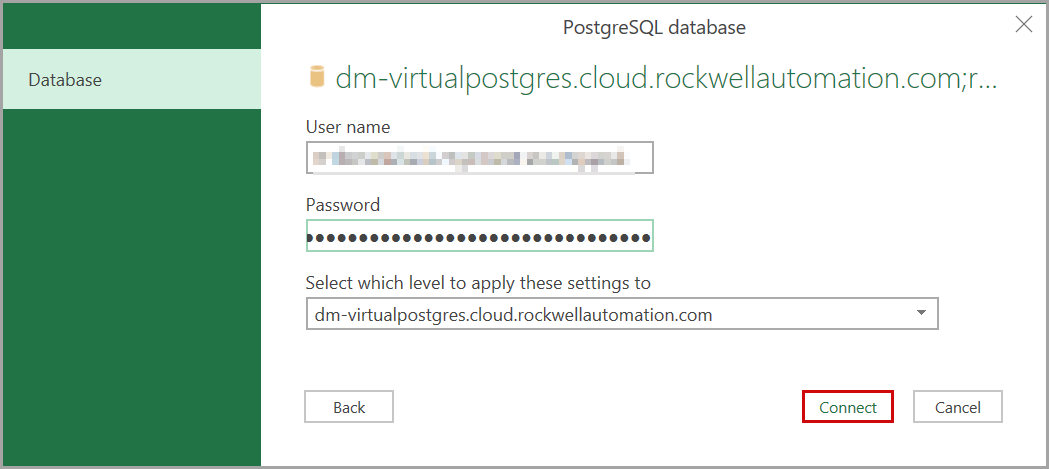
- Provide the following details:
- Username: Refer to the Client ID generated while registering the application.
- Password: Refer to the Client Secret generated while registering the application.
- ClickConnect.PostgrSQL Database Dialog
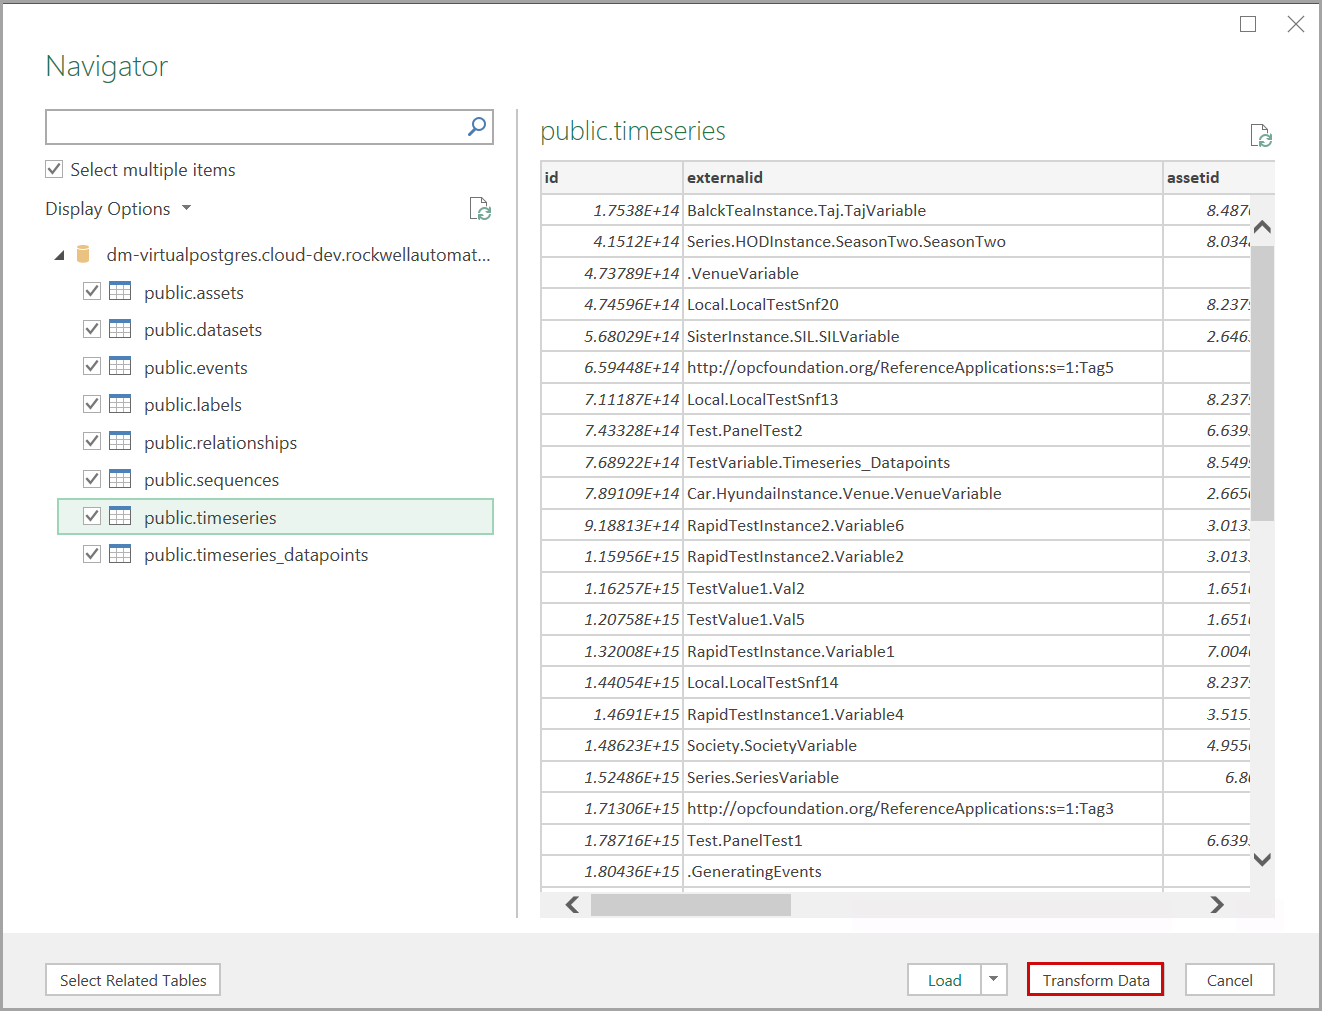
- In theNavigatordialog box, select theSelect multiple itemscheckbox.
- Select the required table checkboxes and clickTransform Data.Navigator Dialog
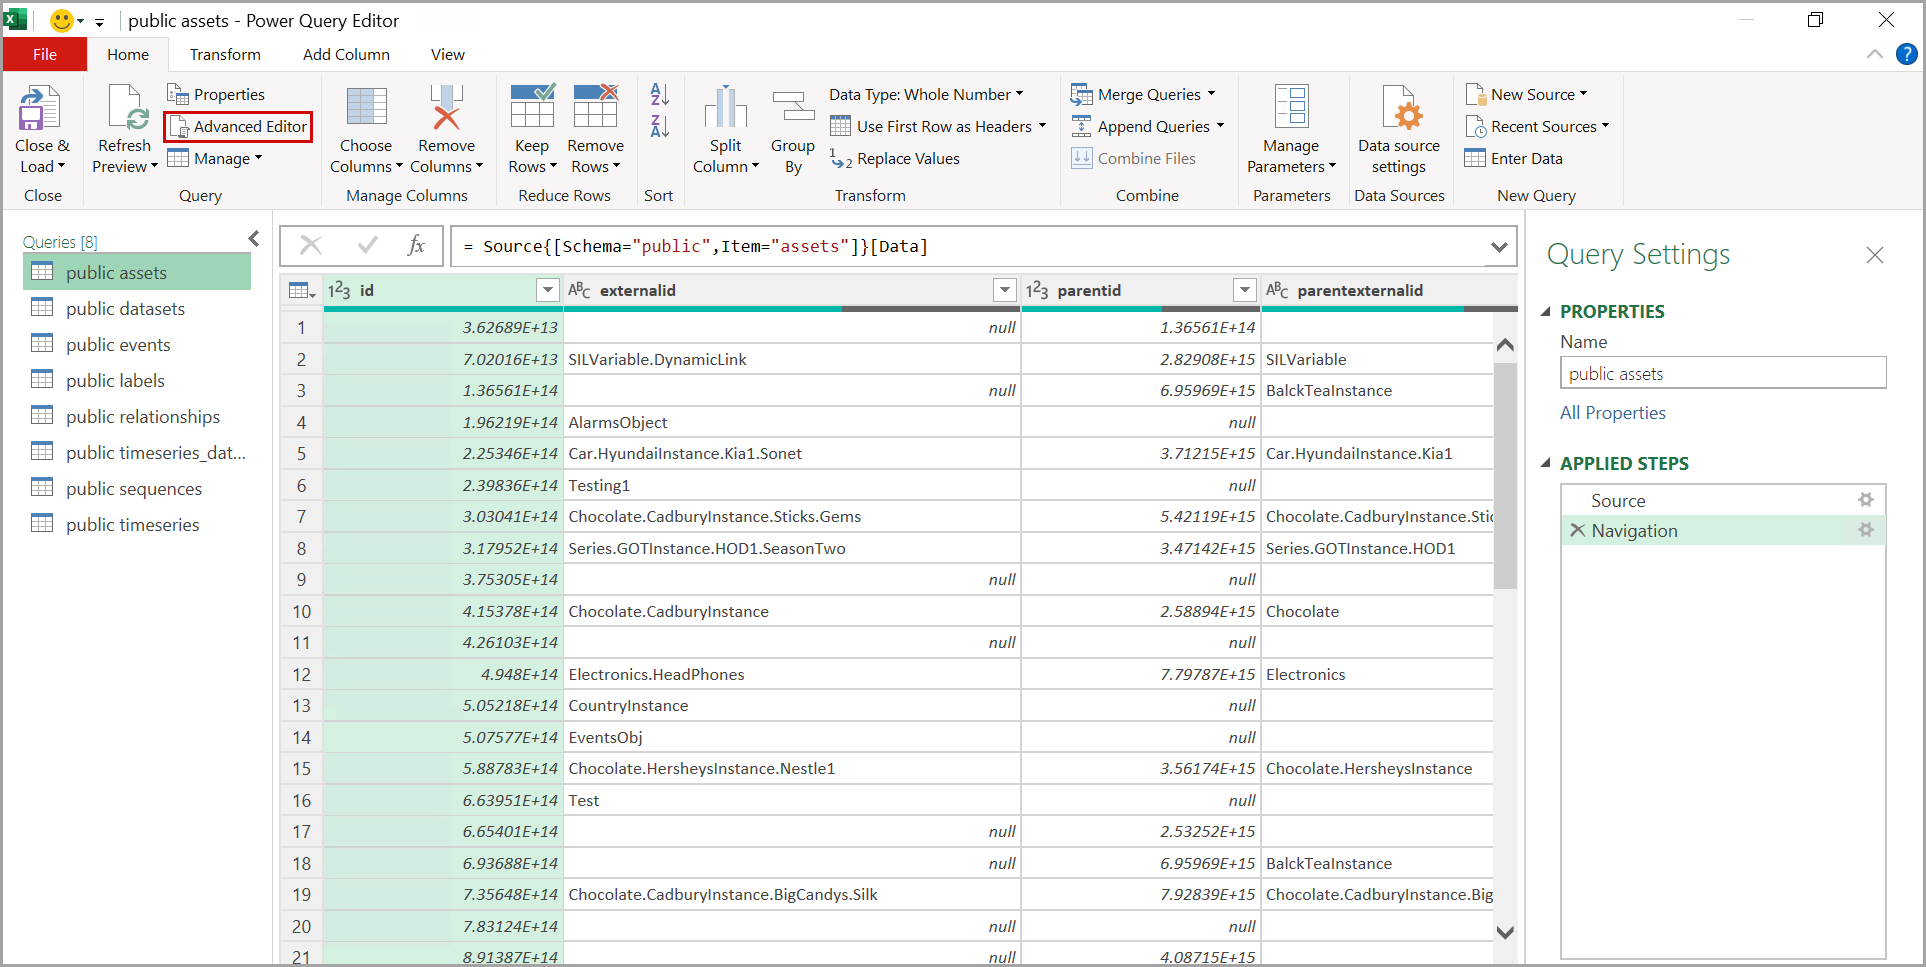
 ThePower Query Editordialog box is displayed.
 - ClickAdvanced Editor.Click Advanced Editor
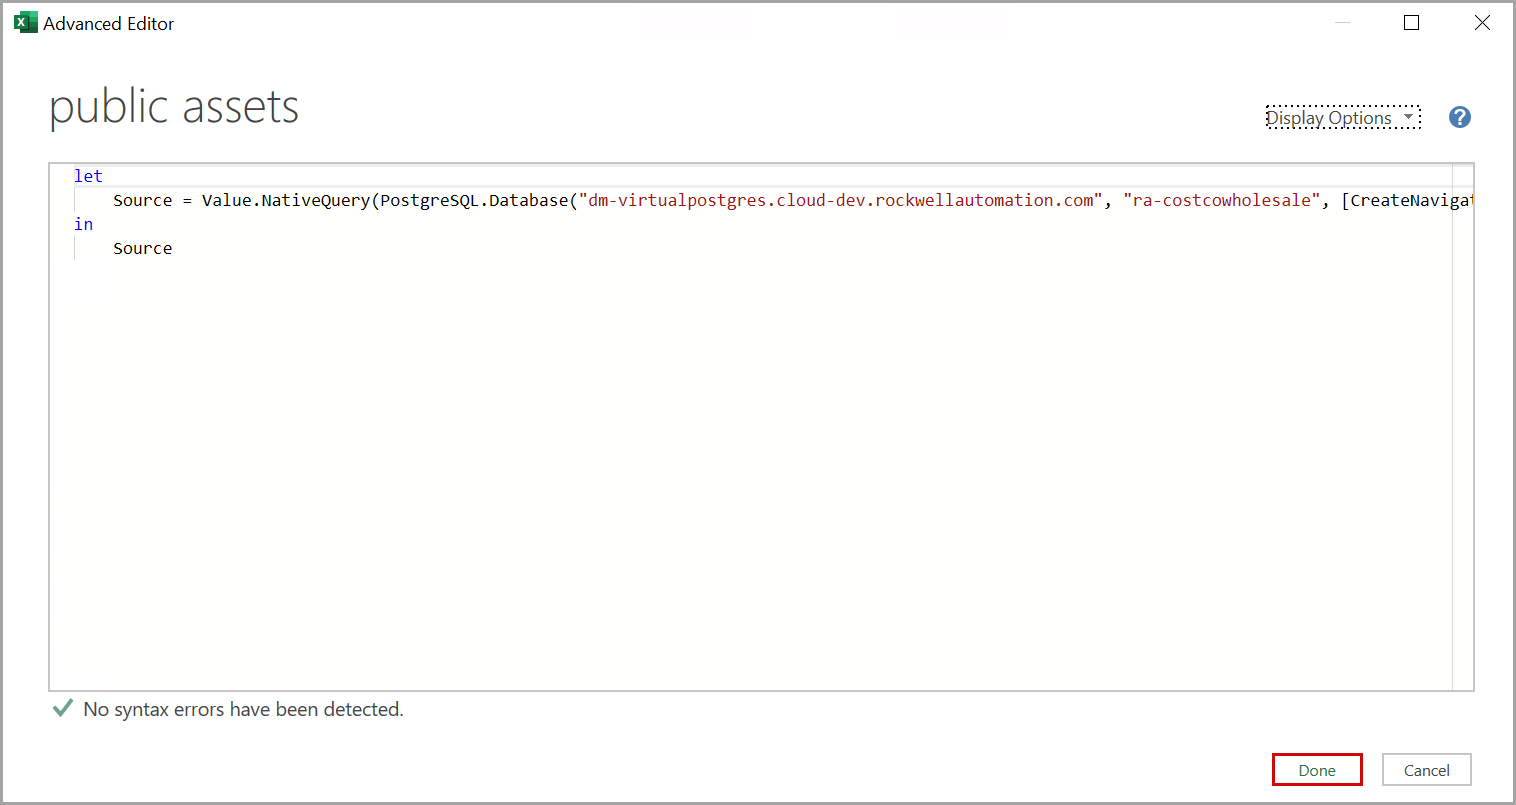
- In theAdvanced Editordialog box, provide the sample query and clickDone.Advanced Editor Dialog
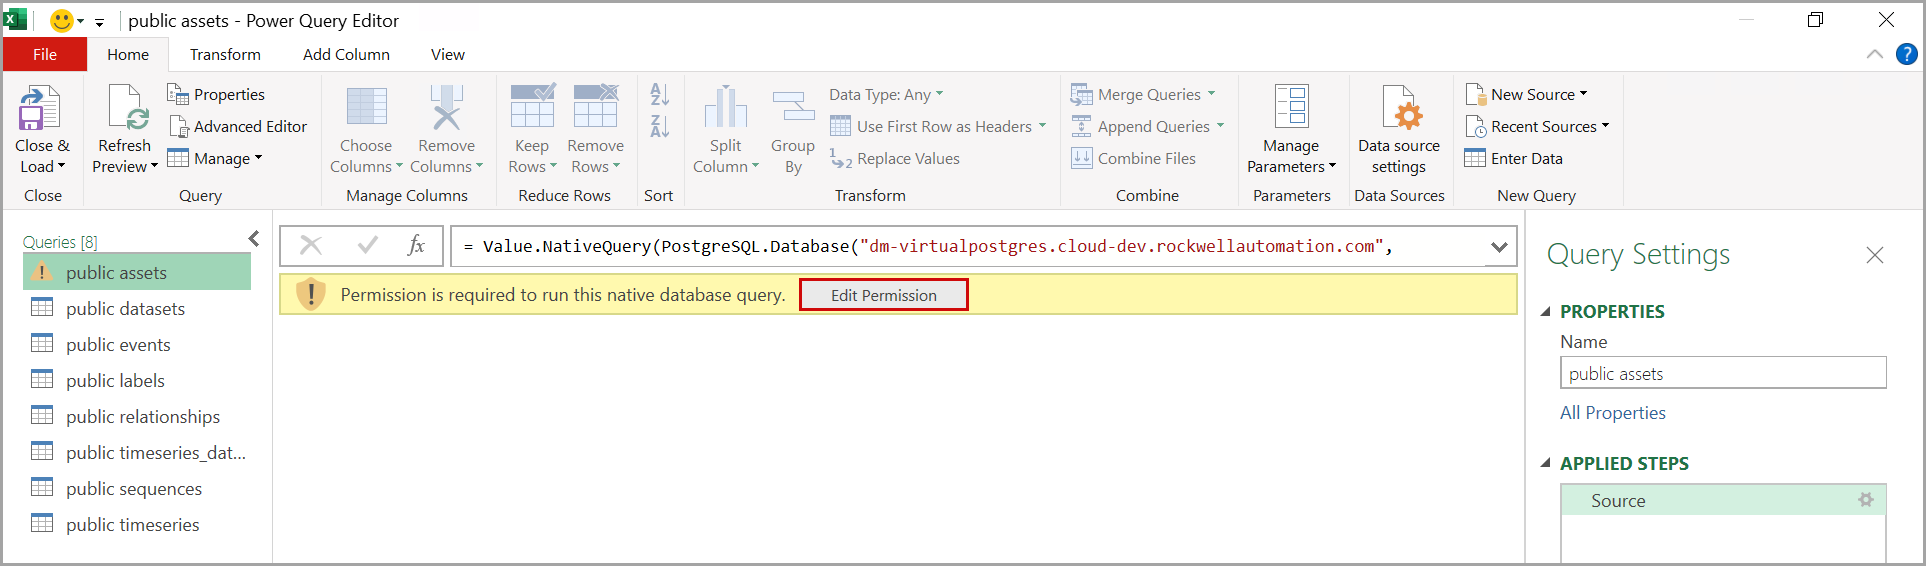
- ClickEdit Permission.Click Edit Permission
- In theNative Database Querydialog box, clickRun.Native Database Query Dialog
 Based on the query, the data will be populated.Final Output
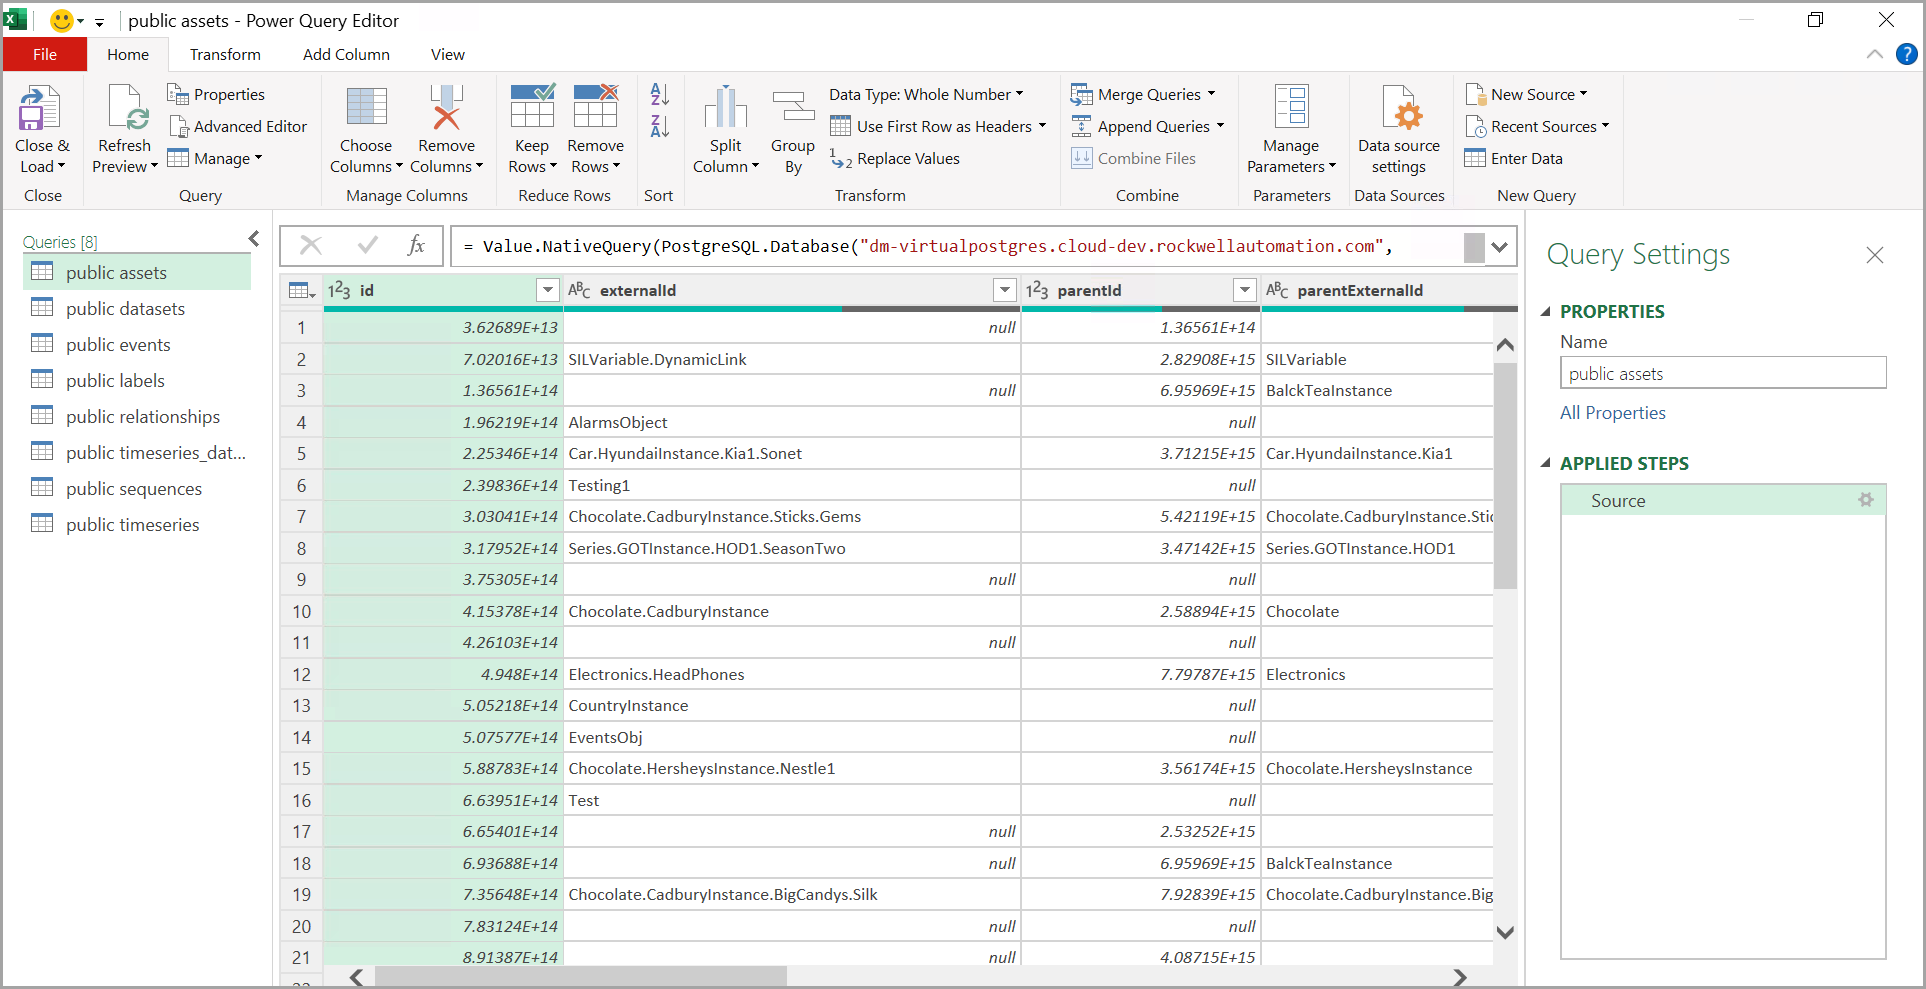
Provide Feedback